Depuis le temps, l’oiseau avance en douceur, après la découpe au scalpel, la découpe par scie à chantourner et l’assemblage ont commencé.


Depuis le temps, l’oiseau avance en douceur, après la découpe au scalpel, la découpe par scie à chantourner et l’assemblage ont commencé.
Ready for placement on the mold and soldering.


A new question for me, can I reduce the amount of glass work time and produce something without a mold?
I had seen a lantern whilst in Ireland and thought now there’s an idea.

This could also be an opportunity to combine glass and wood skills.
I need to think about this.
But what will my choice of glass and the choices within that glass give, how will the different colours marry? I used available glass in my stock for flower stems and borders.
I fitted up the first cut and found section on a light table, remembering that this only approaches the impression given on a finished lamp.

Can’t wait to see the finished lamp, I’m pretty sure the flowers work.
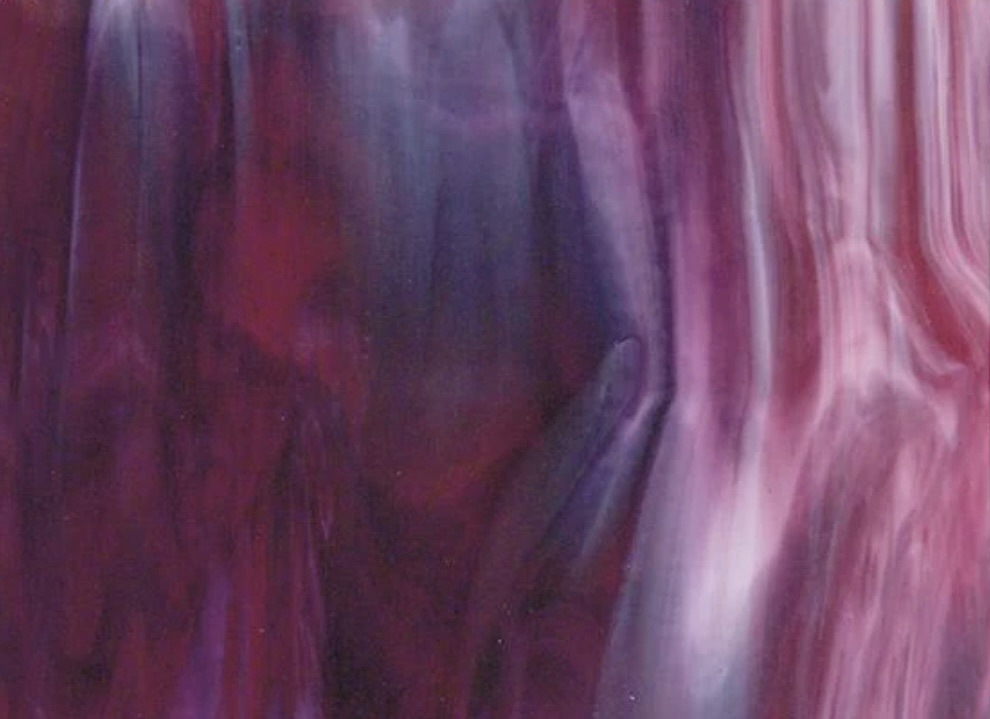
To avoid an appearance of flatness I wanted to choose for both the flowers and the background enough nuance to represent adequately first the tulips, for which I went for a Bullseye 3334-30F Cranberry Pink sheet (770€/m2).
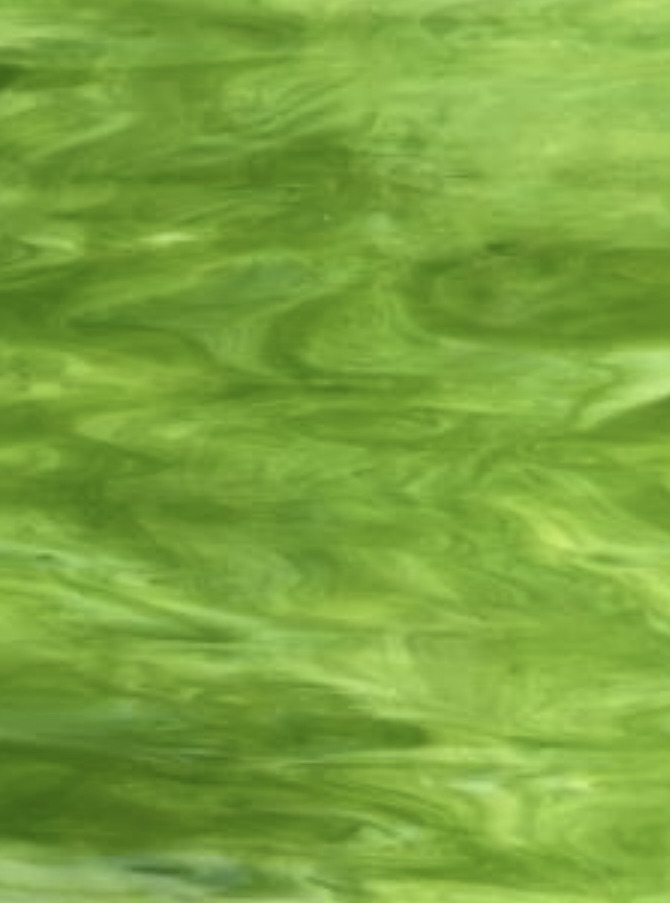
For the background I went for 2 colours, both from GK Techniques, the VECH 069 and VECH 826 shown here.
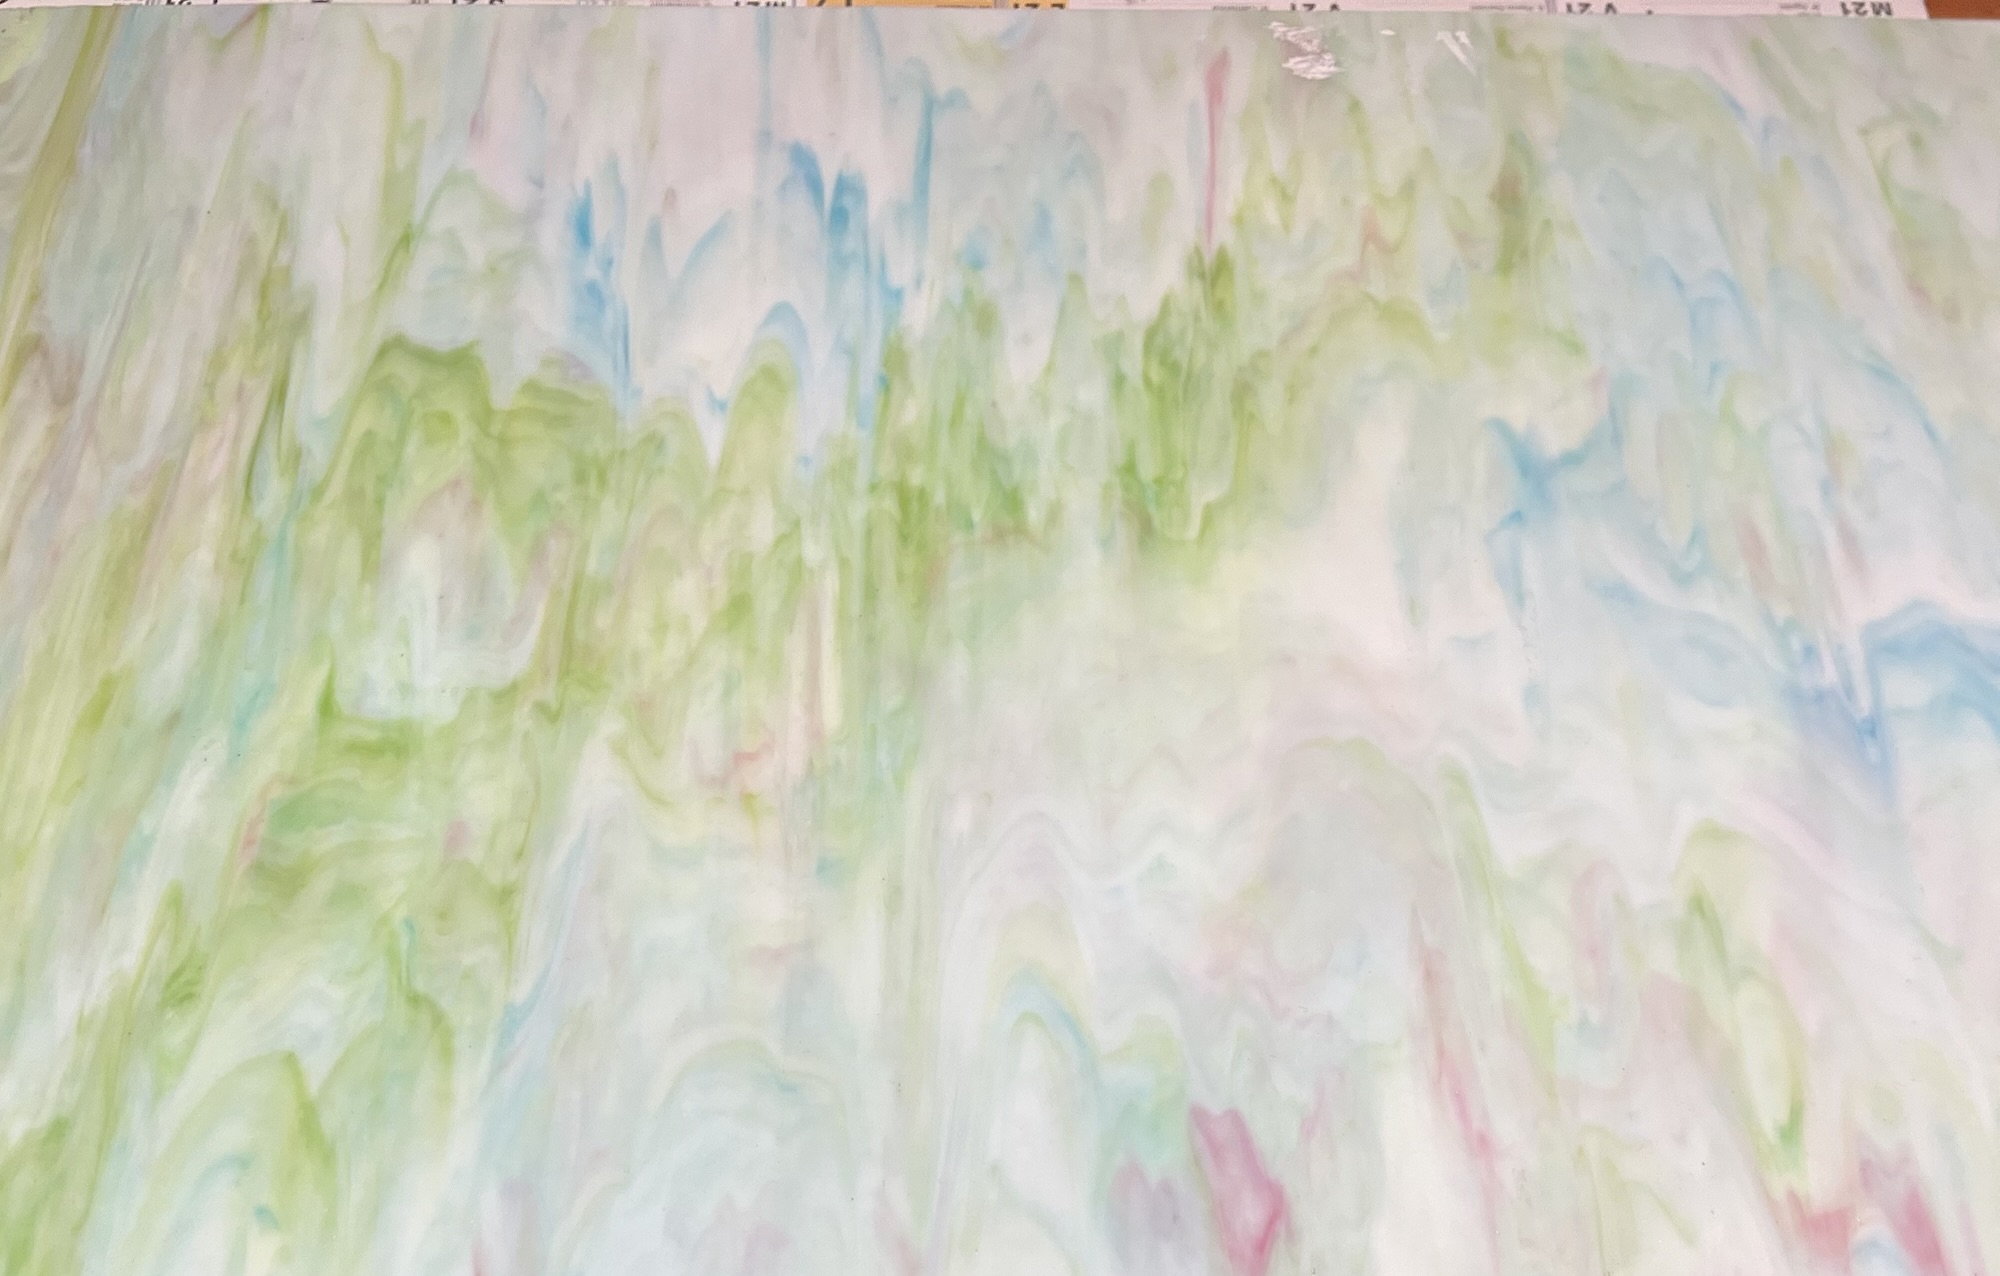
And here is the VECH 069 at a more reasonable 70€/ sheet
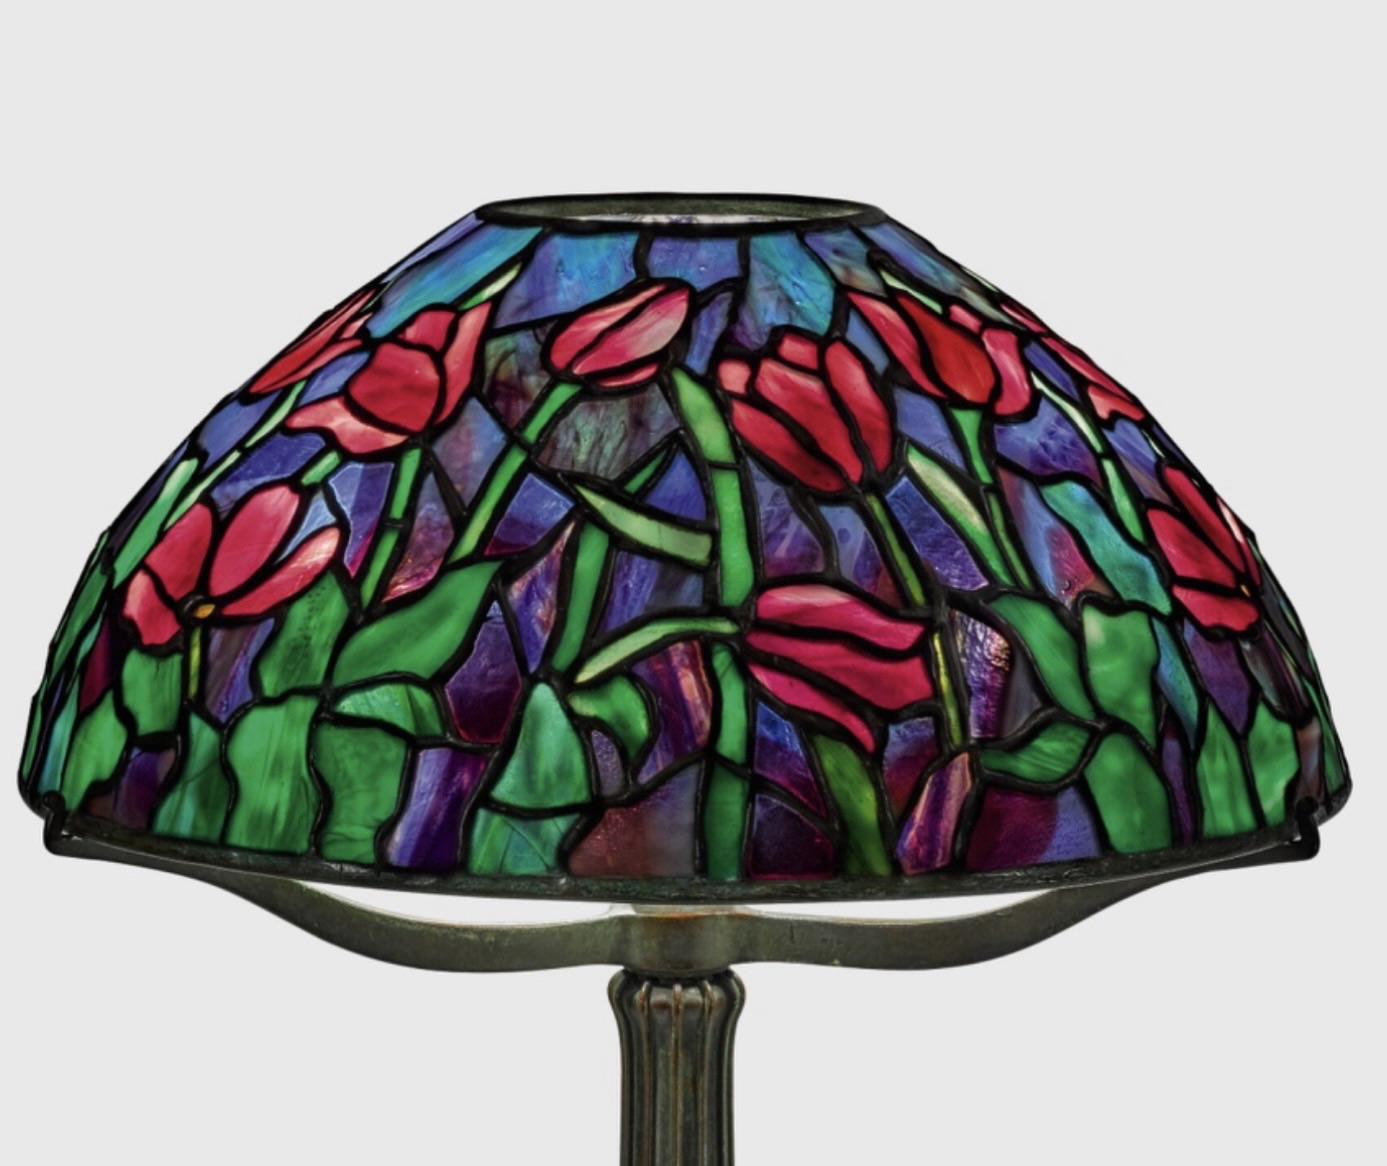
After a long discussion with Fiona, she said a lamp similar to this one would be her choice.
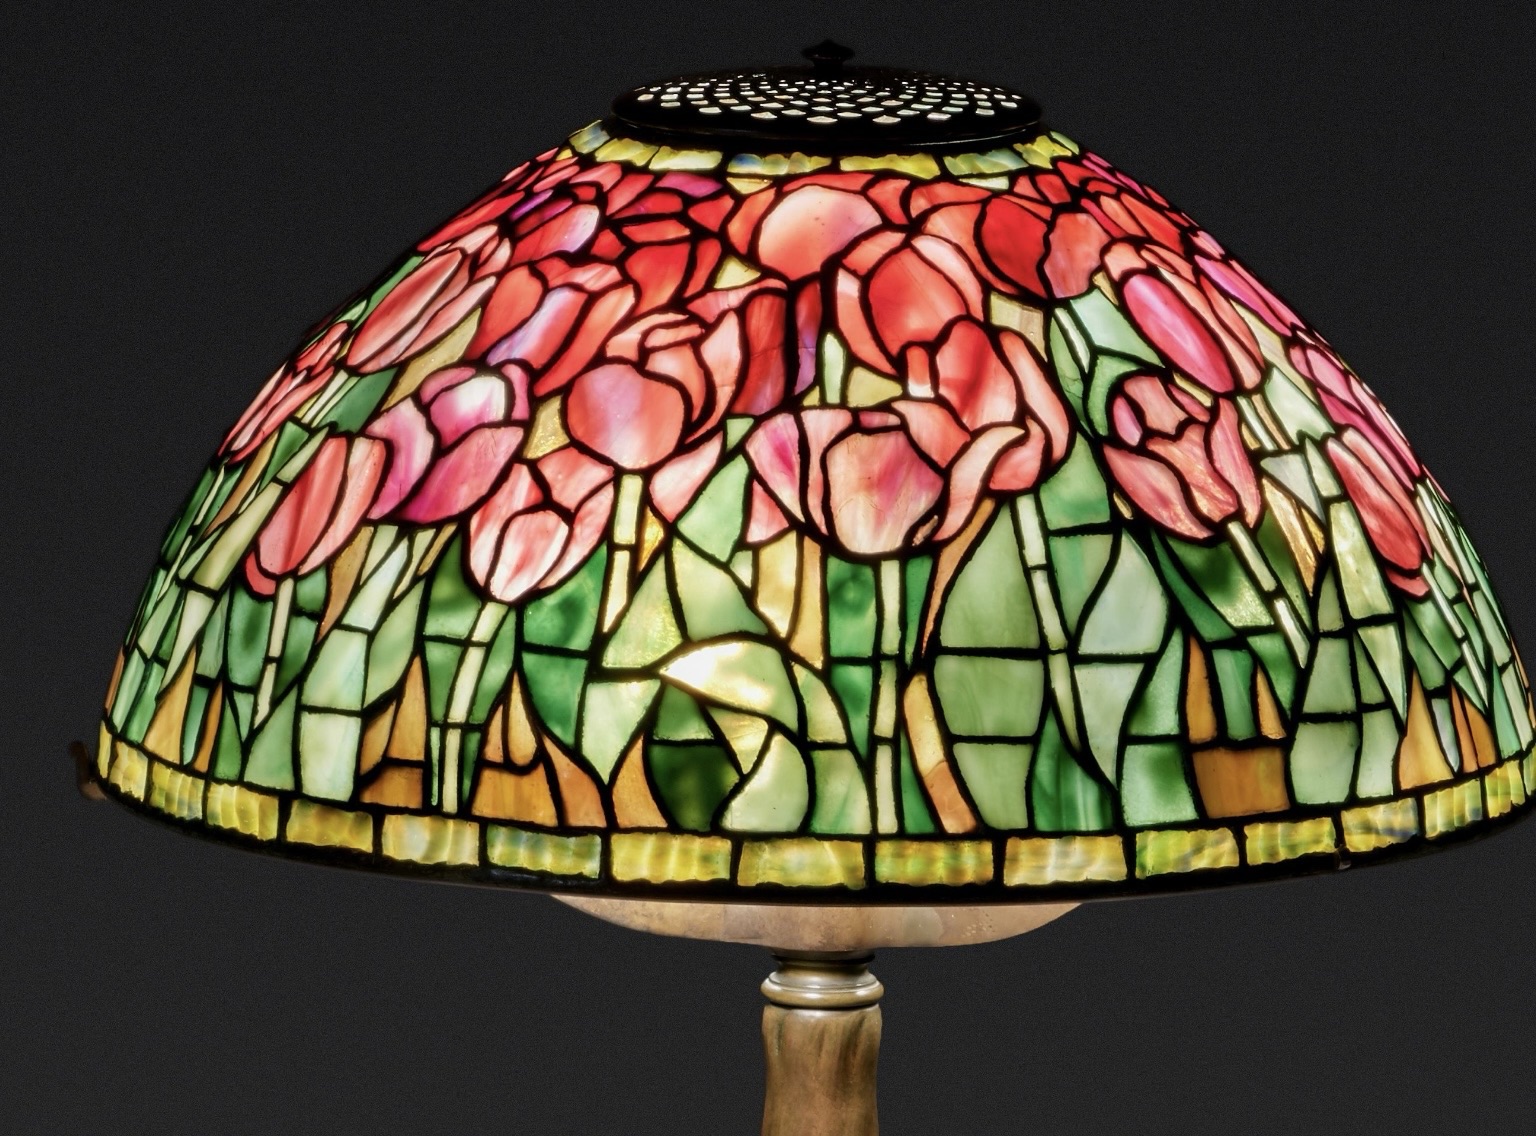
However at 16 inches, this was the Tulip design that I could find available, so next choice, choose the glass.
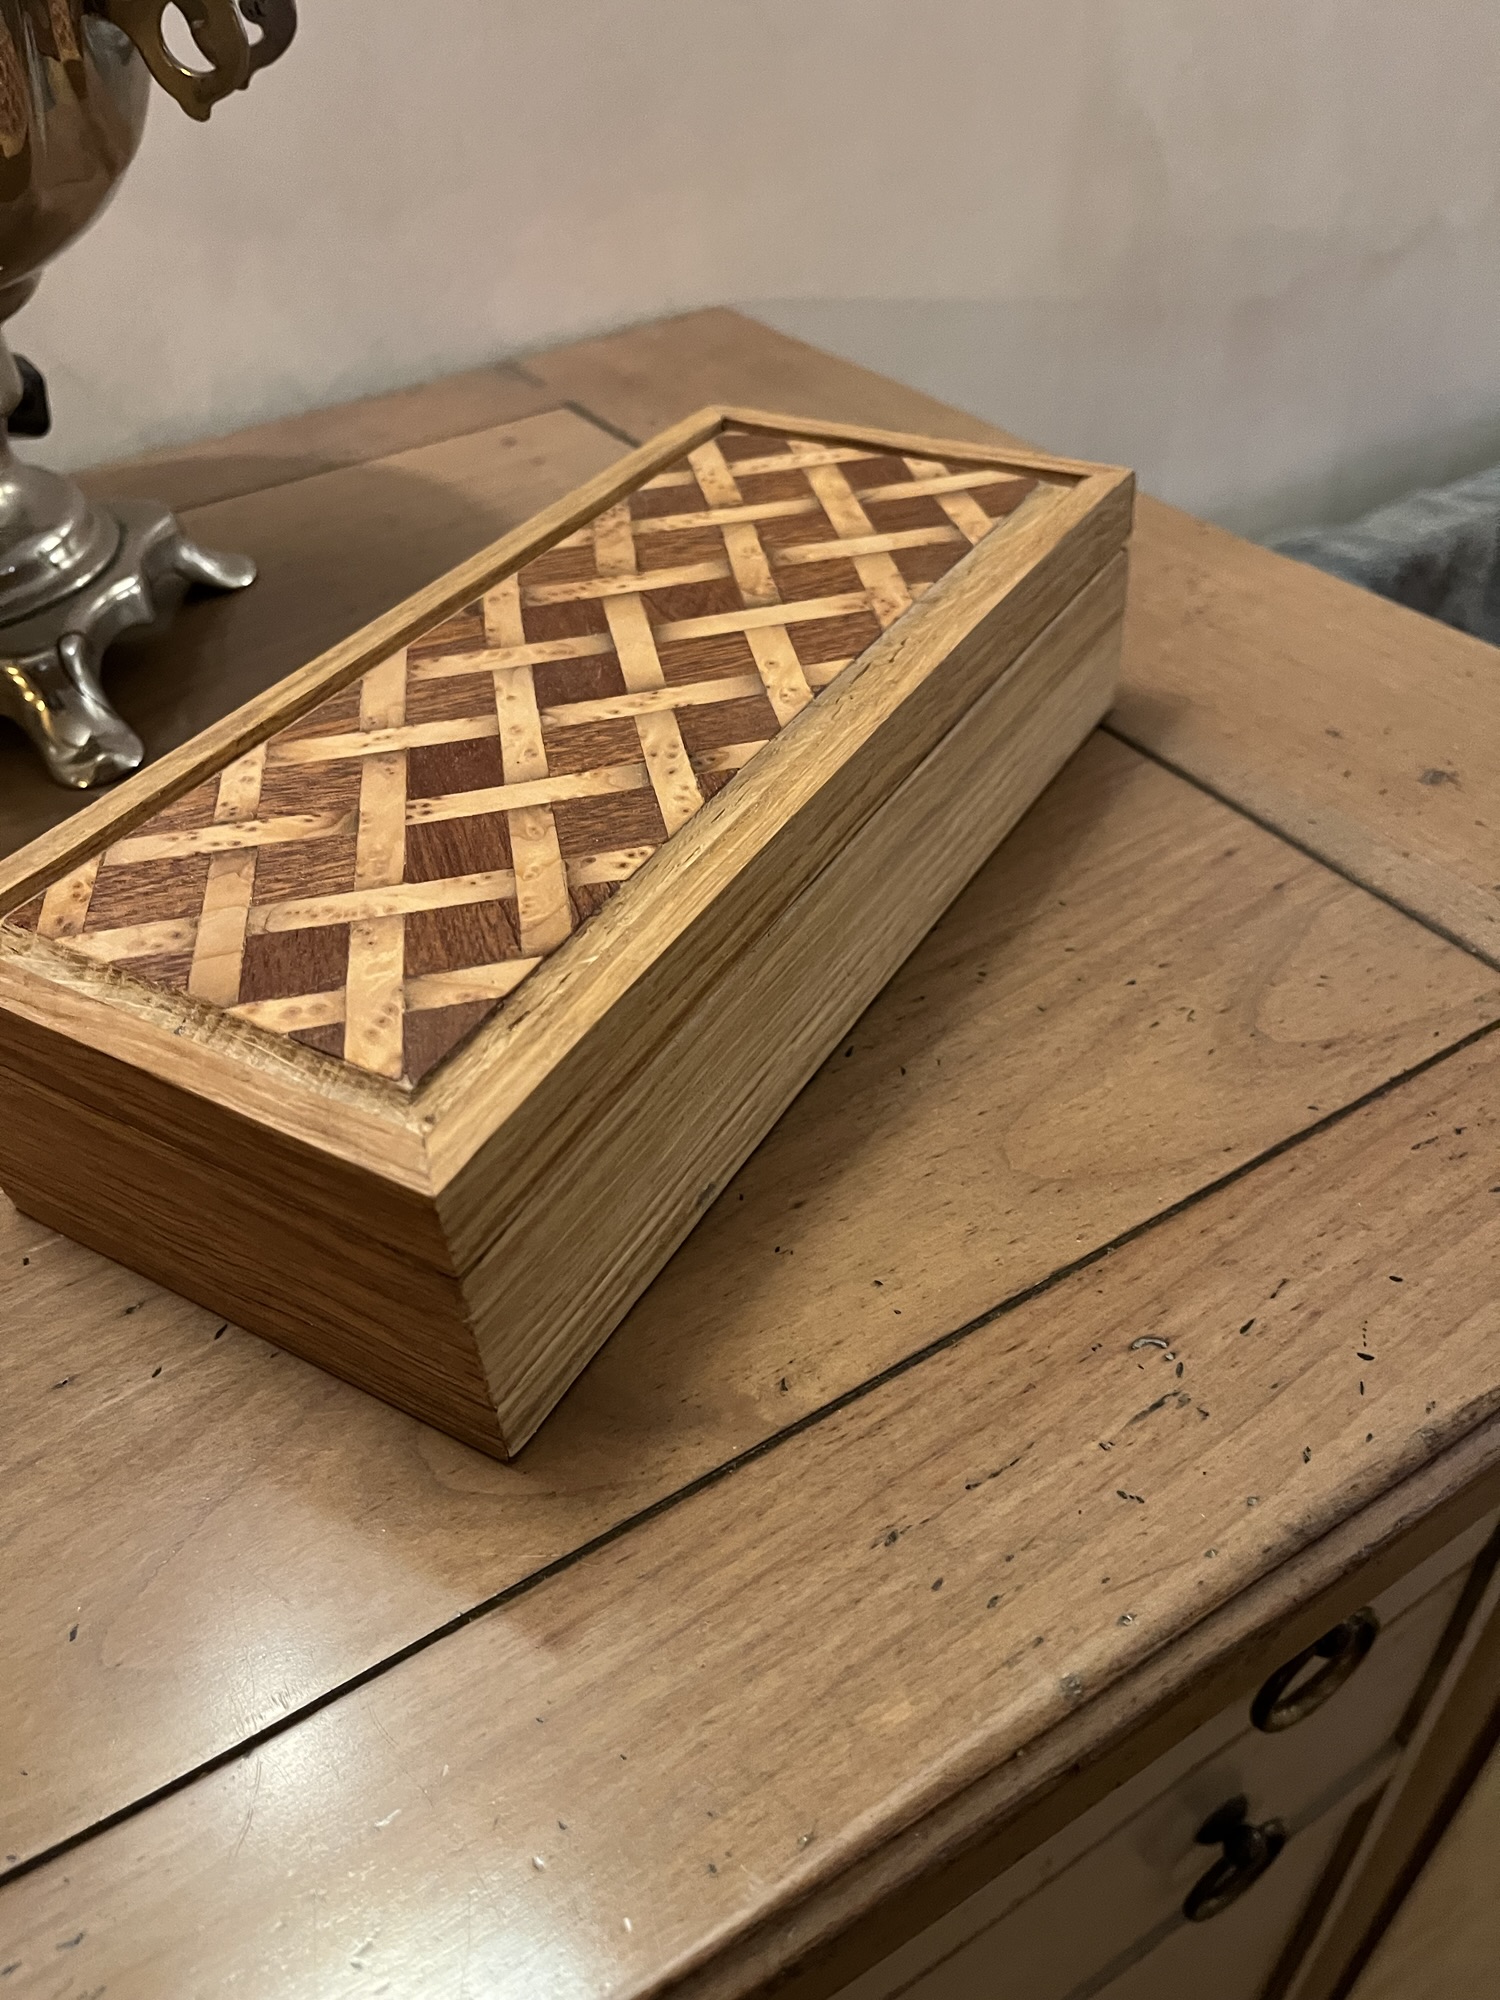
Voici la boîte terminé, cirée avec une pâte à 70% cire d’abeille et 30% essence de térébenthine pour aider la cire à pénétrer en profondeur. Après l’application de la cire j’ai chauffé localement avec un décapeur thermique juste assez pour faire pénétrer la cire avant de laisser sécher l’ensemble à l’air libre avant de faire briller la boîte à l’aide d’un chiffon en coton.
Et voici « l’œuvre « terminée

Pour usiné l’emplacement des clés j‘ai acheté une mèche de diamètre 1,5mm d’une société qui se spécialise dans le modélisme et pour la finition j’ai utilisé un cire noir dans les coins noirs.


So after a long pause to manufacture the Peacock lamp, here I am back on the Wisteria shade, with the first section tacked onto the mold. There are a few pieces that need trimming down and re-coppering, (just waiting to finish my boxes supporting my veneer work to once again free up the workshop).
As this lamp is terribly time consuming and repetitive, I will probably start a much simpler lamp after the second repeat section.

Voici le couvercle incorporé dans la boîte en chêne, les saignées de 4mm de largeur et de la moitié de l’épaisseur ont été réalisées à l’intérieure de la boîte avant l’assemblage et collage, il reste maintenant les étapes de séparation du couvercle de la boîte grâce à une saignée de 4 mm de largeur et en décalage de 4mm par rapport à celle de l’intérieure, réalisée à l’extérieure de la boîte finie. Il ne restera que les étapes de finition à suivre.

