The Peacock Lamp finished

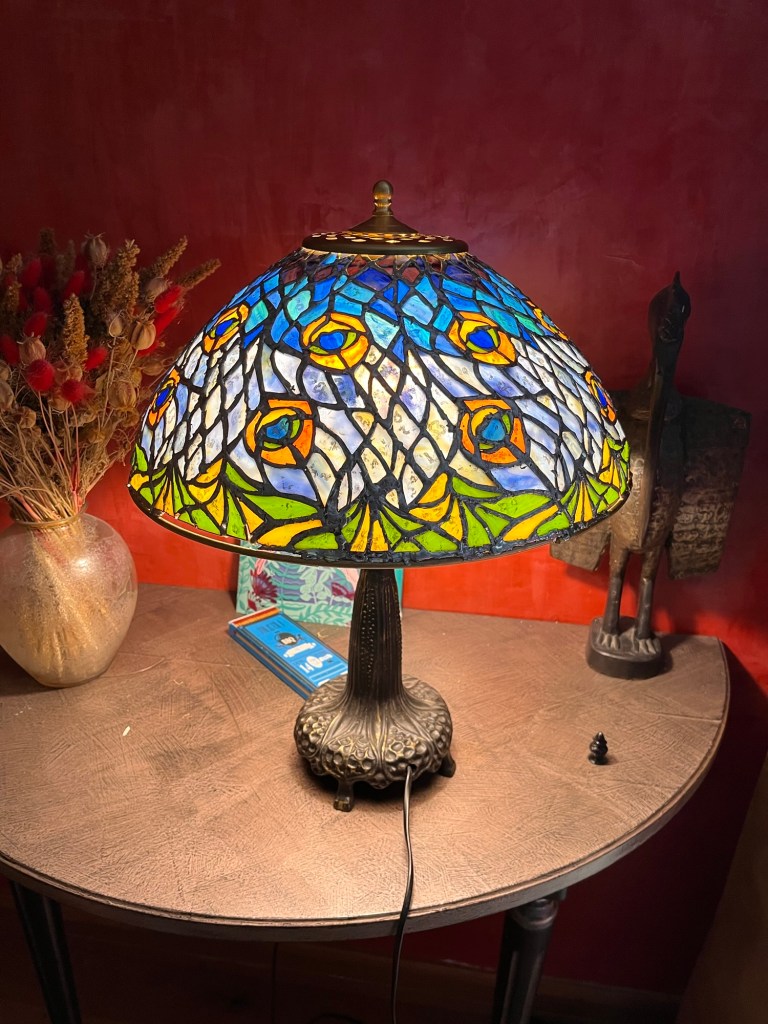
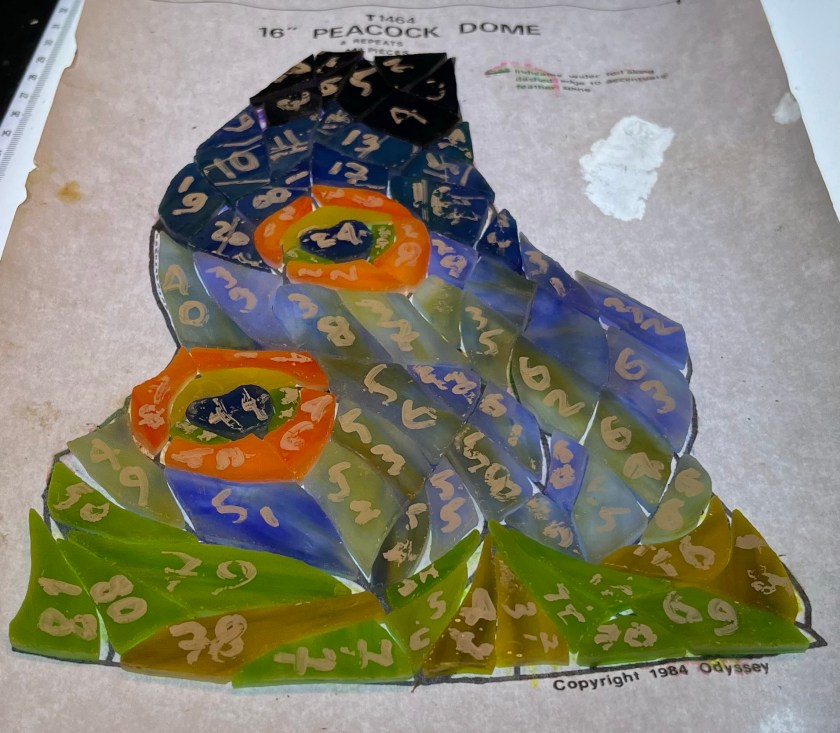
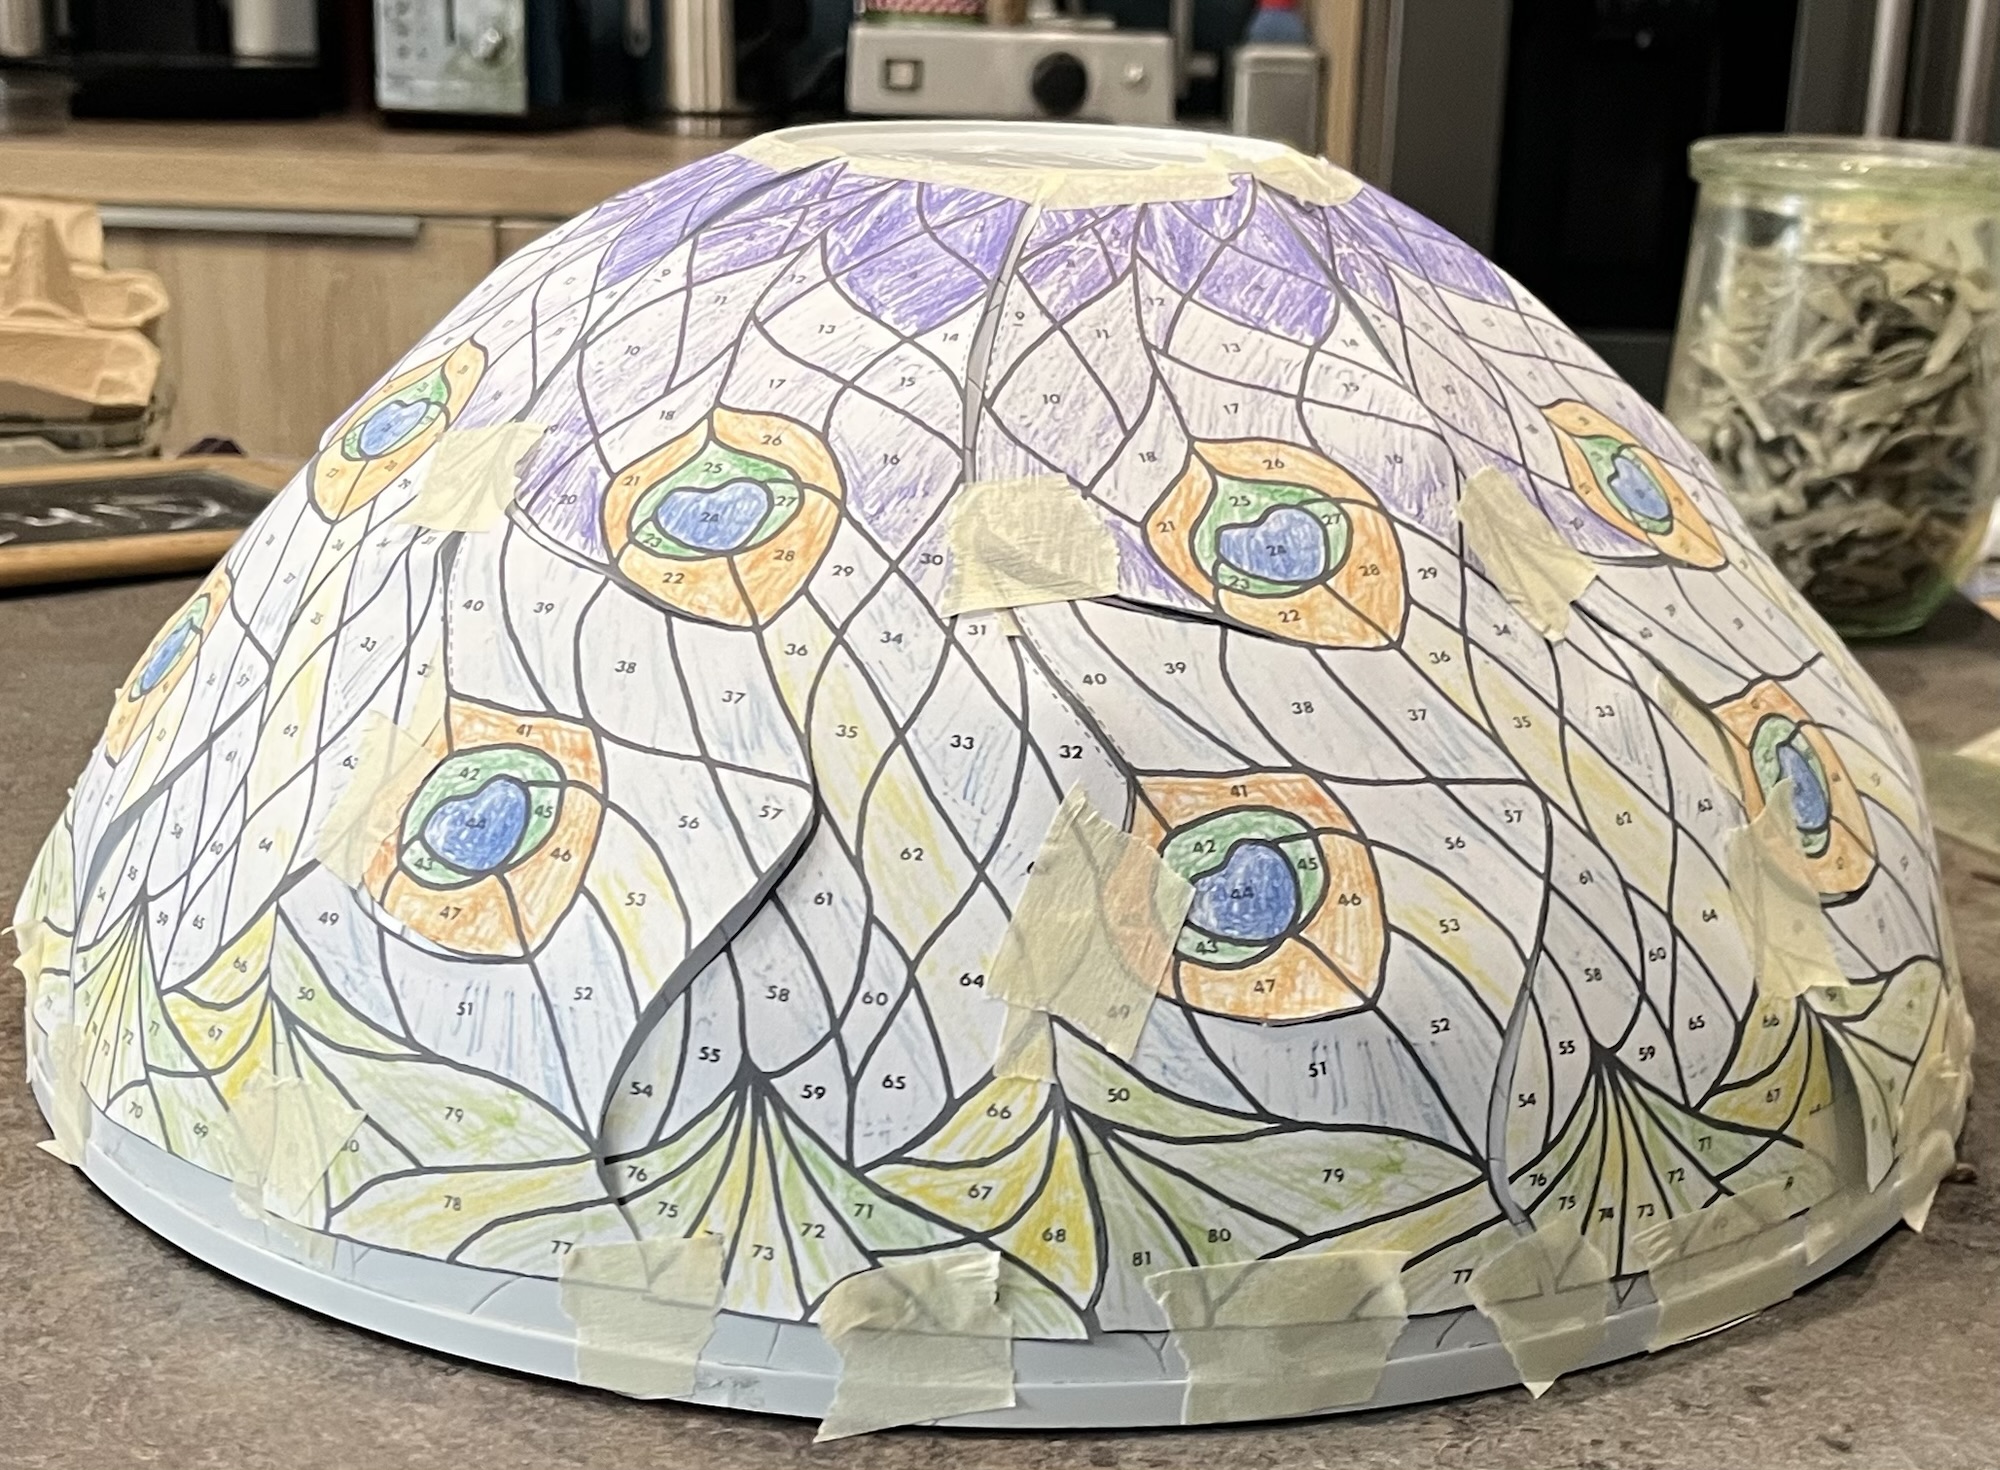
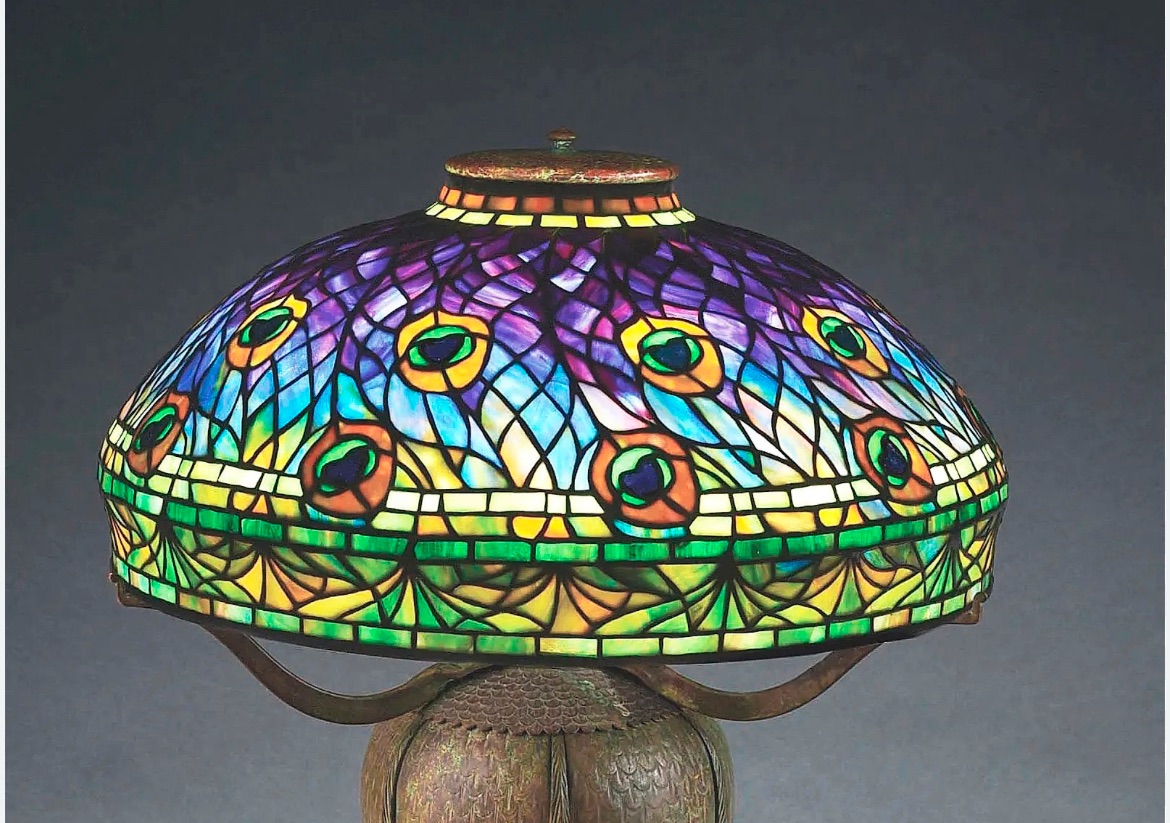
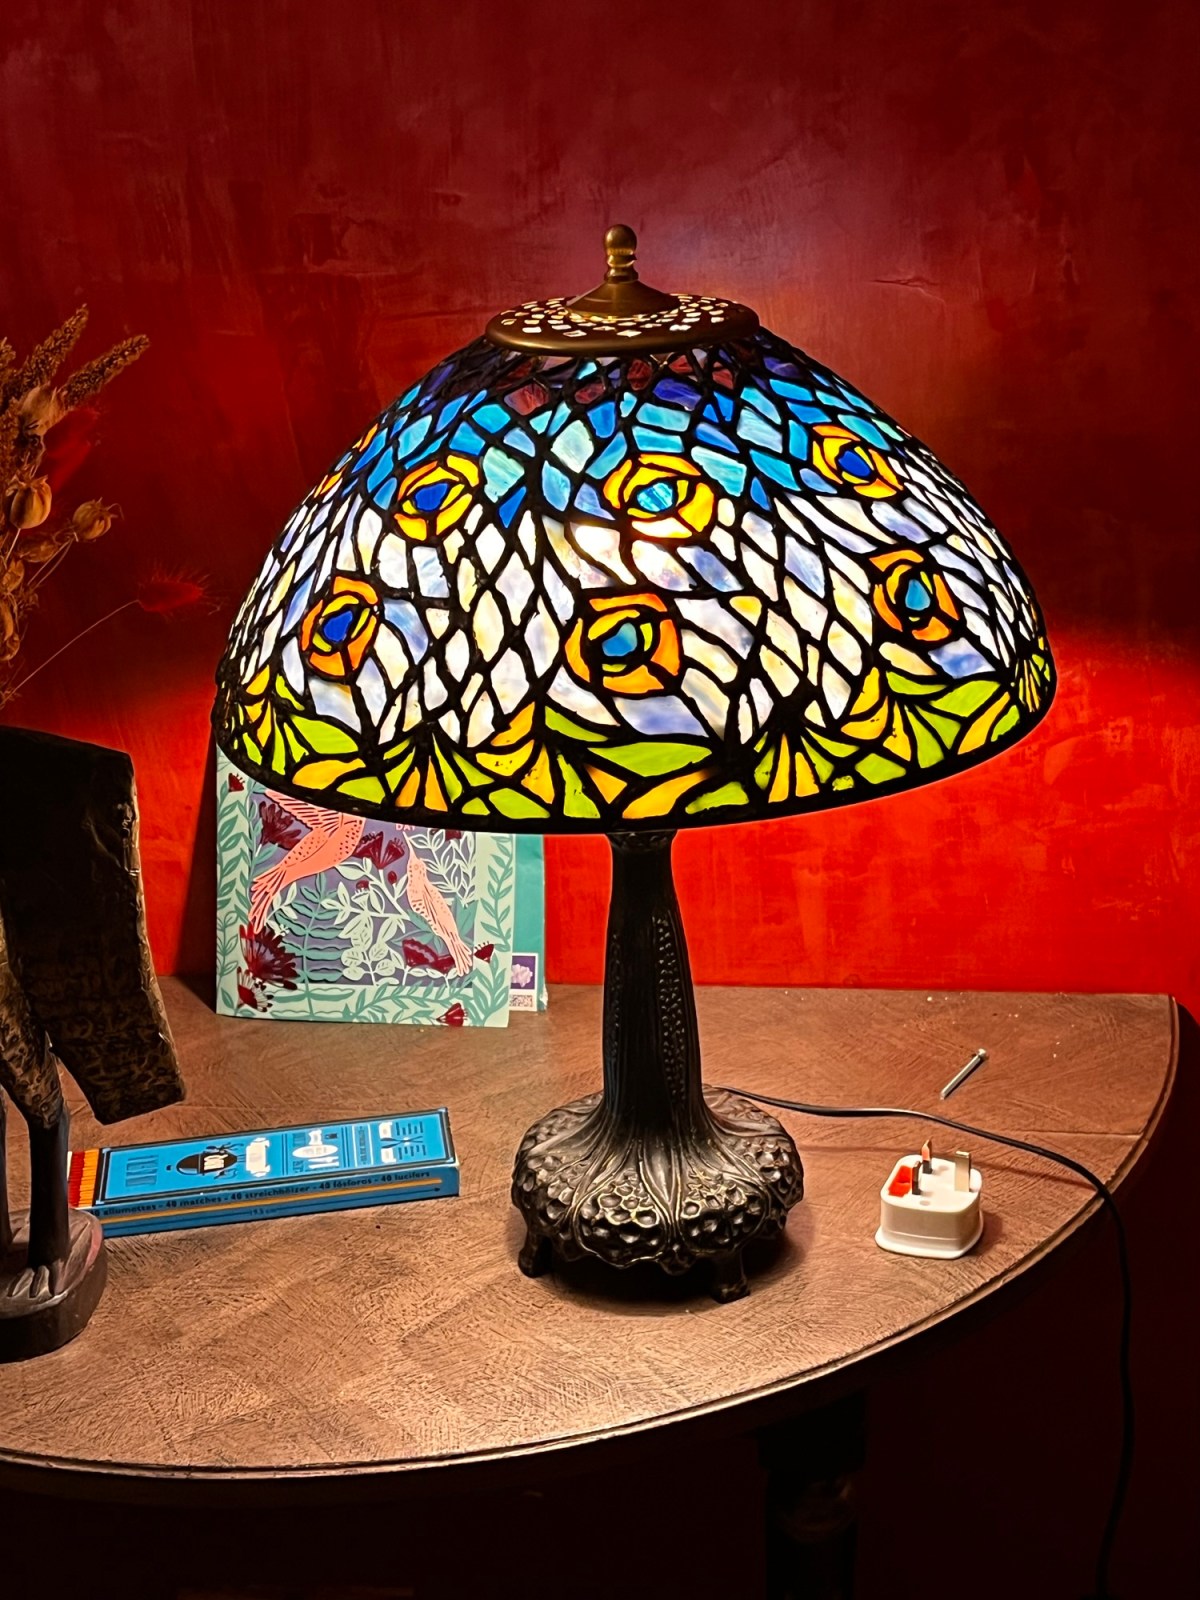
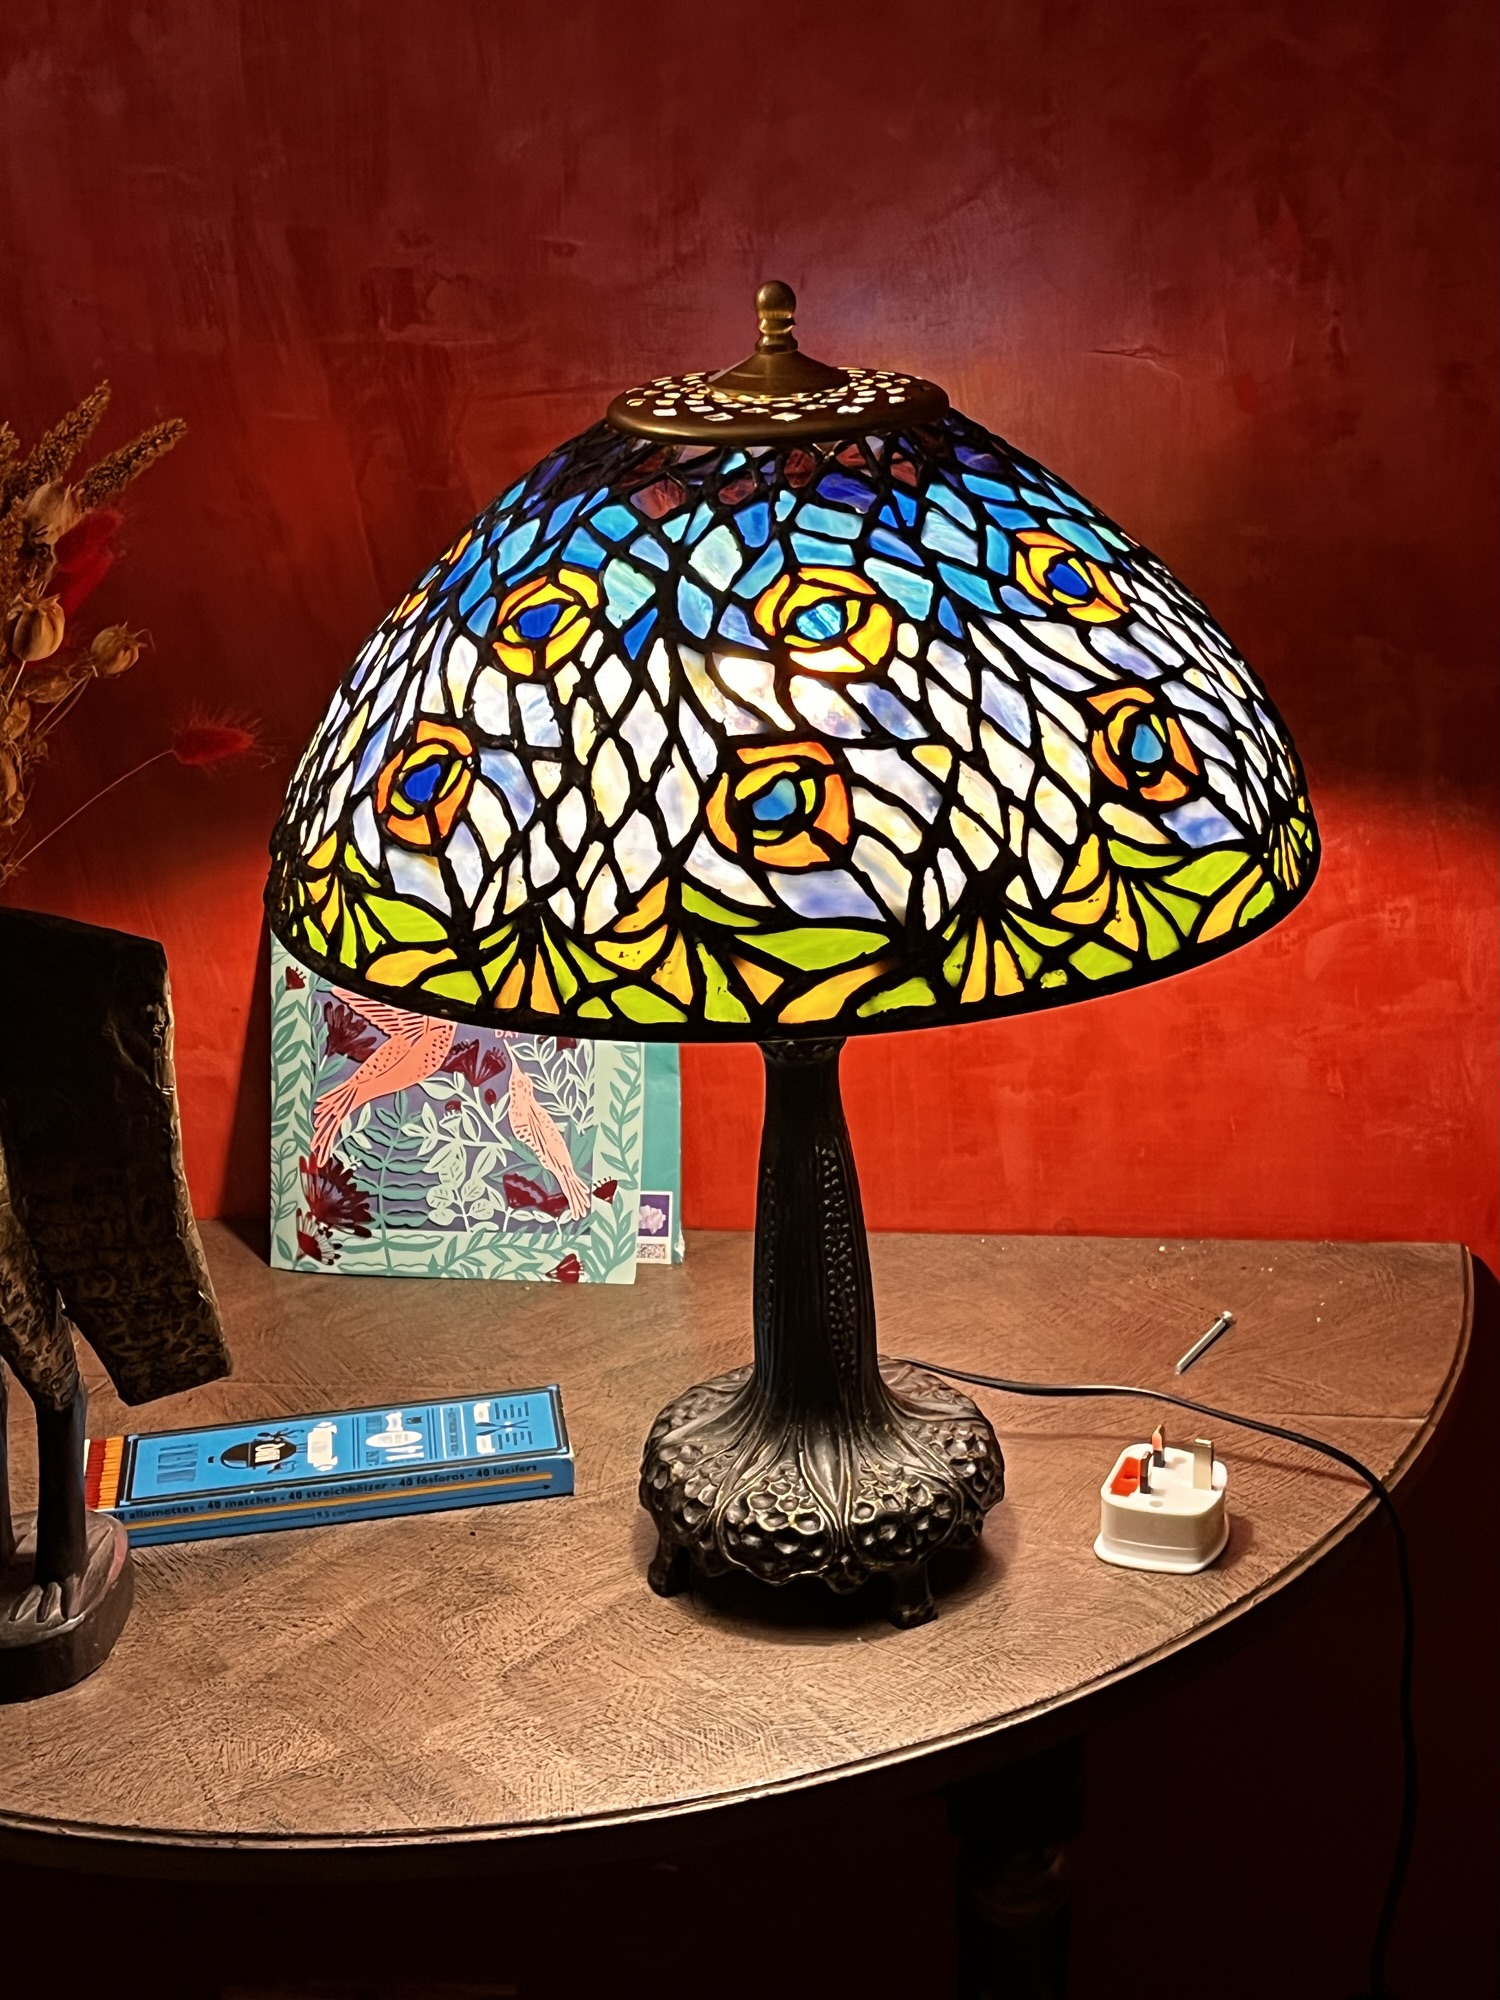
20th October till 20th January and the Peacock lamp is now finished! My photos don’t bring out the full depth of colour, but there you go.

There were a number of difficulties to overcome, the first was the lack of availability of a brass upper ring or its support ring.

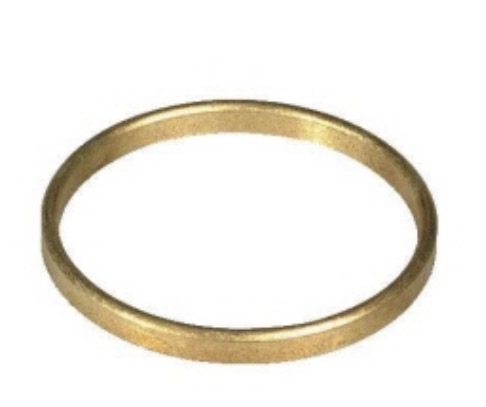
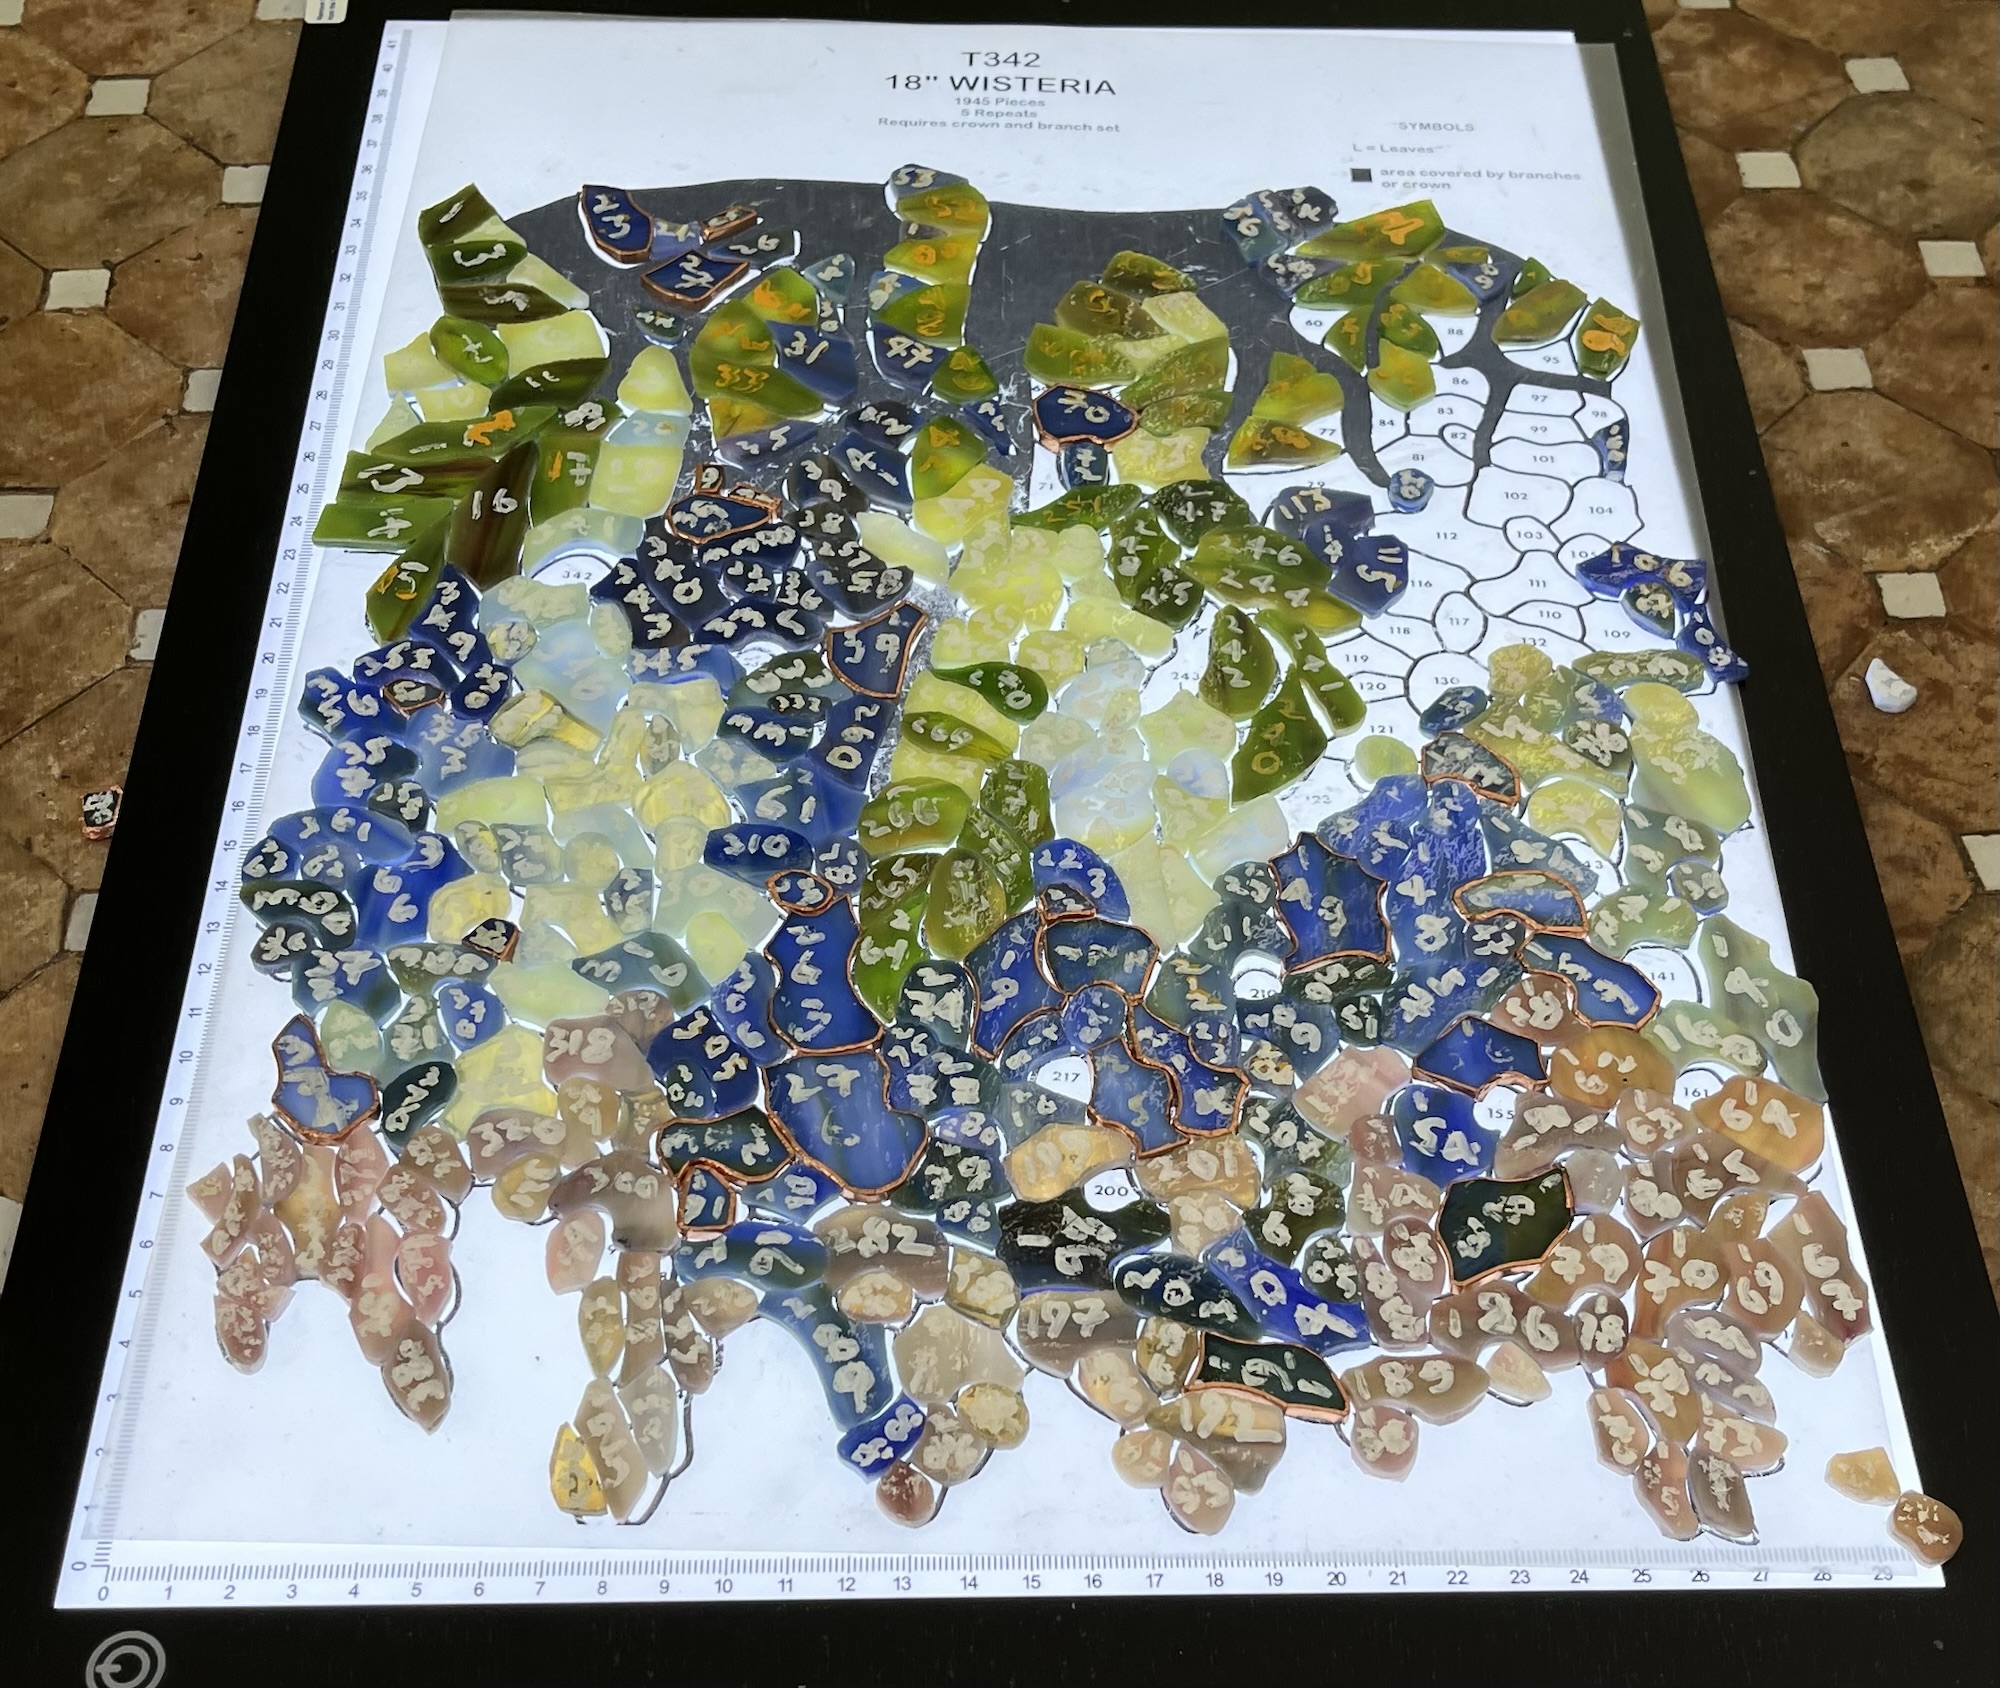
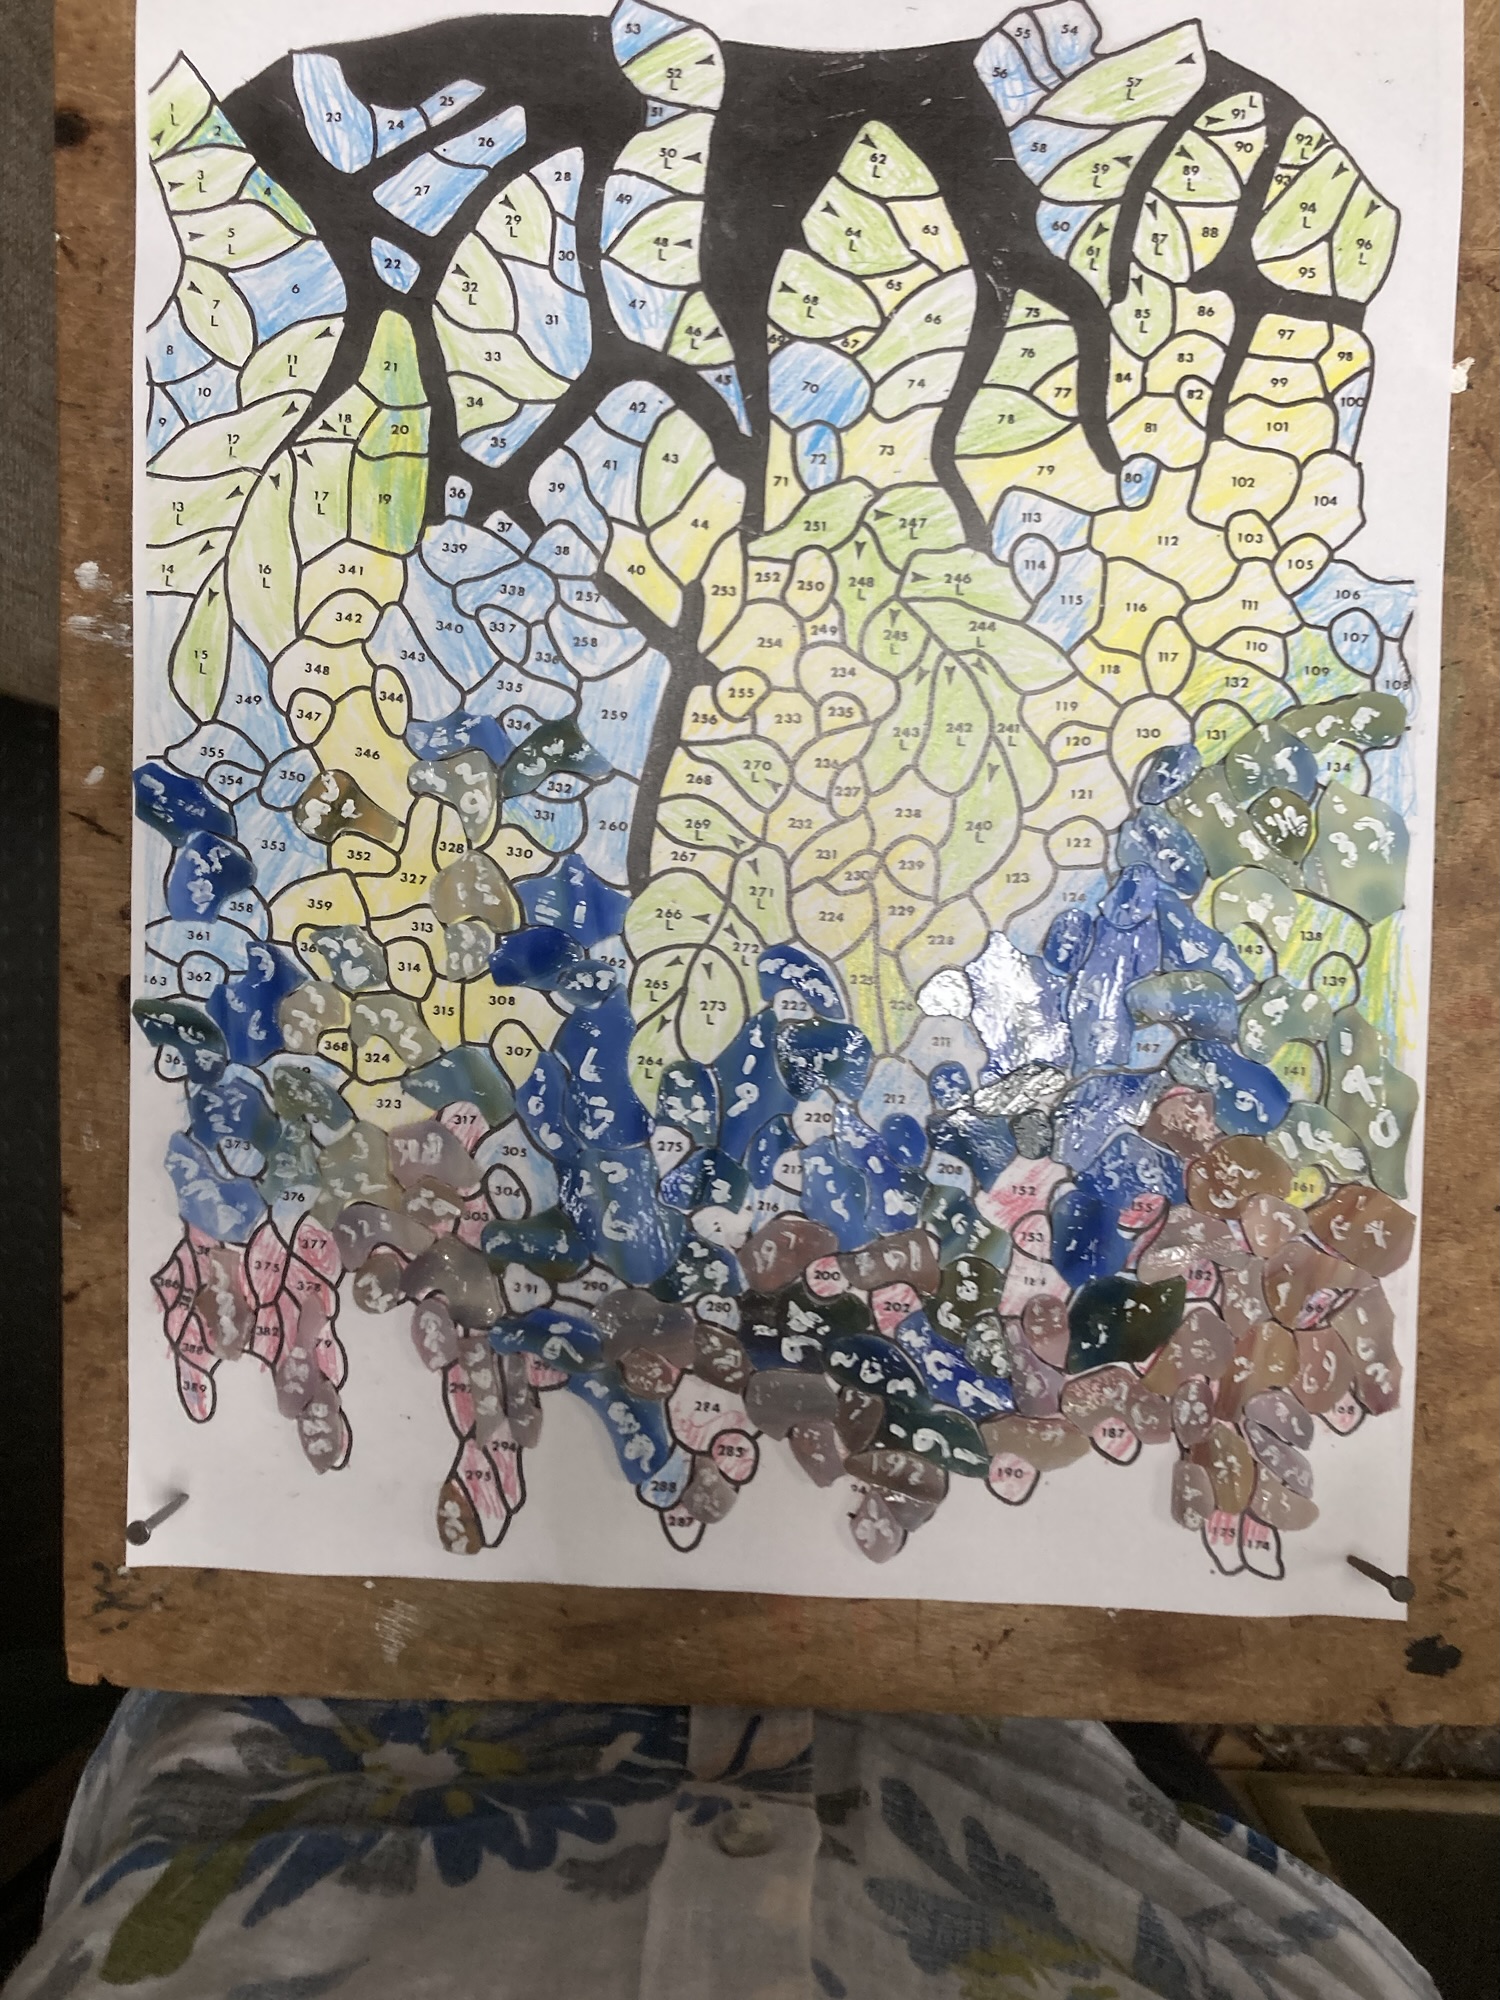
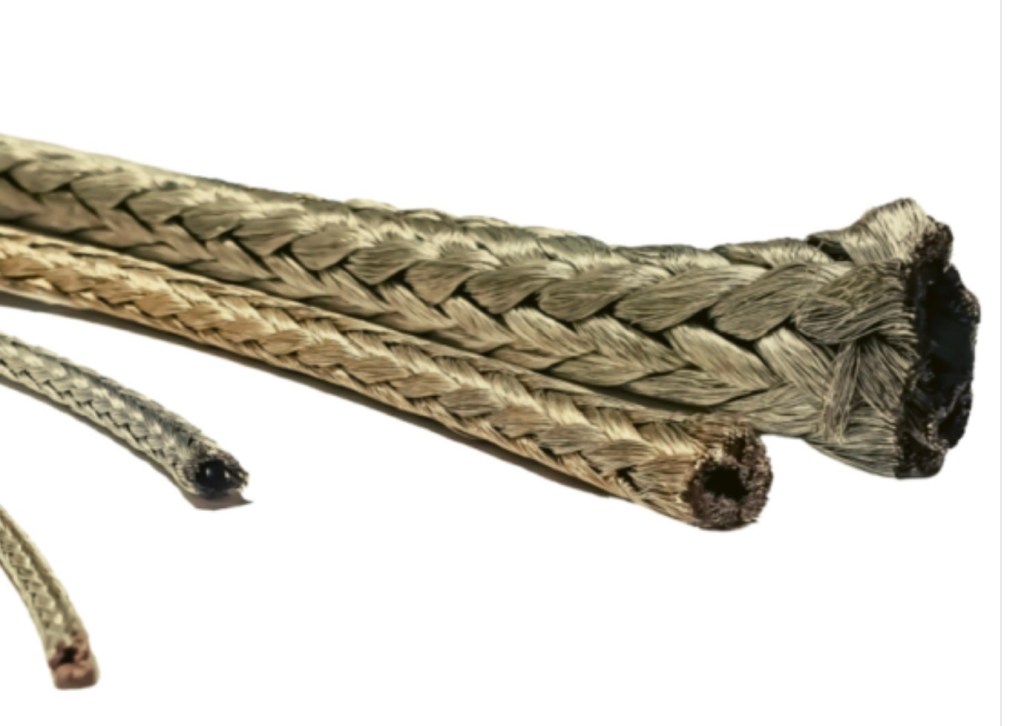
As I had already thought about strengthening the lower edge of the Wisteria lamp that is already underway I had purchased several meters of tin coated copper braid from Tressage du Dorlay, 3mm inner diameter, 6mm outer diameter. This was considerably cheaper than the brass ring (2.37€/meter as opposed to 49€) and formed easily around the finished opening after demolding. After soldering in place and coating the surface with solder, this gave a clean round form to the lampshade upper opening.

Tin coated copper braid

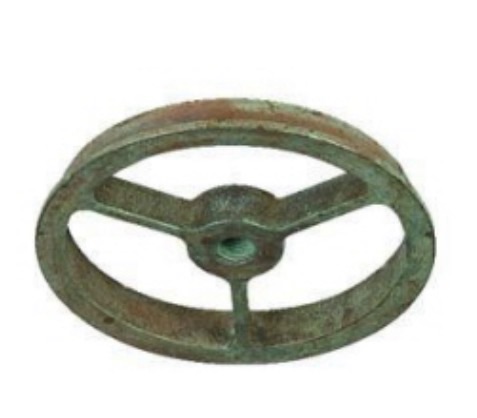
The 76mm support ring was replaced by a 140mm tin coated ring which I soldered in place on the lamp inner surface at 6 different locations. This too was considerably cheaper ( 7€ instead of 114€).

The Peacock Lamp First view of the lamp after demolding

So how does the actual lamp compare with the sectors placed on the light box? Rushing to try to finish for Xmas, and not quite making it, I de-molded easily after 30 mins at 95C and mounted it carefully on an existing lamp stand.

The light table doesn’t show the colours as bright as they are. So just remains to mount a spider, solder the inside of the lamp, solder a braided ring at the top of the lamp, finish solder the outside surface, treat the outside with a patina and generally clean and tidy the lamp.

The Peacock Lamp First Repeat Section

Here we are with the first of eight repeats almost finihed, I’ll swap out number 51 in blue for better blended in green/yellow blue colour. The glass colours chosen are: WISSMACH 703 WO Mystic blue purple white for the top, then bleu vert et opaline WO 197 et vert claire et opaline WO 57 et orange et opaline KO 112 from Stefatelier, Verre « Youghiogheny » bleu cobalt ambre et opaline, Vert et Jaune Chamarré from GK Terchniques

A reminder of the sketched out colour ideas

Why only work on One lamp when you can work on two

So my cousin Nicola asked me if I would make a lamp for her and after a little research on the internet she said that this one looked nice, but maybe a little smaller than this 27 inch lamp, so we went for the 16 inch version which I sketched out for glass colours

So of we go, I’ll do this one at the same time as the Wisteria!

First Section finished

So here is the first section on the light table, I’ve identified 8 to 10 pieces that would be better in cobalt blue from 329 to 307 and 199, otherwise the effect is what I was looking for.

The next step is to check each piece individually to ensure no clashes at the final assembly after coppering and also to ensure the numbers are still readable, could take maybe 5 hours, then onto the first repeat.

Let’s Accelerate

Not a lot happened in May and June, my last two weeks as a bona fide worker, with retirement comes a little more time. So here is the work so far on the light box.

I hope to finish this 1/5th this week then I can do the last adjustments before coppering. I think I will slightly increase the blue on the other faces and maybe change a few colours here.

Wisteria Glass

Next step is to choose the Glass

I’ve chosed three Youghiogheny glass types to combine here,

The Cobalt blue amber and opaline
The Opale ambre jaune vert et rouge
The bleuviolet et rose à l’or & opaline

Shown above, from Stefatelier in 30cm by 30cm format and paid 85,84 euros for the three sheets, I also picked up the tacky wax and the pickling gel for a further 11,20 euros

Concevoir un site comme celui-ci avec WordPress.com
Commencer