The Peacock Lamp First view of the lamp after demolding

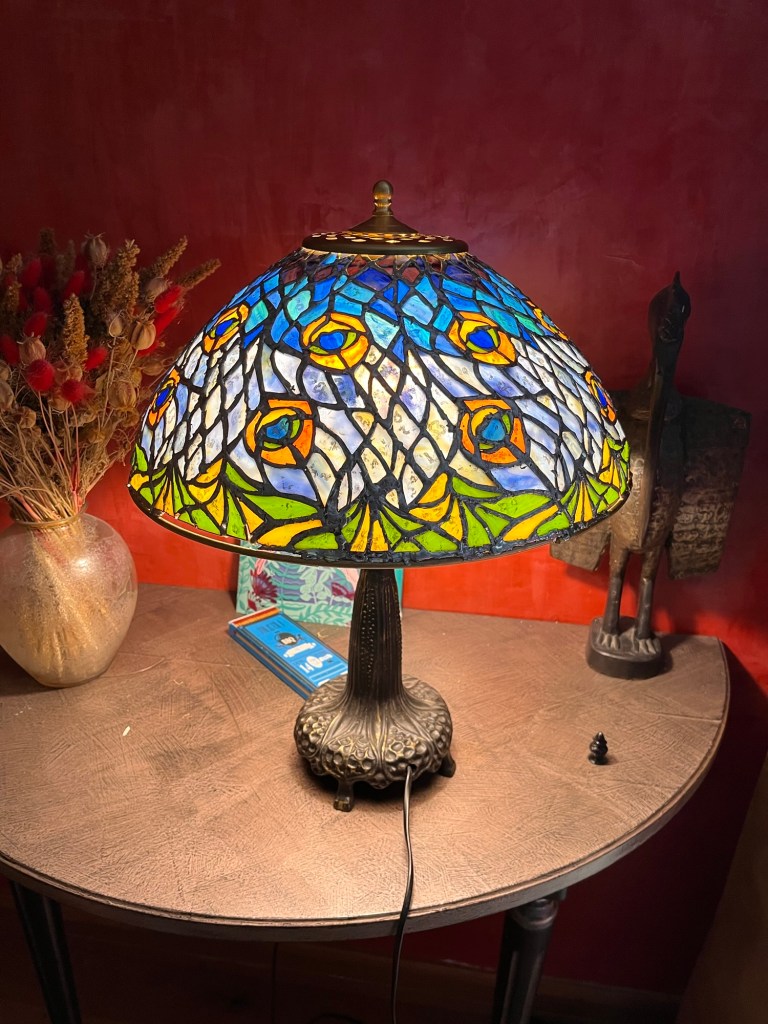
So how does the actual lamp compare with the sectors placed on the light box? Rushing to try to finish for Xmas, and not quite making it, I de-molded easily after 30 mins at 95C and mounted it carefully on an existing lamp stand.

The light table doesn’t show the colours as bright as they are. So just remains to mount a spider, solder the inside of the lamp, solder a braided ring at the top of the lamp, finish solder the outside surface, treat the outside with a patina and generally clean and tidy the lamp.

First Section finished

So here is the first section on the light table, I’ve identified 8 to 10 pieces that would be better in cobalt blue from 329 to 307 and 199, otherwise the effect is what I was looking for.

The next step is to check each piece individually to ensure no clashes at the final assembly after coppering and also to ensure the numbers are still readable, could take maybe 5 hours, then onto the first repeat.

Wisteria Glass

Next step is to choose the Glass

I’ve chosed three Youghiogheny glass types to combine here,

The Cobalt blue amber and opaline
The Opale ambre jaune vert et rouge
The bleuviolet et rose à l’or & opaline

Shown above, from Stefatelier in 30cm by 30cm format and paid 85,84 euros for the three sheets, I also picked up the tacky wax and the pickling gel for a further 11,20 euros

Concevoir un site comme celui-ci avec WordPress.com
Commencer