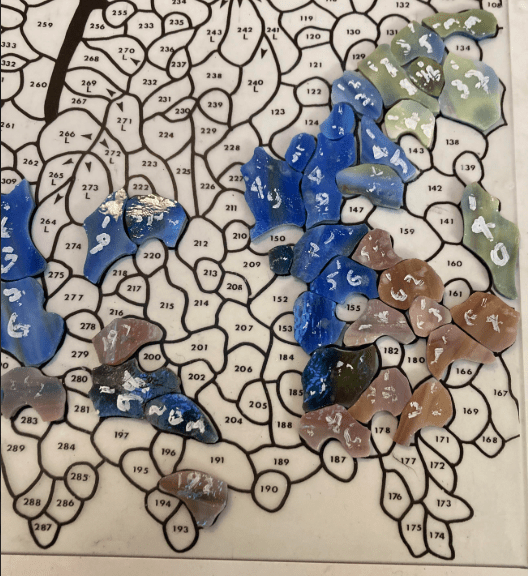
The Wisteria lamp is underway with the first of glass pieces cut, ground and placed on the pattern.
Only 1950 pieces to prepare before soldering.
The Wisteria lamp is underway with the first of glass pieces cut, ground and placed on the pattern.
Only 1950 pieces to prepare before soldering.
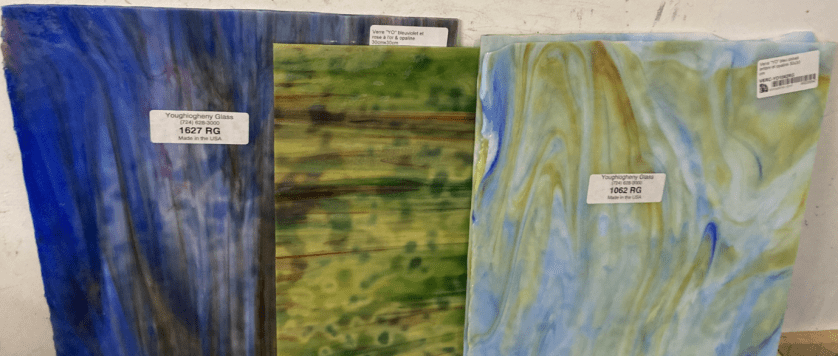
Next step is to choose the Glass
I’ve chosed three Youghiogheny glass types to combine here,
The Cobalt blue amber and opaline
The Opale ambre jaune vert et rouge
The bleuviolet et rose à l’or & opaline
Shown above, from Stefatelier in 30cm by 30cm format and paid 85,84 euros for the three sheets, I also picked up the tacky wax and the pickling gel for a further 11,20 euros
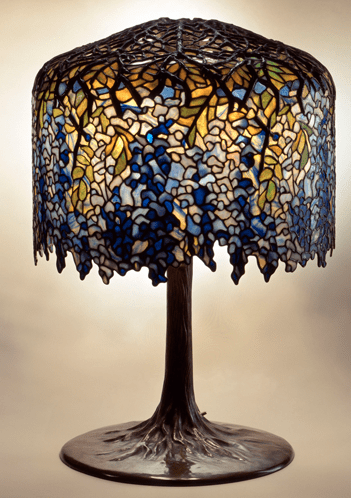
Well, this year’s project is to be the 18¨ Wisteria lamp, here is an example from the Charles Hosmer Morse Museum
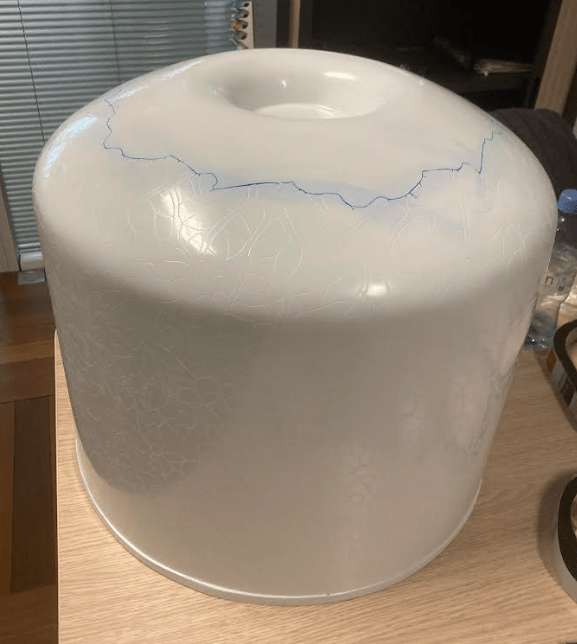
This will take a great deal of time and so the first task was to obtain a mold, seen opposite, ordered from Verrosaique, including transport for 278,45 Euros
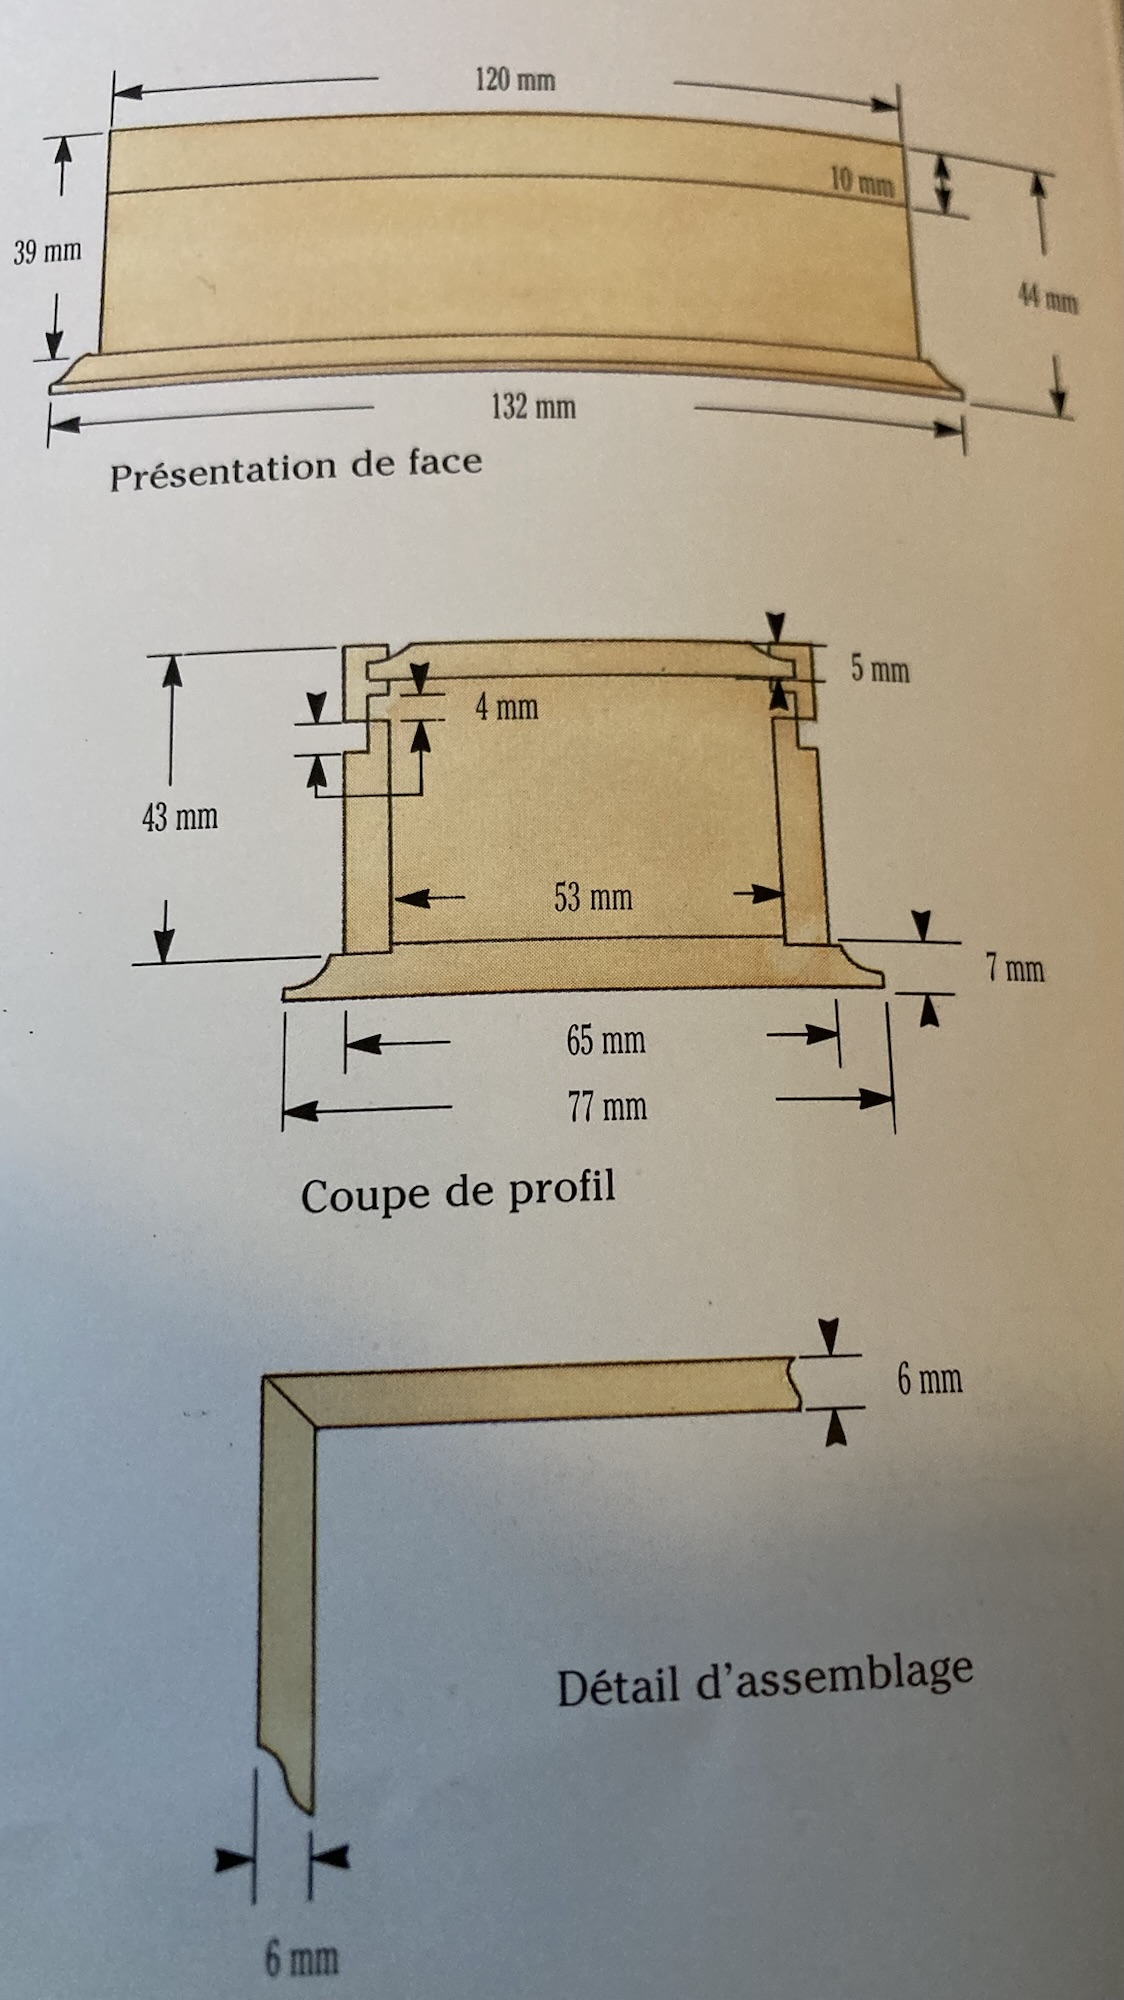
Voici un plan de départ pour un projet de coffret, à l’origine ce coffret (en acajou) allait faire 120*77*44.
J’ai décidé d’abord de faire un fond rainuré à l’intérieur du coffret en contreplaqué teintée et puis j’ai cherché, pour ce premier projet un bois déjà raboté avec des surfaces déjà poncées.
Chez Le Comptoir des Bois Précieux, j’ai trouvé des plaquettes intéressantes.
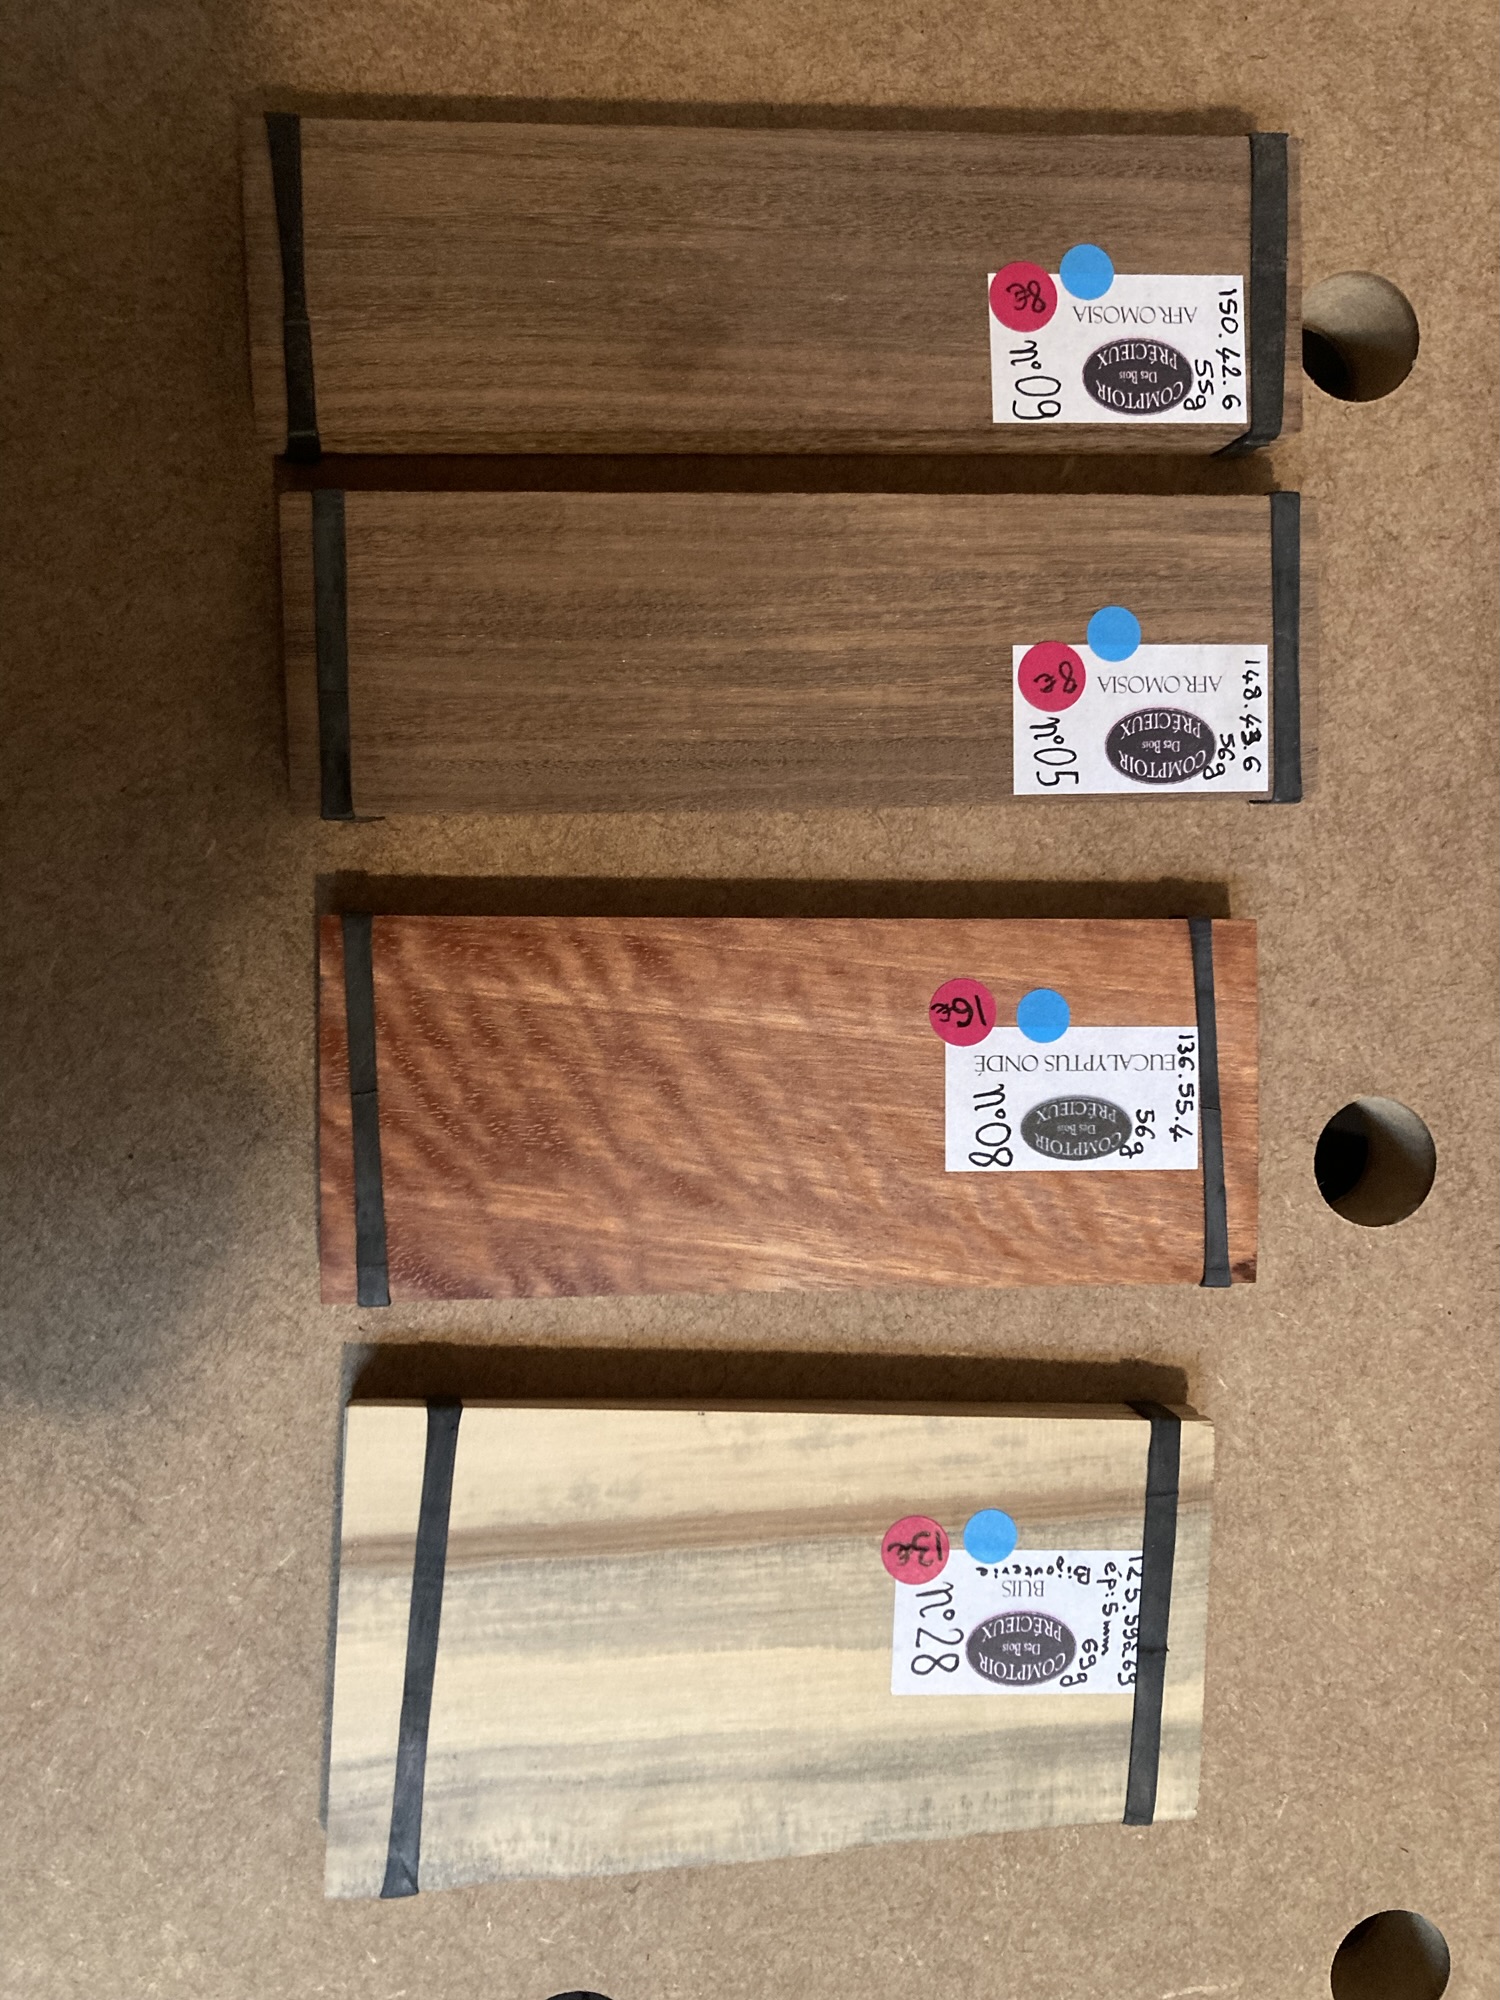
Pour les parois j’ai choisi 4 plaquettes d’afromosia, un grand arbre des forêts d’Afrique de l’Ouest et d’Afrique centrale, un bois naturellement durable, les plaquettes font 147*42*5,7 et j’ajusterai les plans.
Pour le couvercle j’ai le choix, entre l’eucalyptus ondé et du buis, l’eucalyptus fait 135*54*3 et le buis fait 126*59*5
Prochaine étape c’est de choisir le couvercle et de refaire le dessin avec les changements.
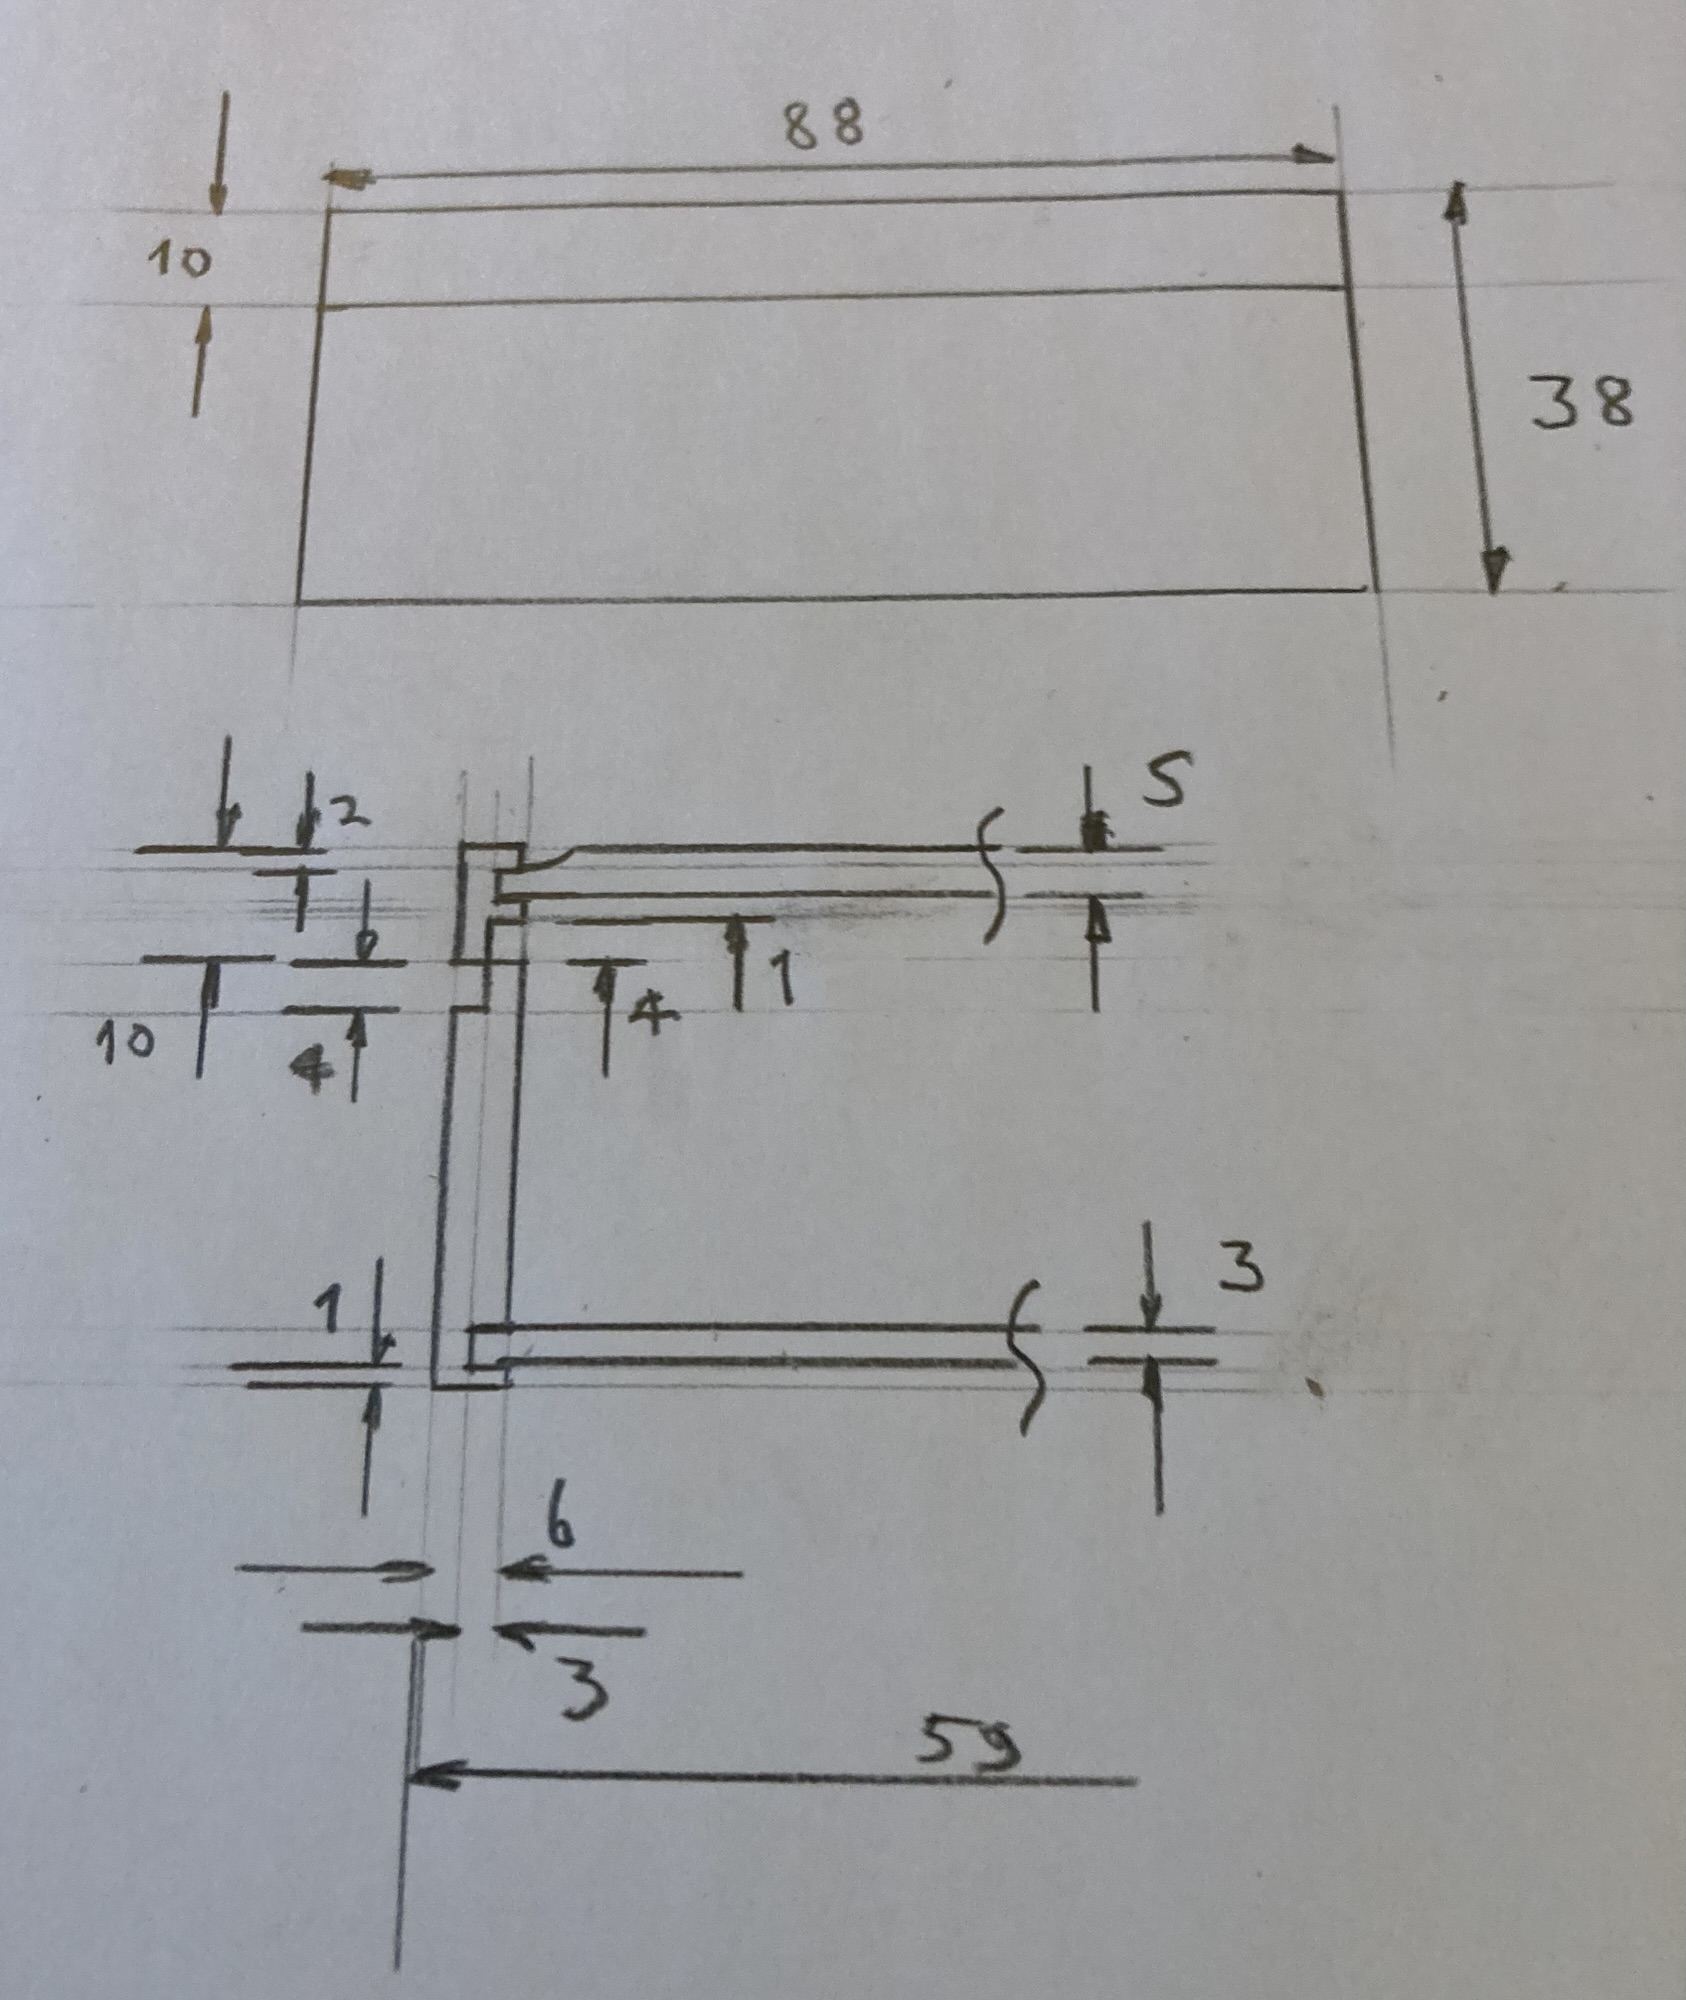
Ça y est le dessin est terminé, je crois que j’ai tout juste assez de bois pour faire deux coffres, un avec chaque couvercle.
Je n’ai pas encore acheter le fond, si j’arrive à trouver du 3mm il me faudrait 3 mèches de défonceuse, le phi 4 je l’ai déjà, resté à trouver thé phi 3 et l’hémisphère phi 14.


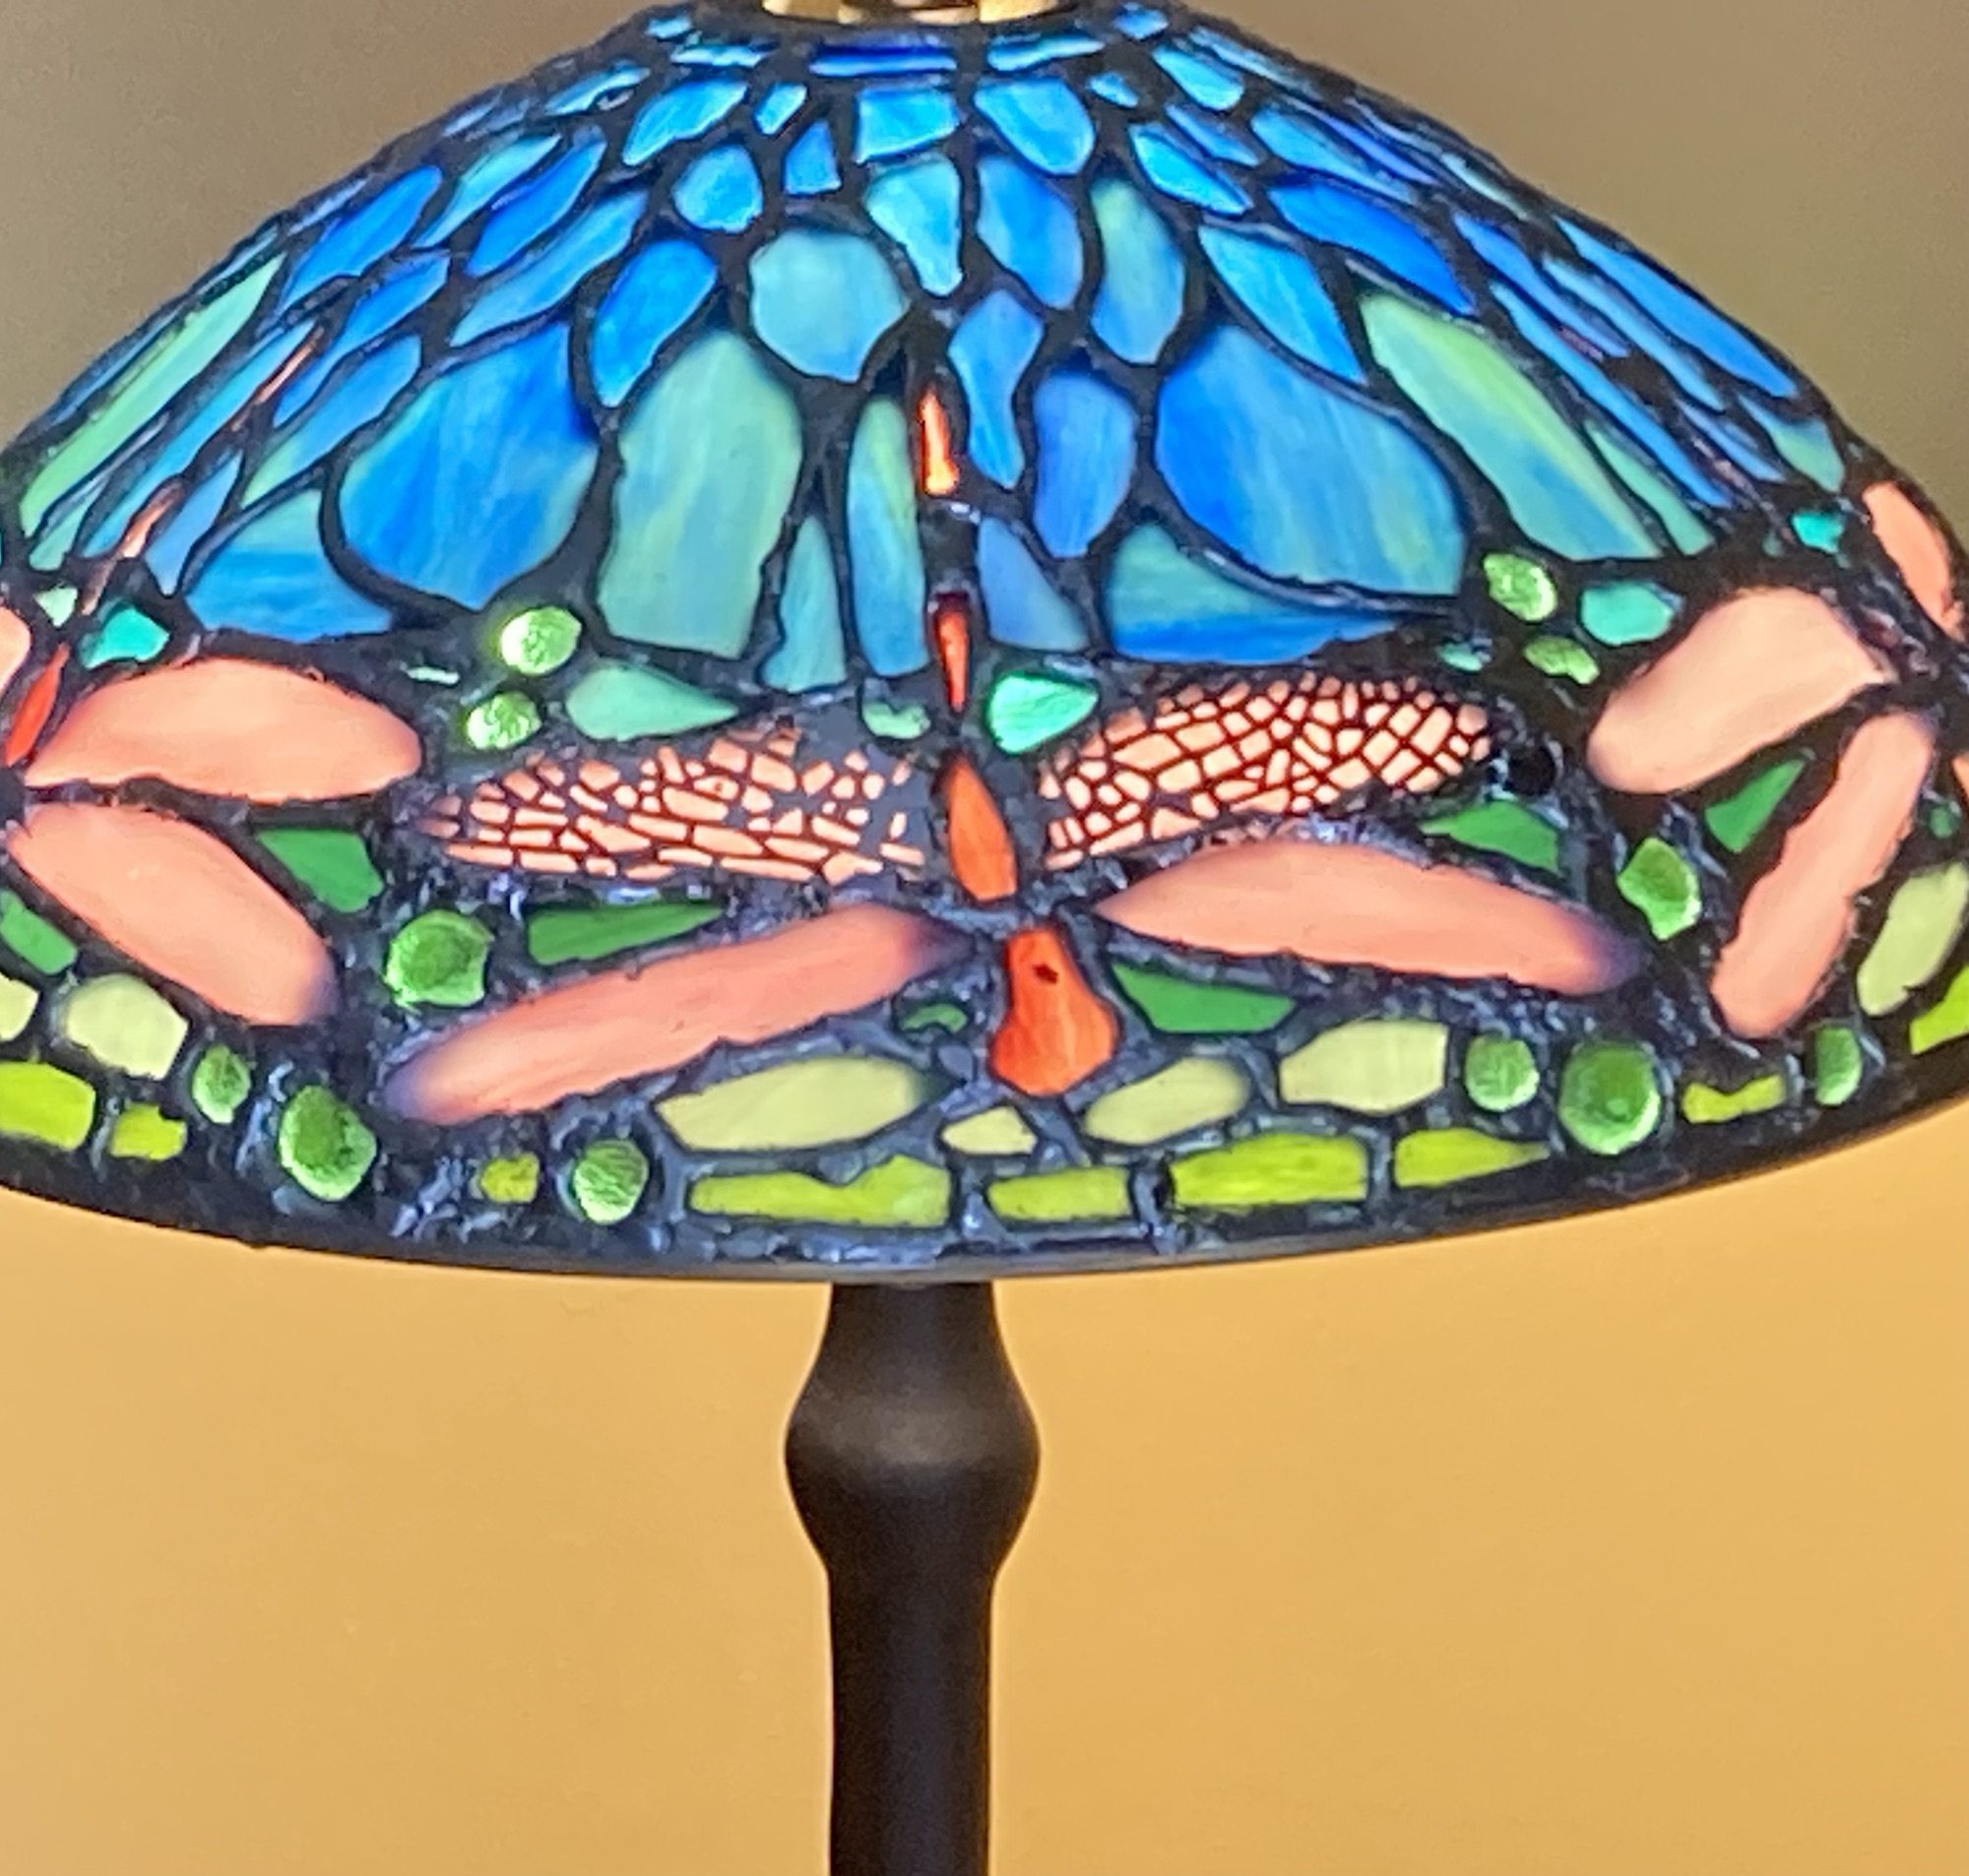
Before I gift the two dragonfly lamps, here they are for the last time together and with the Elaborate Peony in the background.
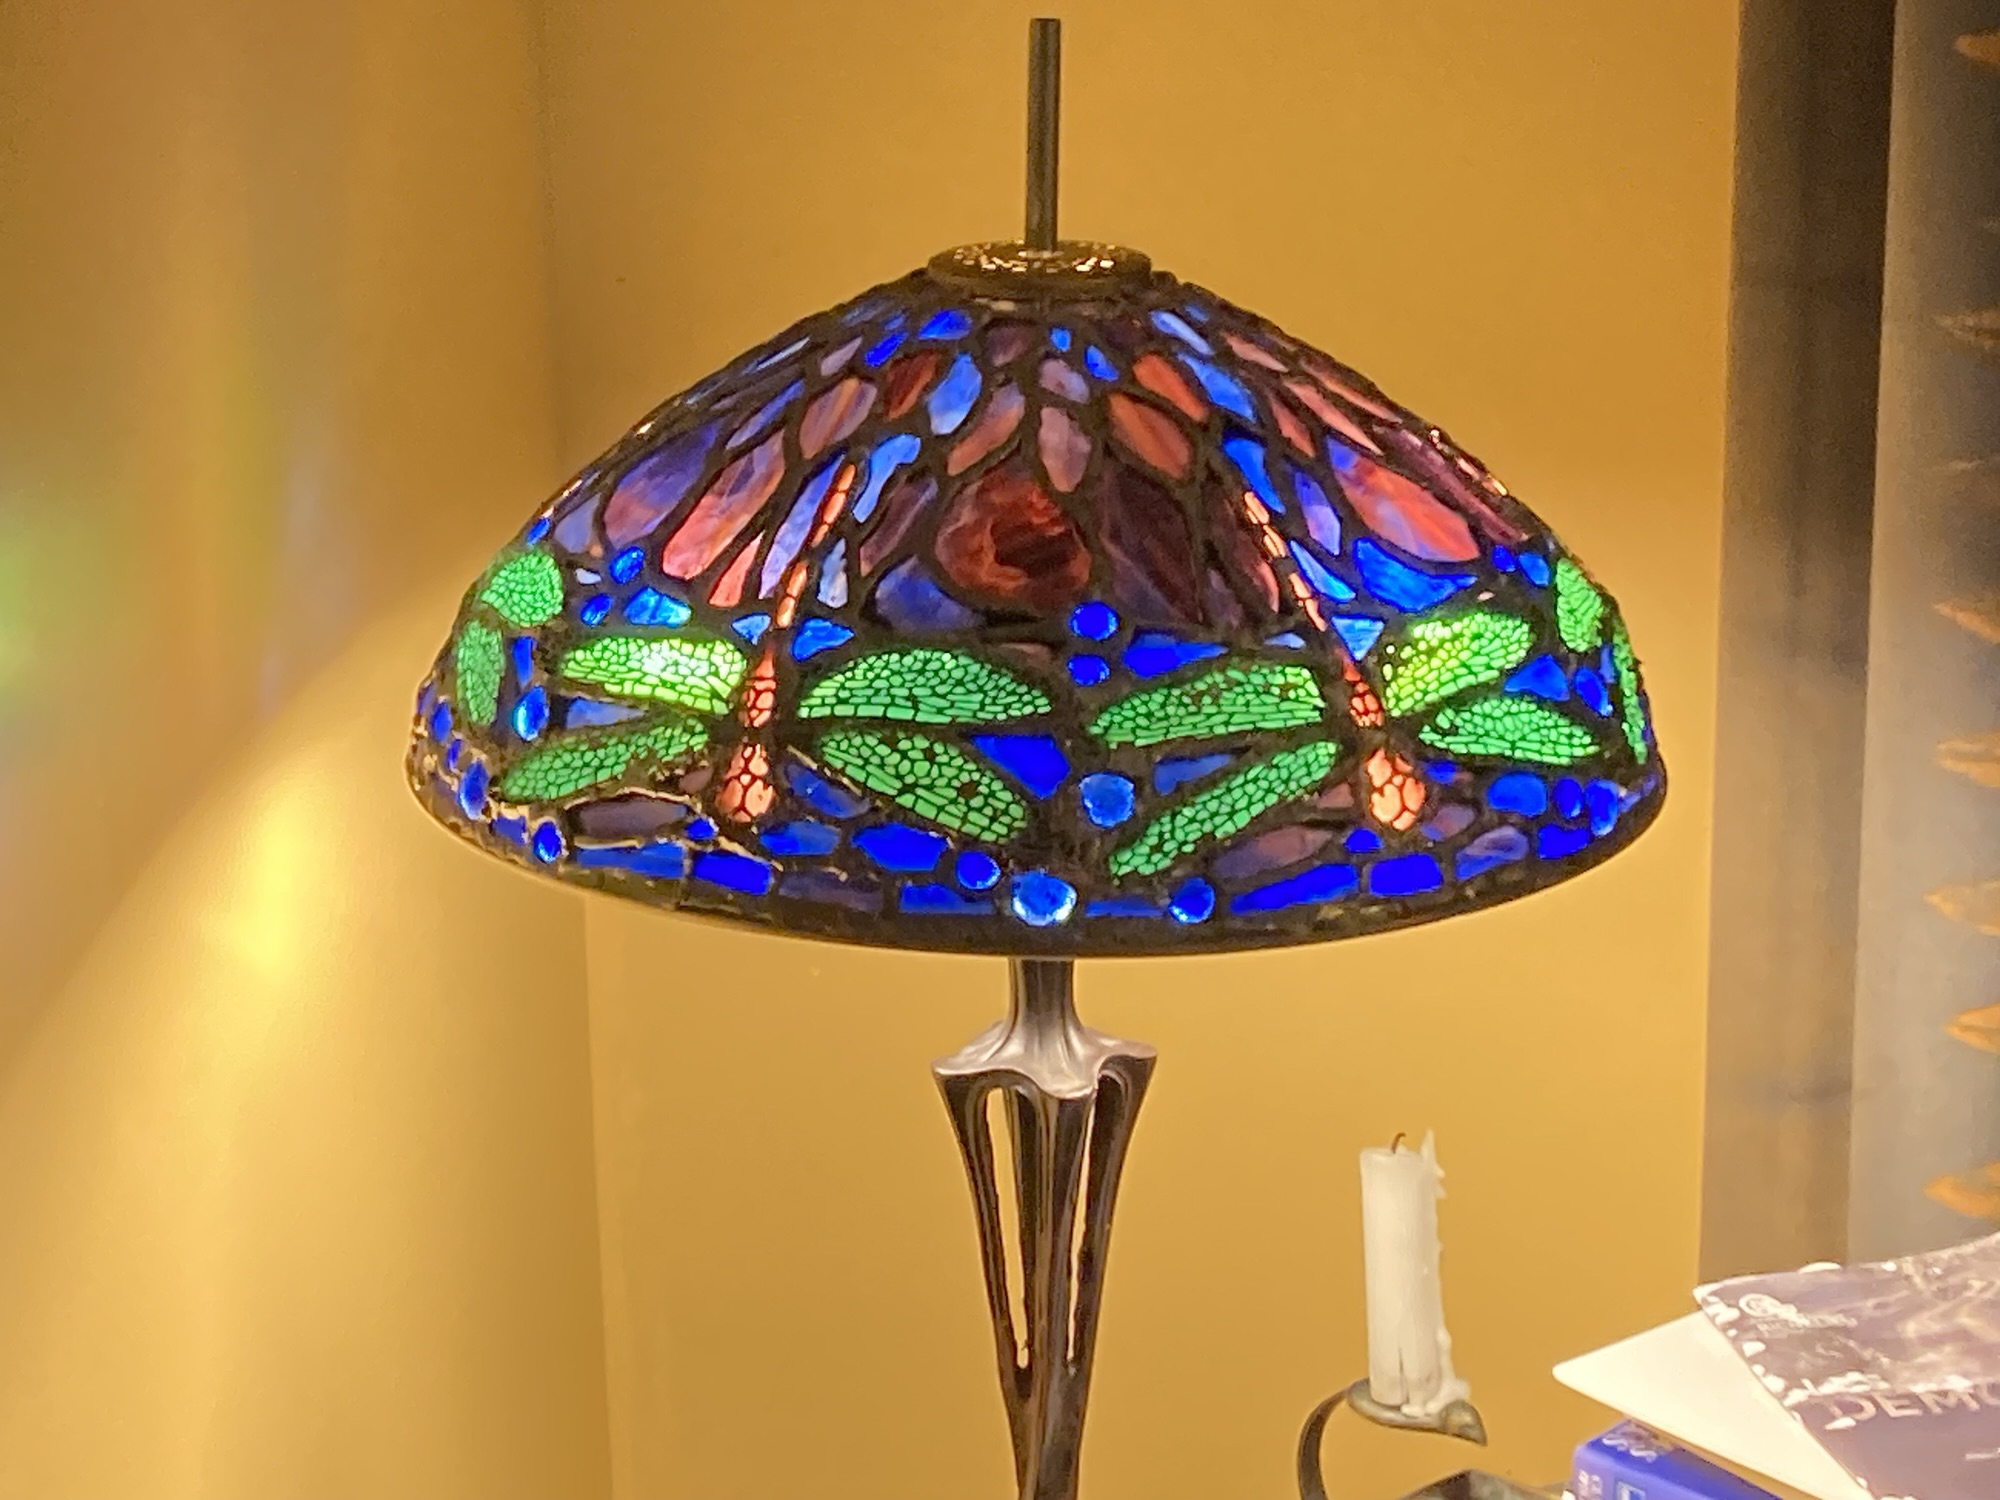
Here it is, Alix’s lampshade finished before cutting the upper attachment to size. Darker colours as requested. And yes those wings, long and straight on the curved surface are not easy.
The shade had been damaged ( falling to the floor) after completion but before the filigrees stage, necessitating the removal and replacement ow almost all of the wings.
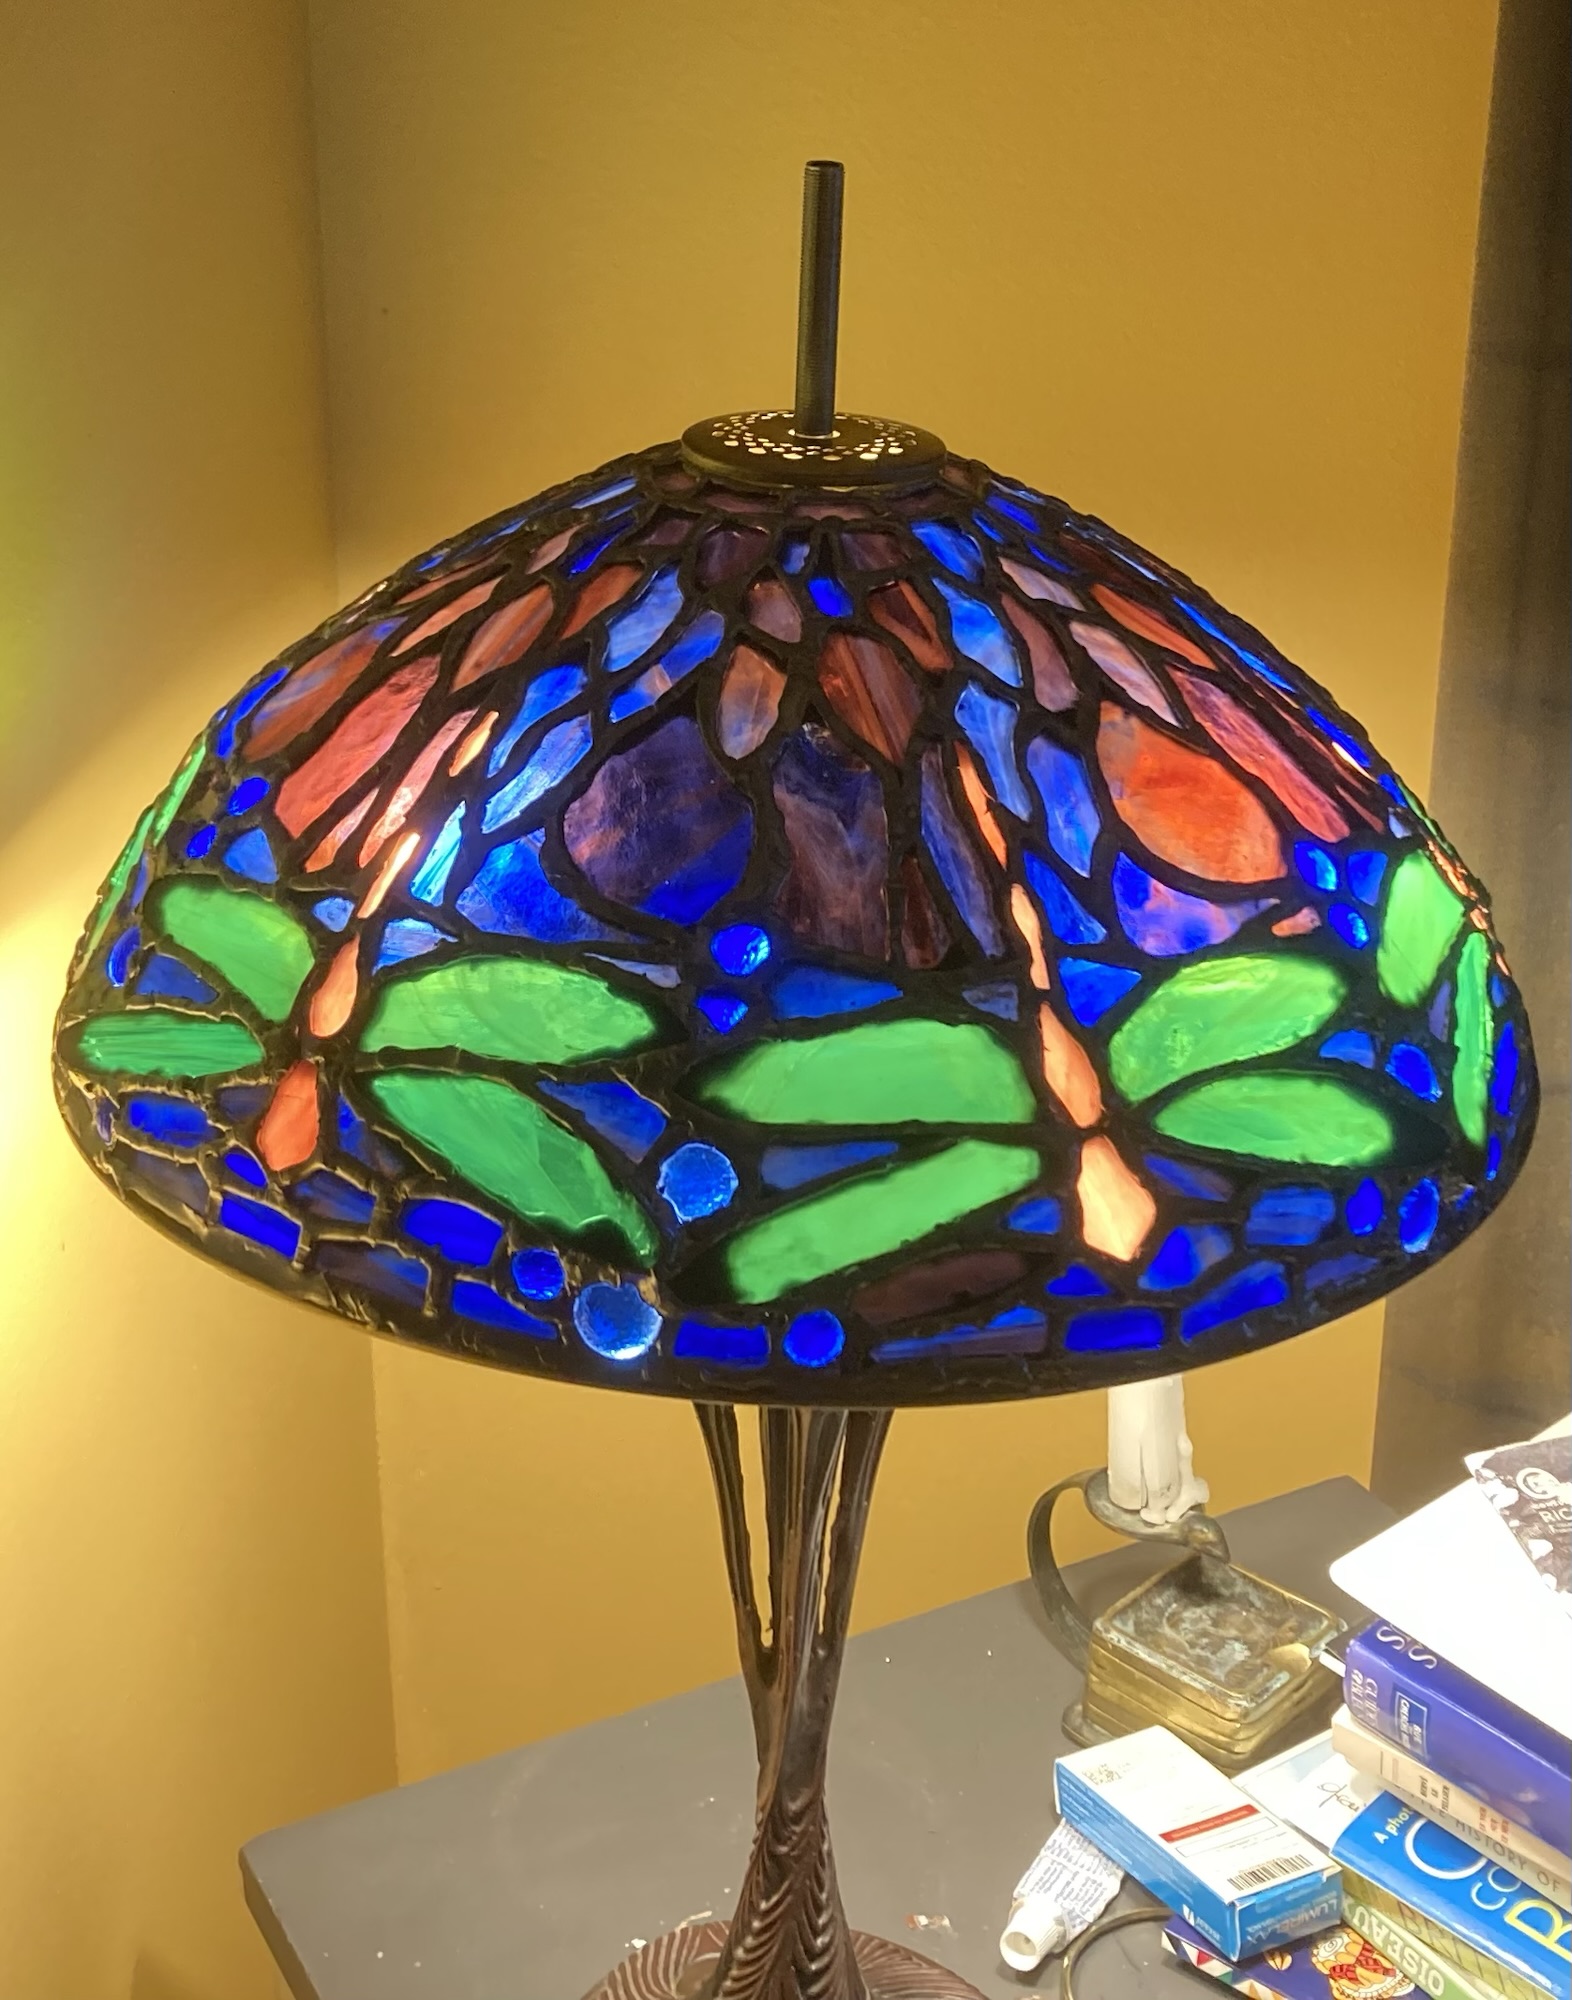
Filigree Time, Check it out against Celia’s lamp at the same stage.
https://marquetryandtiffany.art.blog/2024/09/09/celias-lamp-filigree-time/
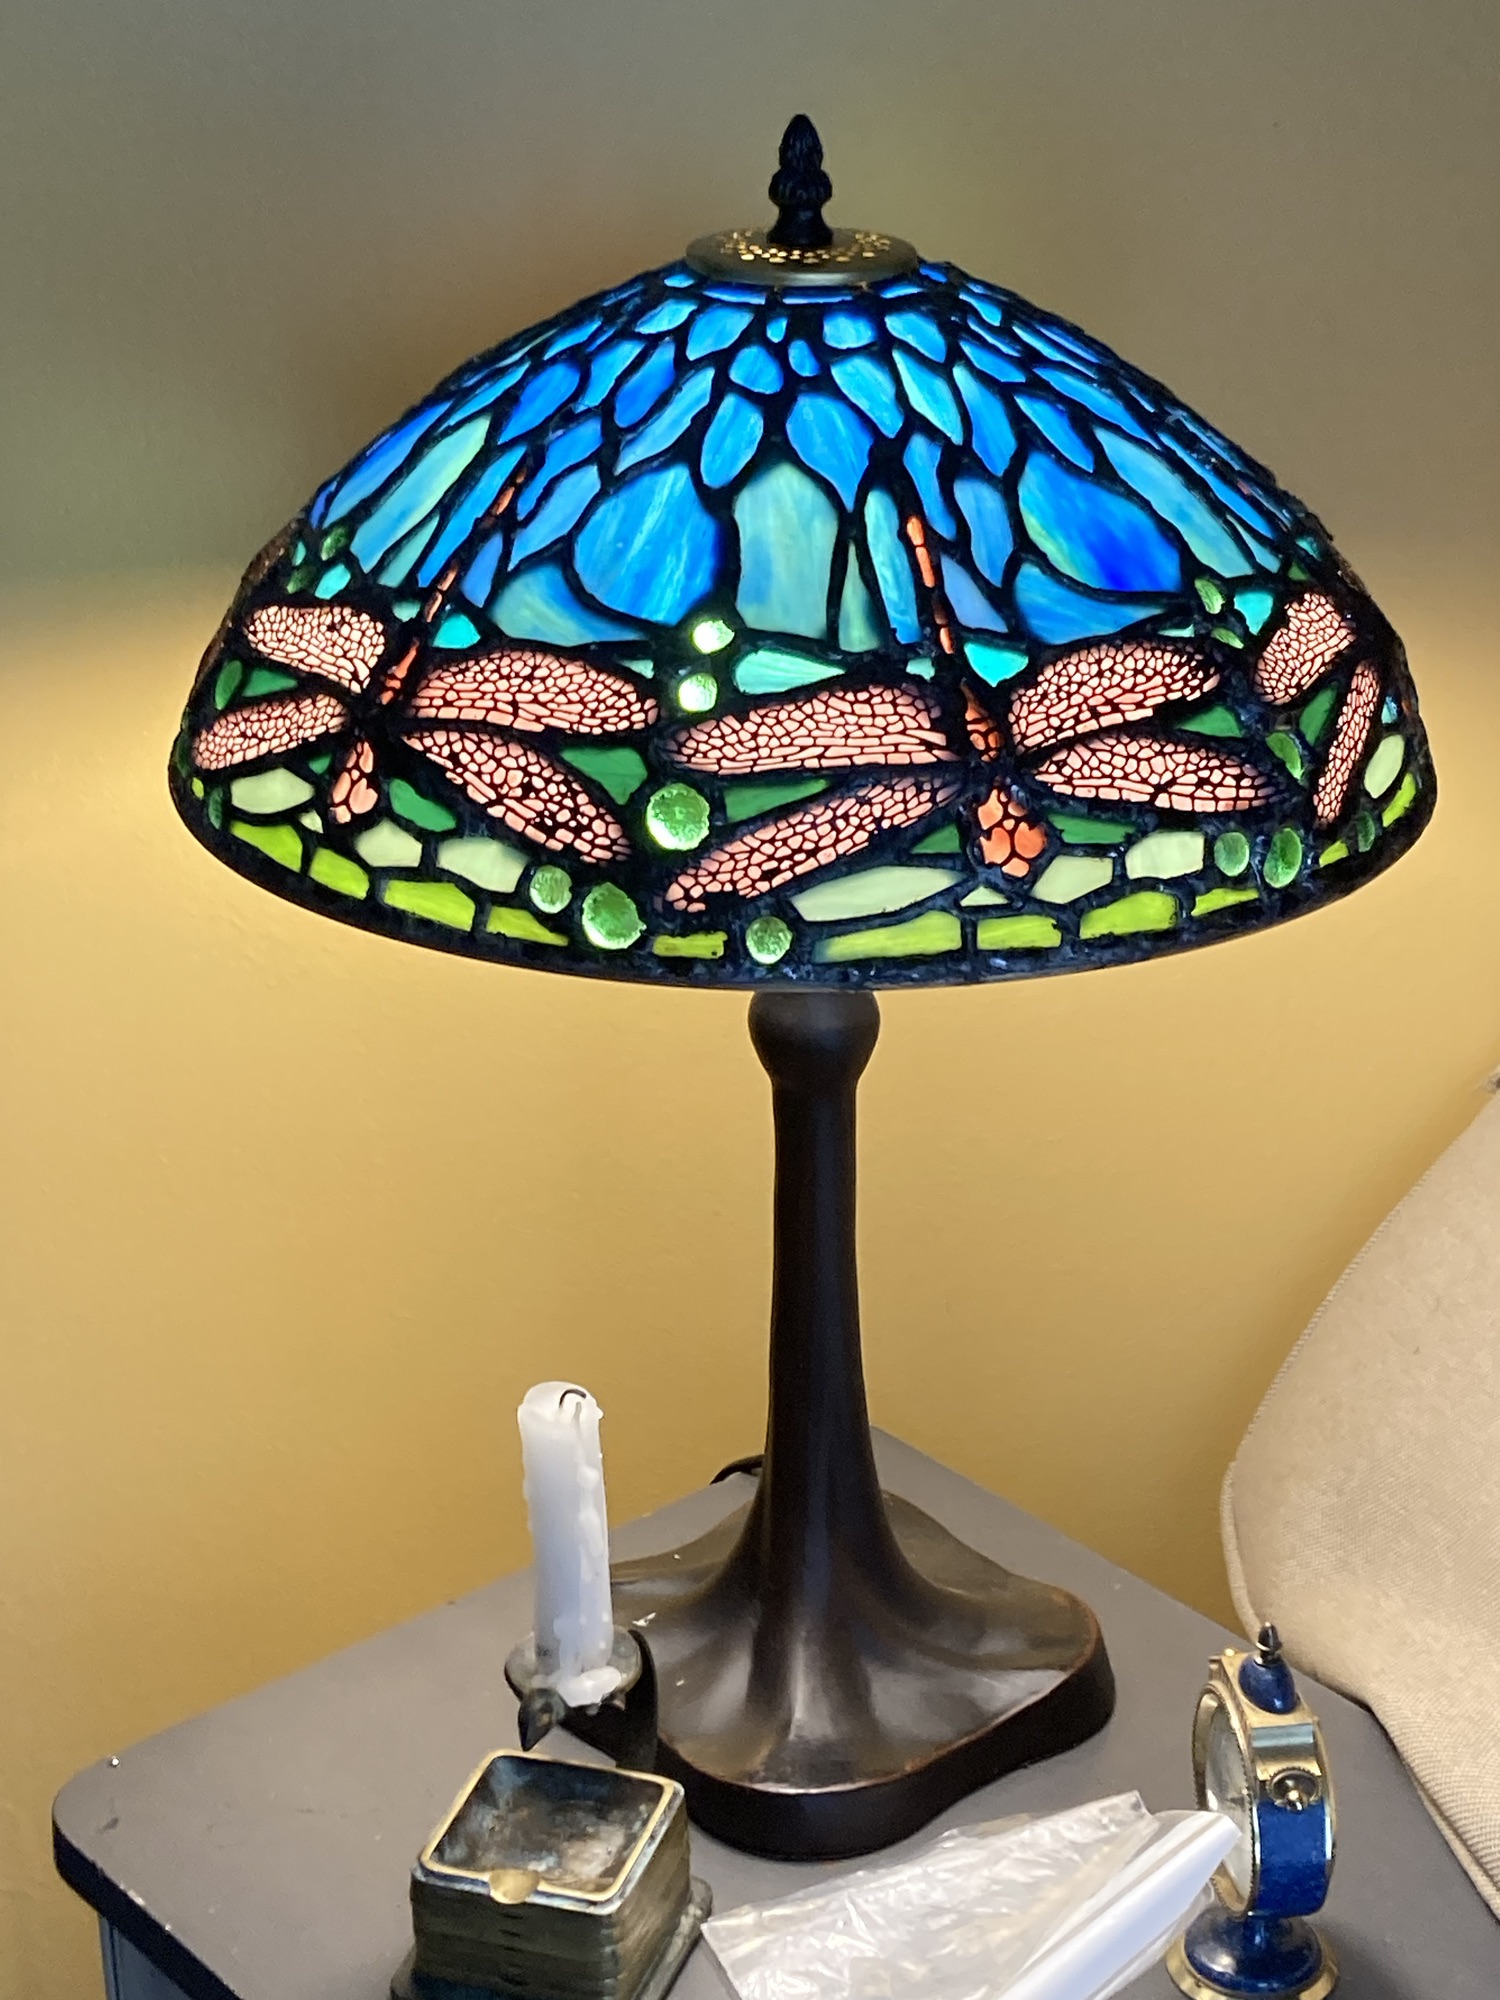
Well here we are after all that work.
I had originally bought generic filigree wings which I then cut to size and tried to solder in place.
But the wings were difficult to solder in place and needed a large build up of solder.
So… I took the filigrees off and removed the excess solder.
Then I bought new filigrees made for this size of lamp that were more flexible from Tiffany Reproduction Hardware. Chose to deform them locally to fit the actual assembled glass parts and feel that this is a much better inal fit.
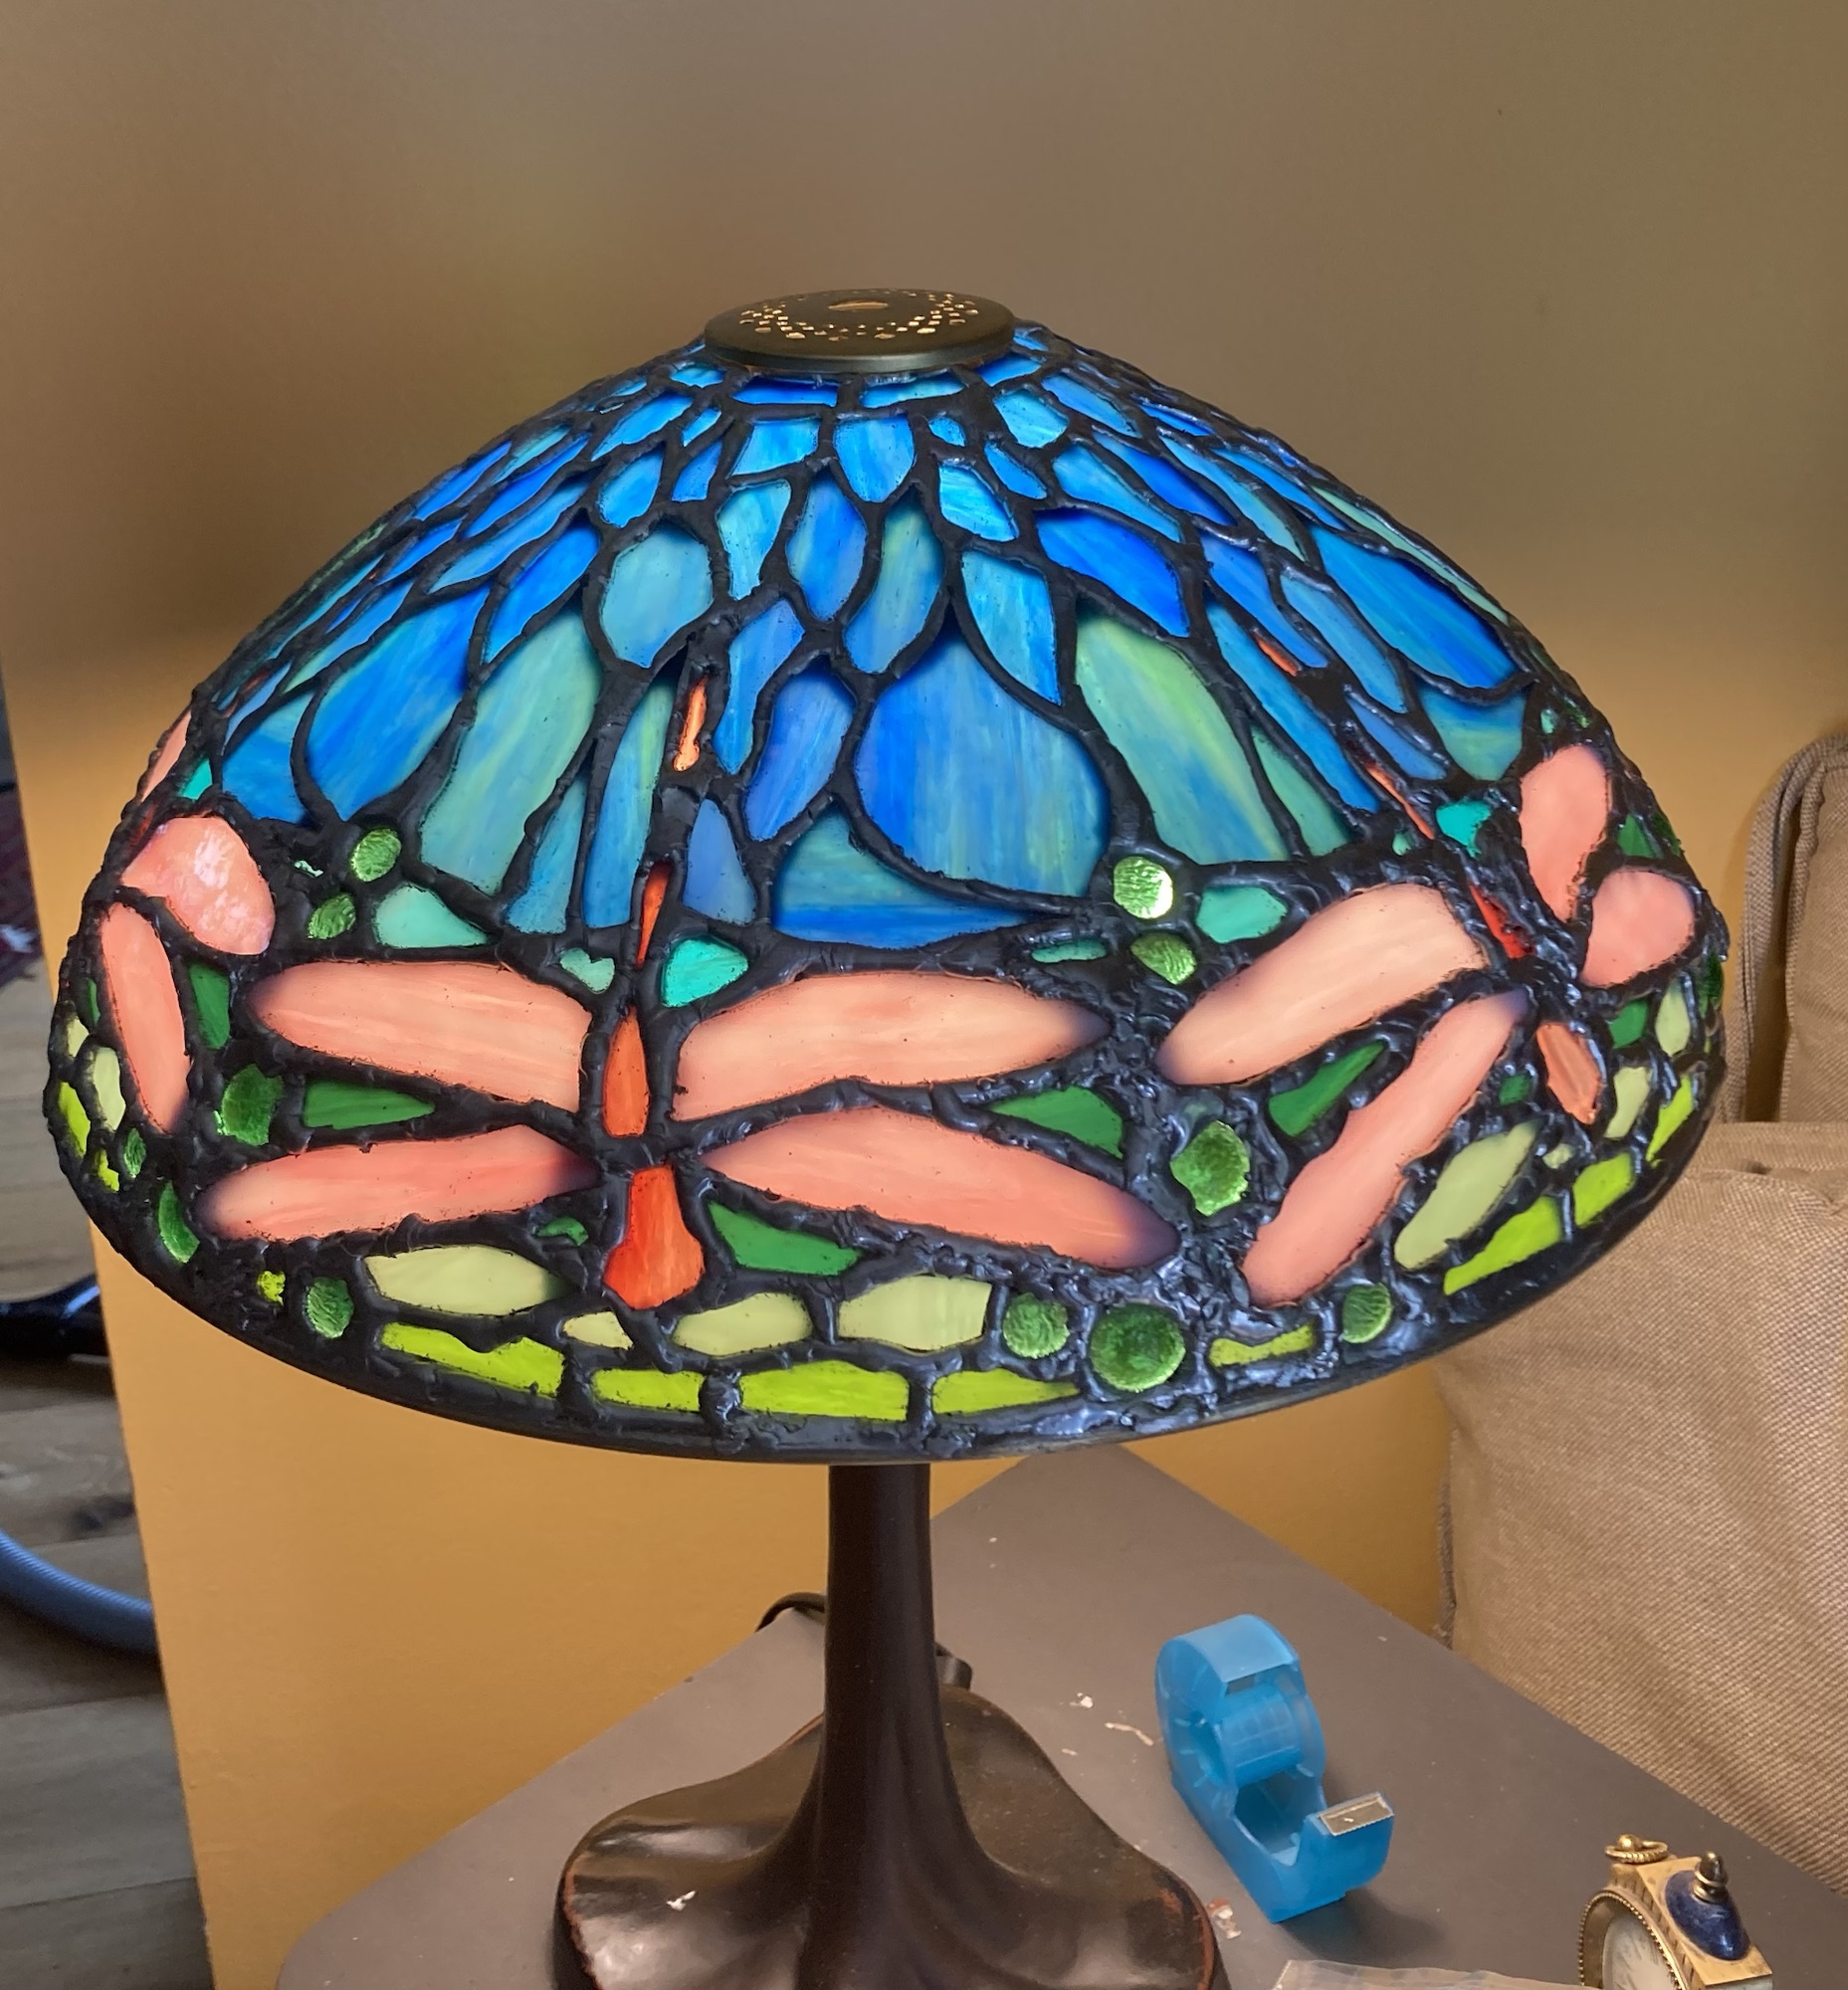
Lamp all cleaned up, washed and brushed out using washing up liquid, numbers removed, ready for the next step
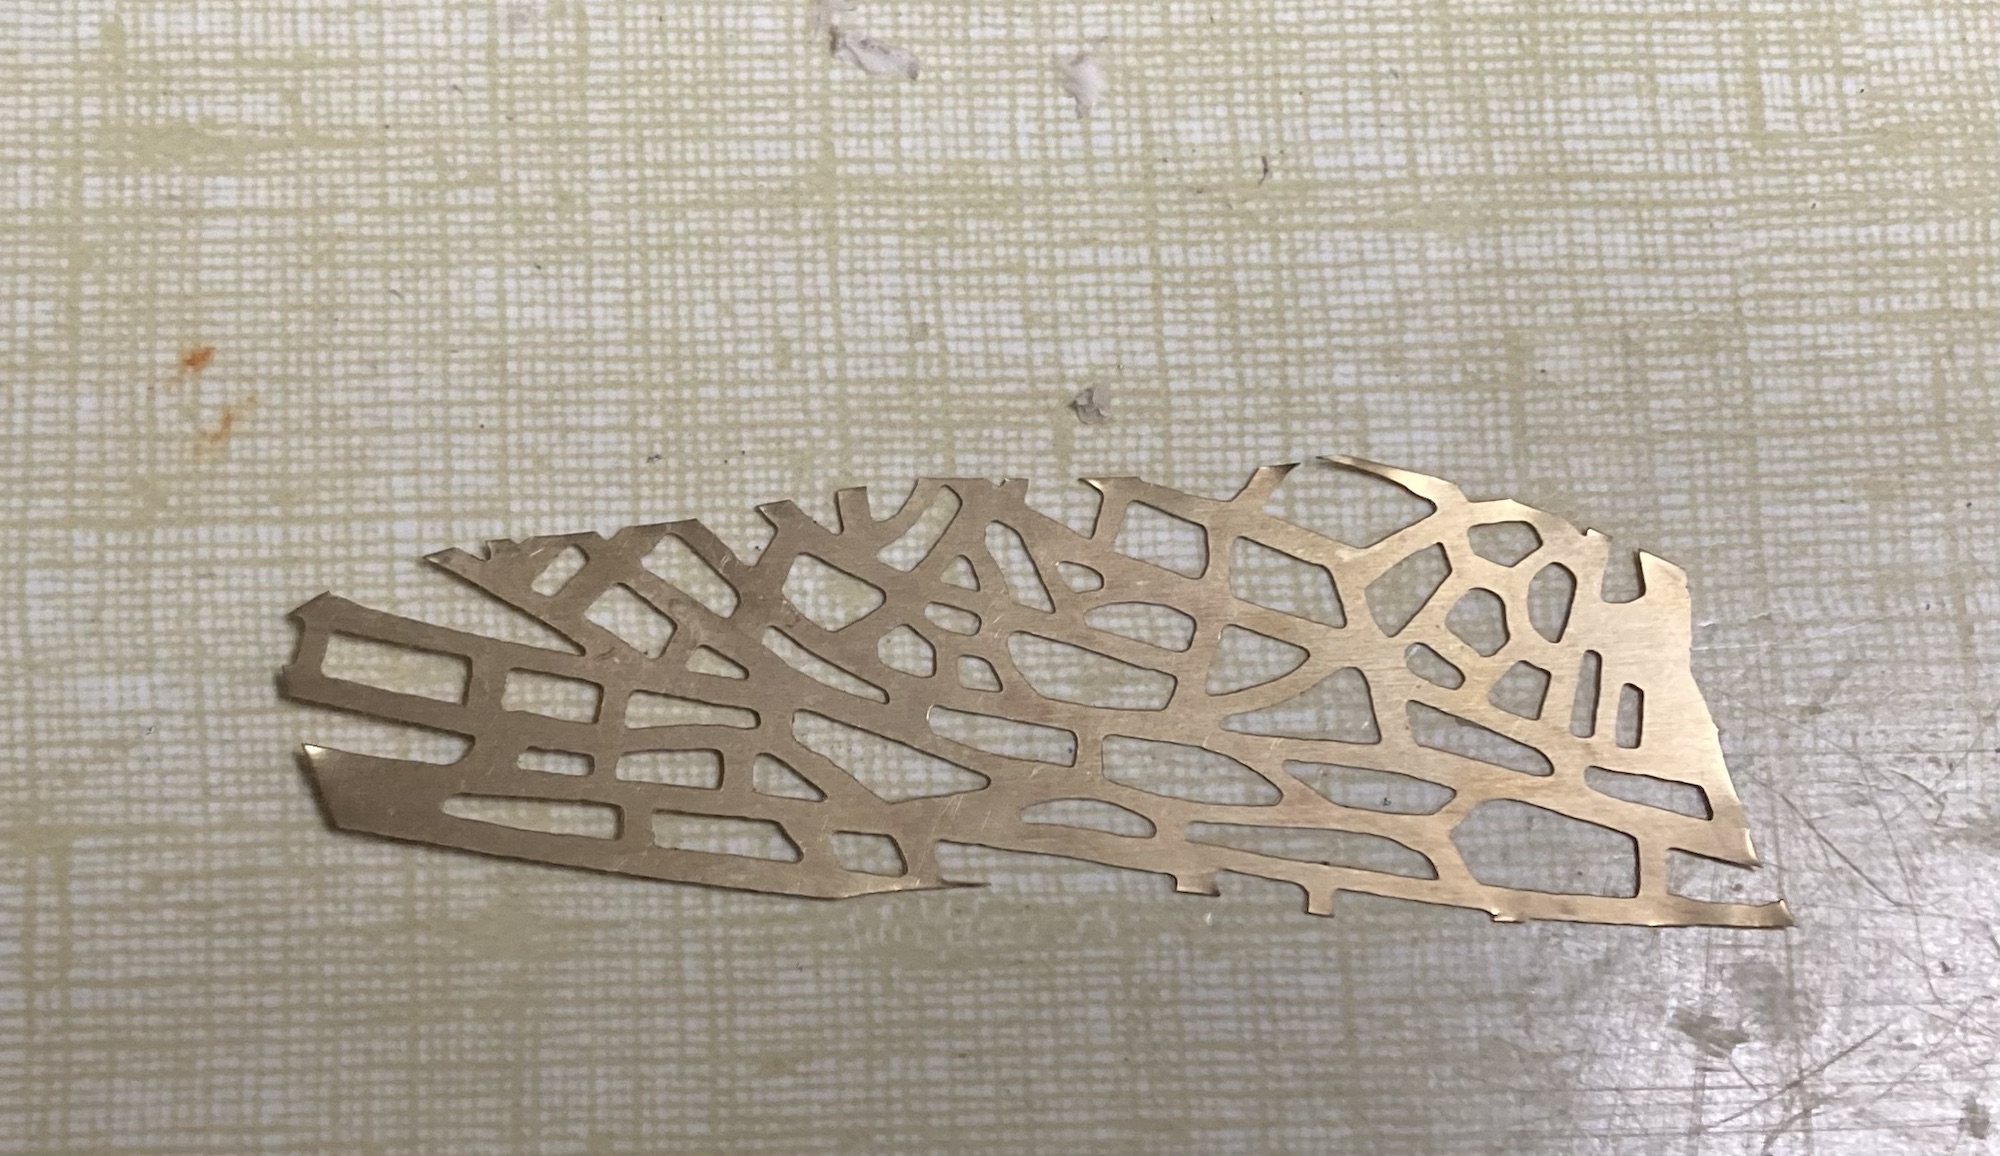
The wings cut to the top shape before applying a coat of solder to both sides ready for assembly
First two wings in place!

