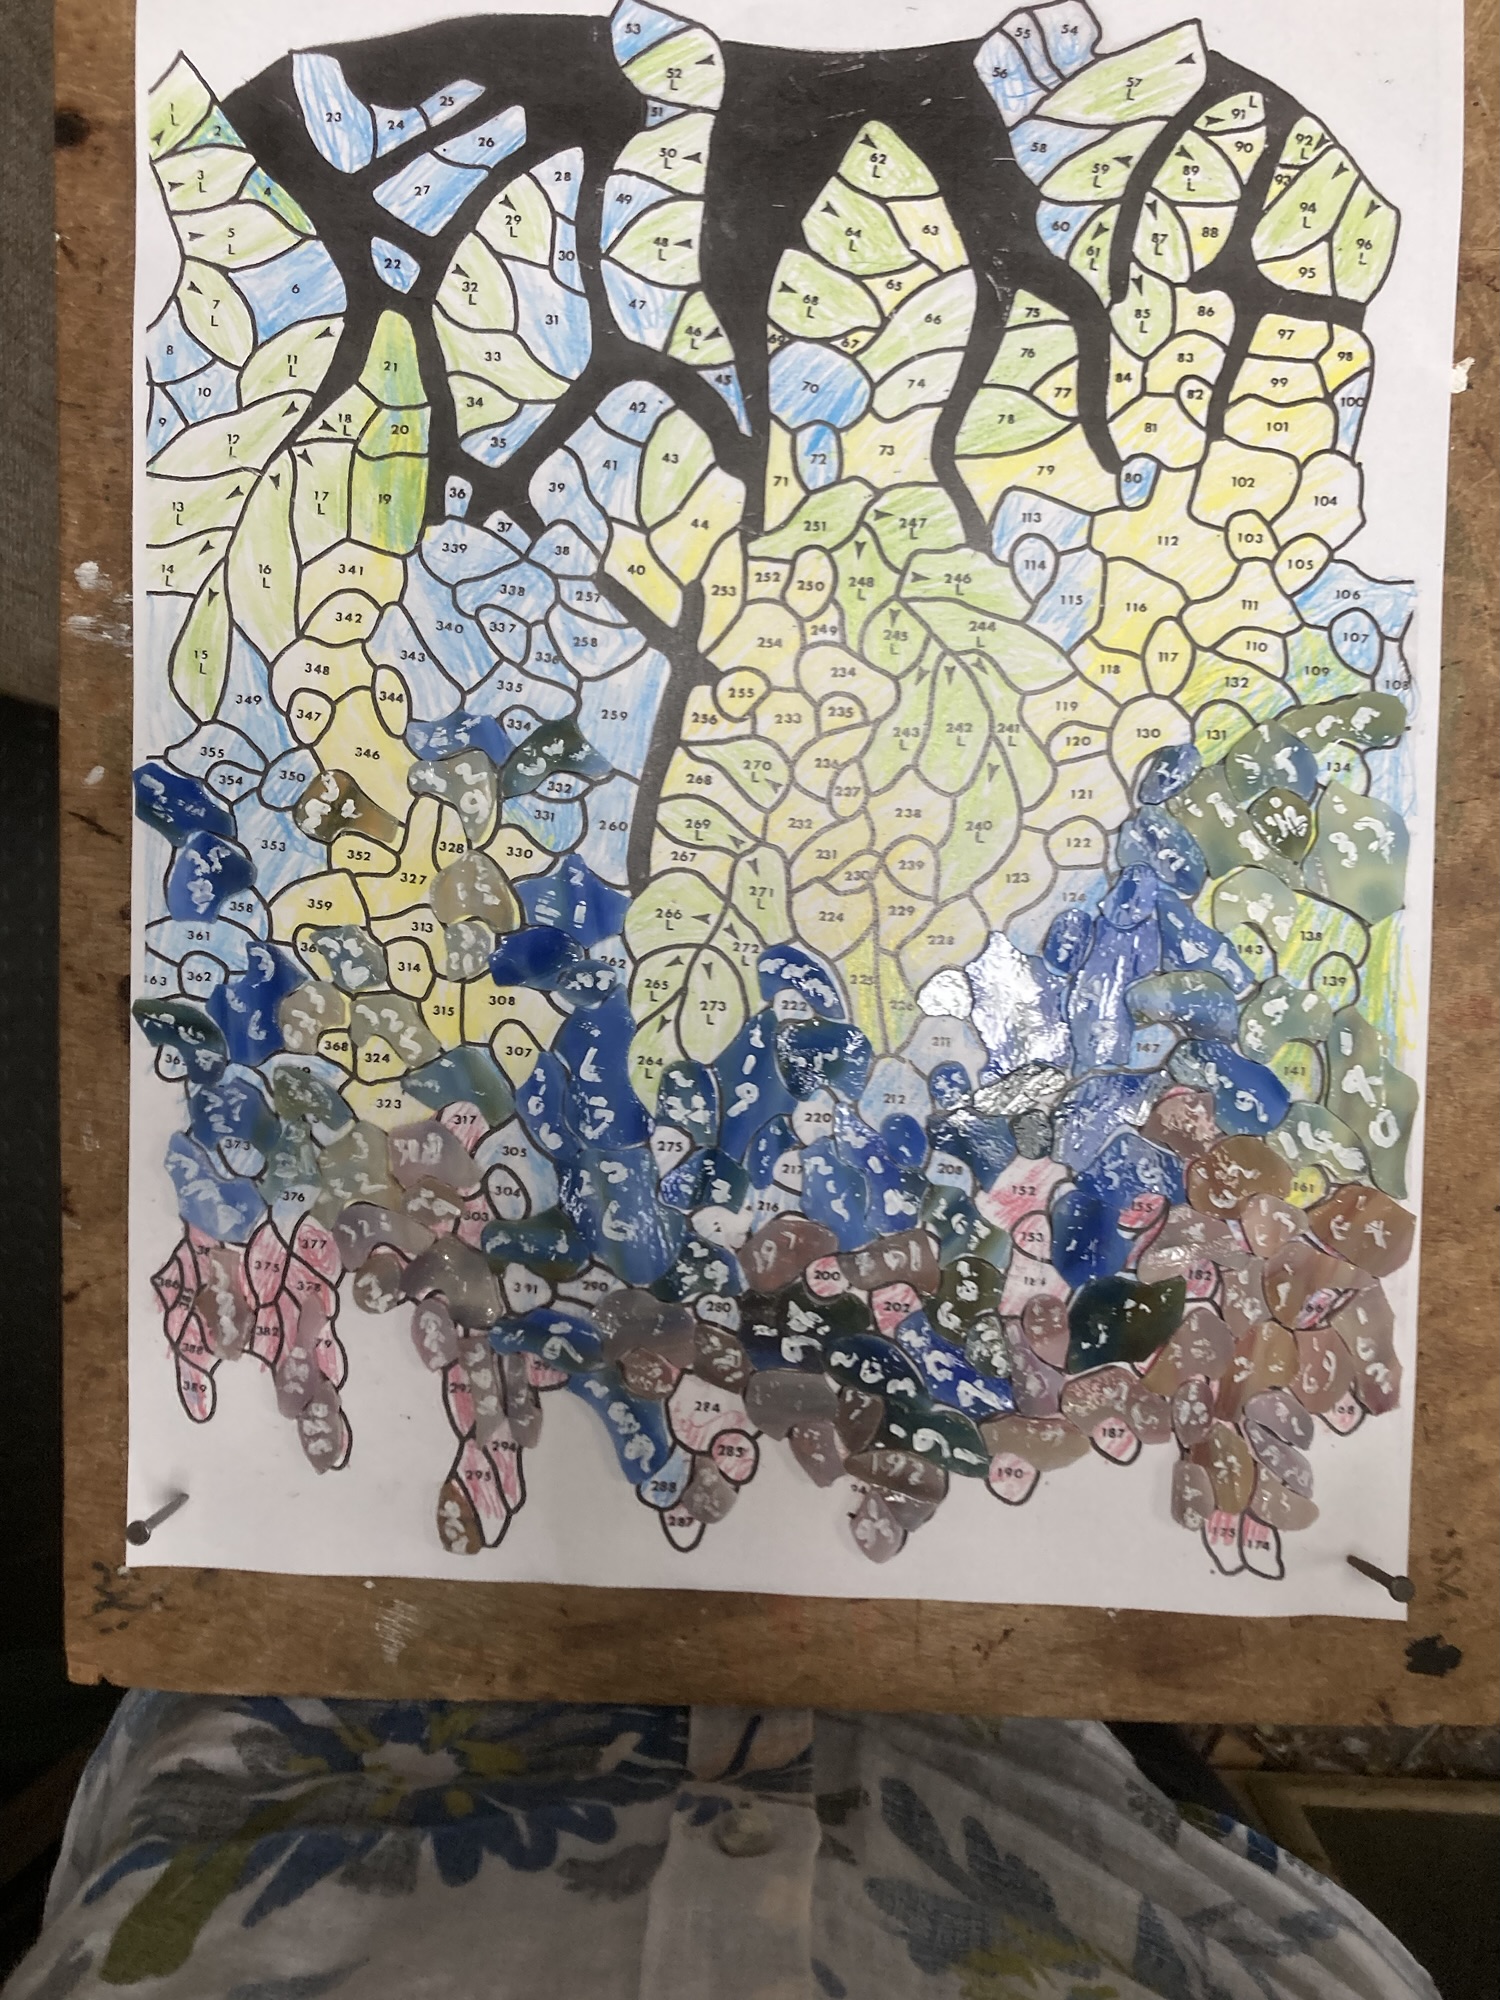
Slowly but surely the first of 6 sectors is underway with roughly the first 125 pieces ready, somewhere around 1/3 of the pieces on this sector.
Slowly but surely the first of 6 sectors is underway with roughly the first 125 pieces ready, somewhere around 1/3 of the pieces on this sector.
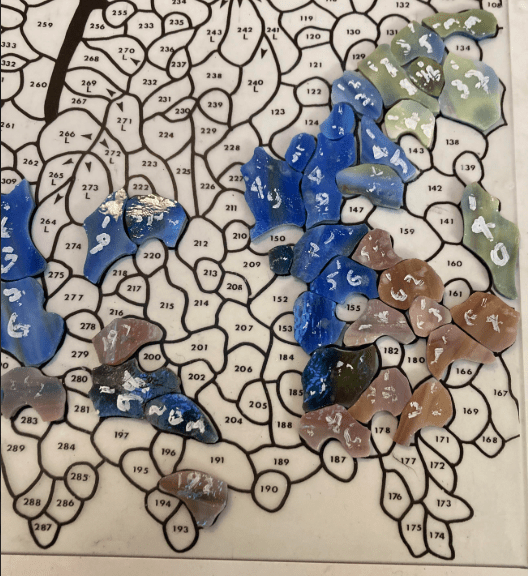
The Wisteria lamp is underway with the first of glass pieces cut, ground and placed on the pattern.
Only 1950 pieces to prepare before soldering.
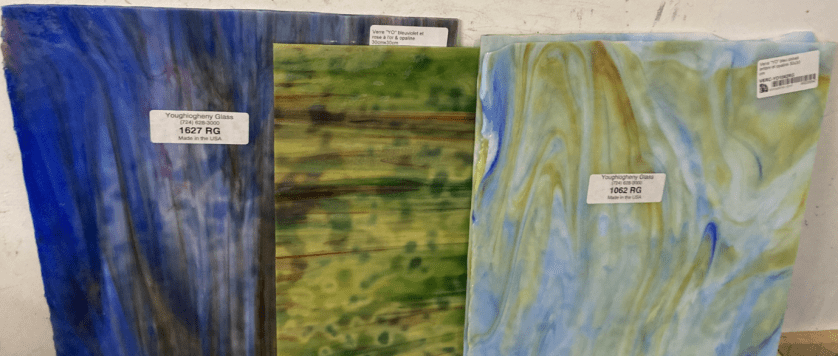
Next step is to choose the Glass
I’ve chosed three Youghiogheny glass types to combine here,
The Cobalt blue amber and opaline
The Opale ambre jaune vert et rouge
The bleuviolet et rose à l’or & opaline
Shown above, from Stefatelier in 30cm by 30cm format and paid 85,84 euros for the three sheets, I also picked up the tacky wax and the pickling gel for a further 11,20 euros


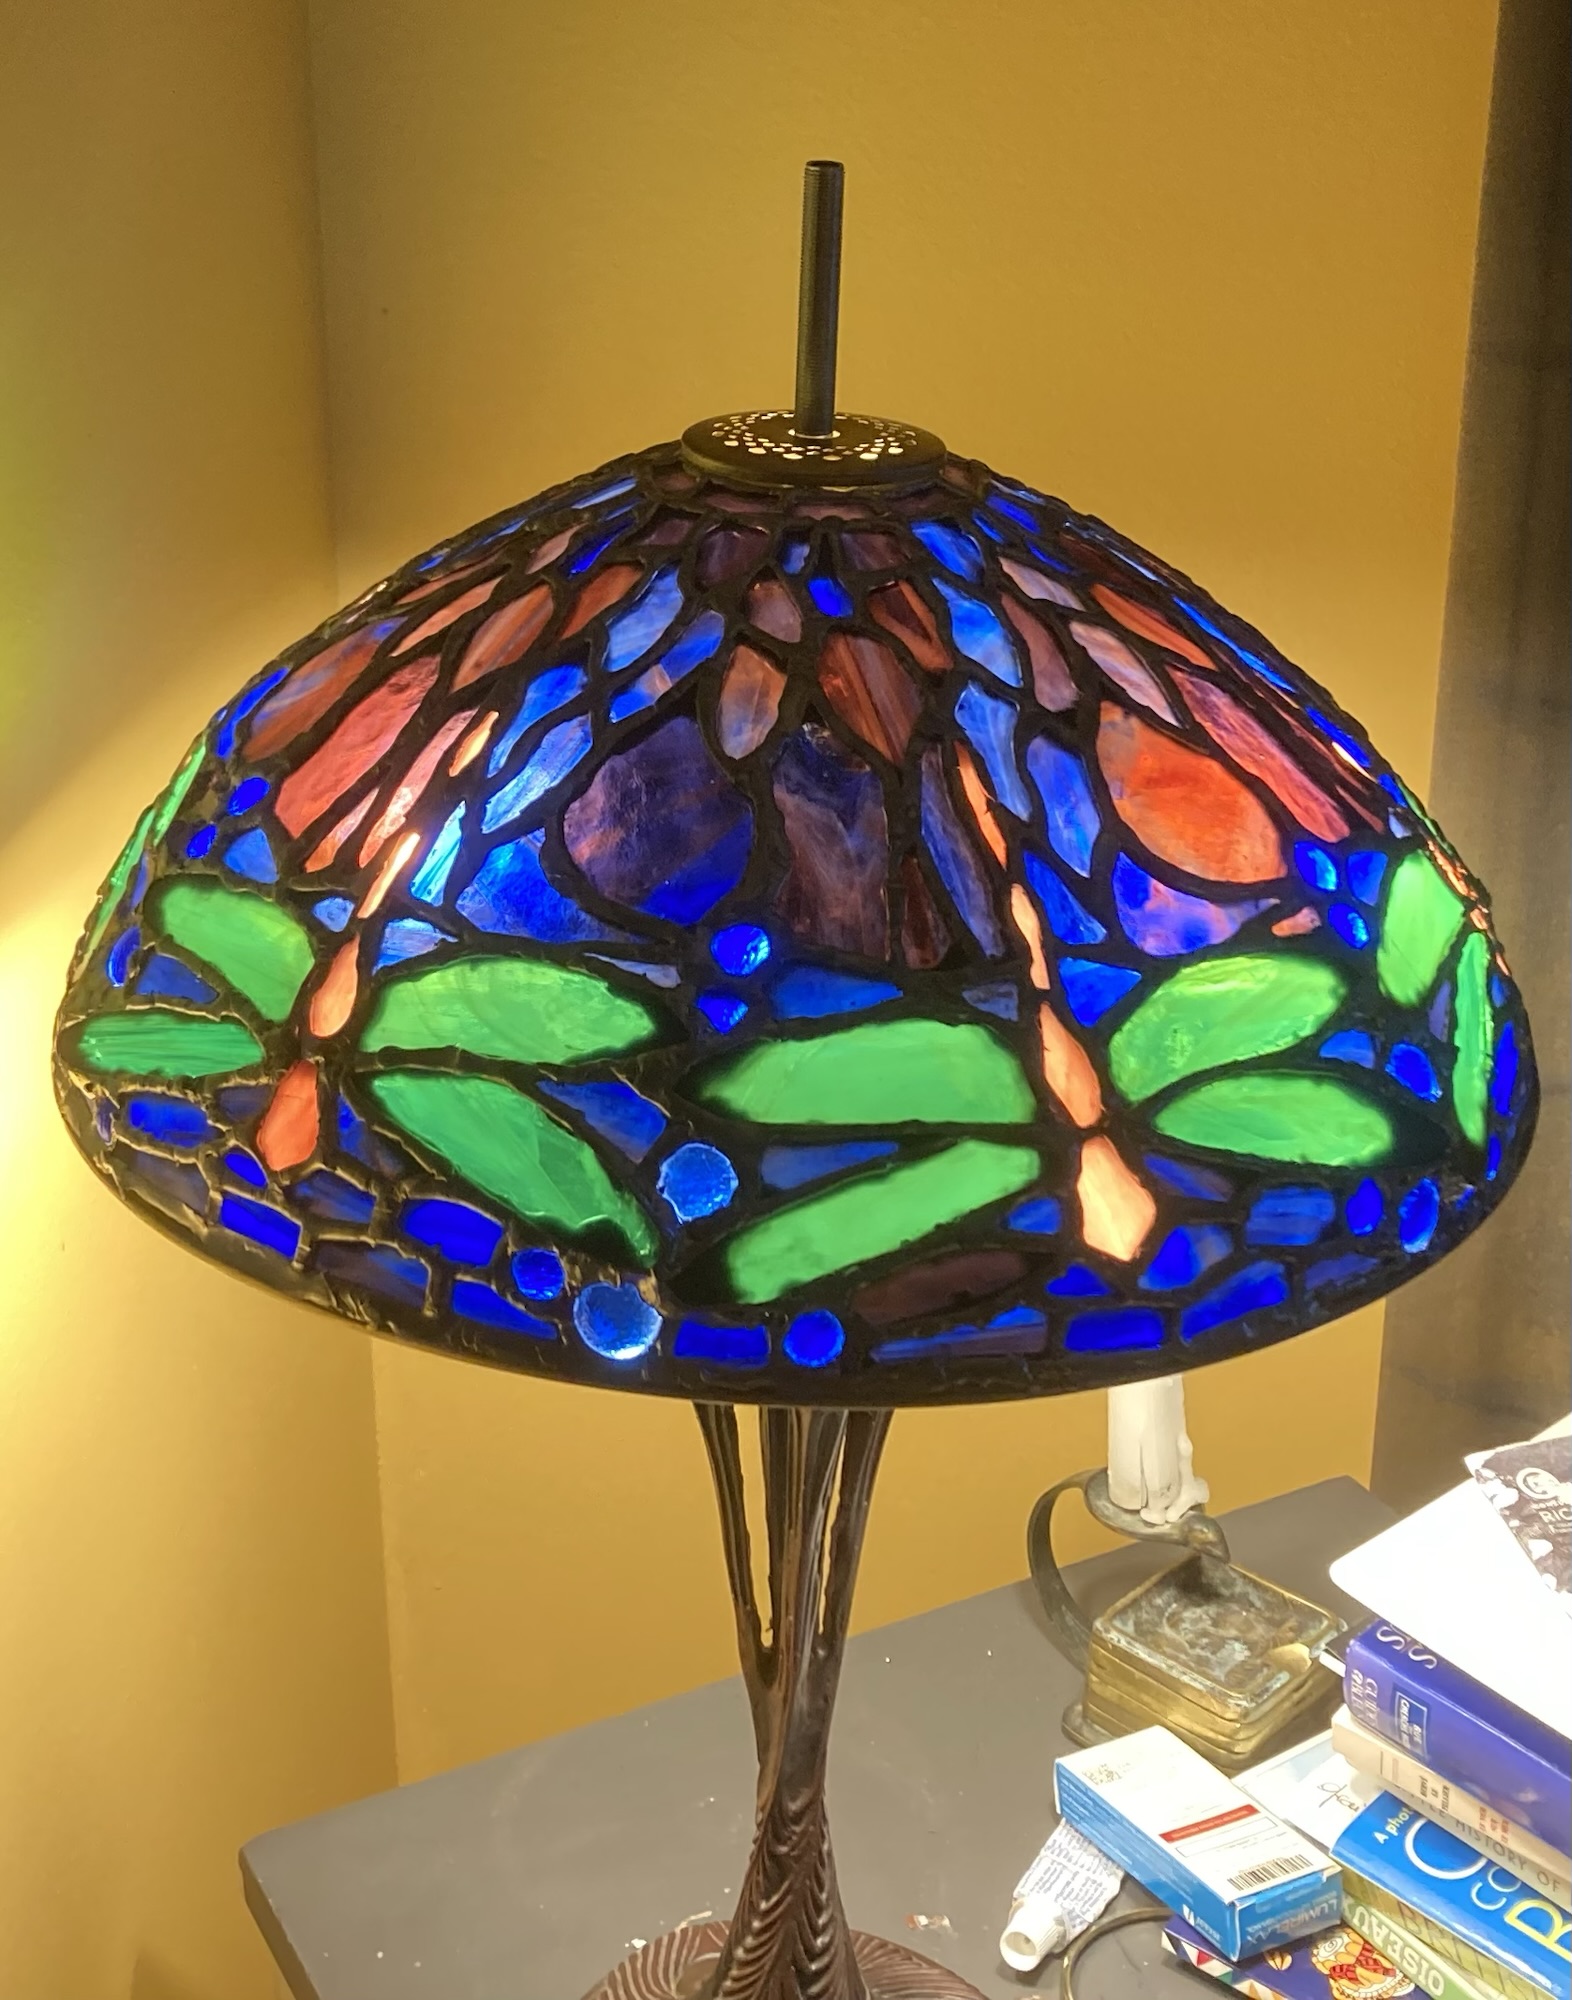
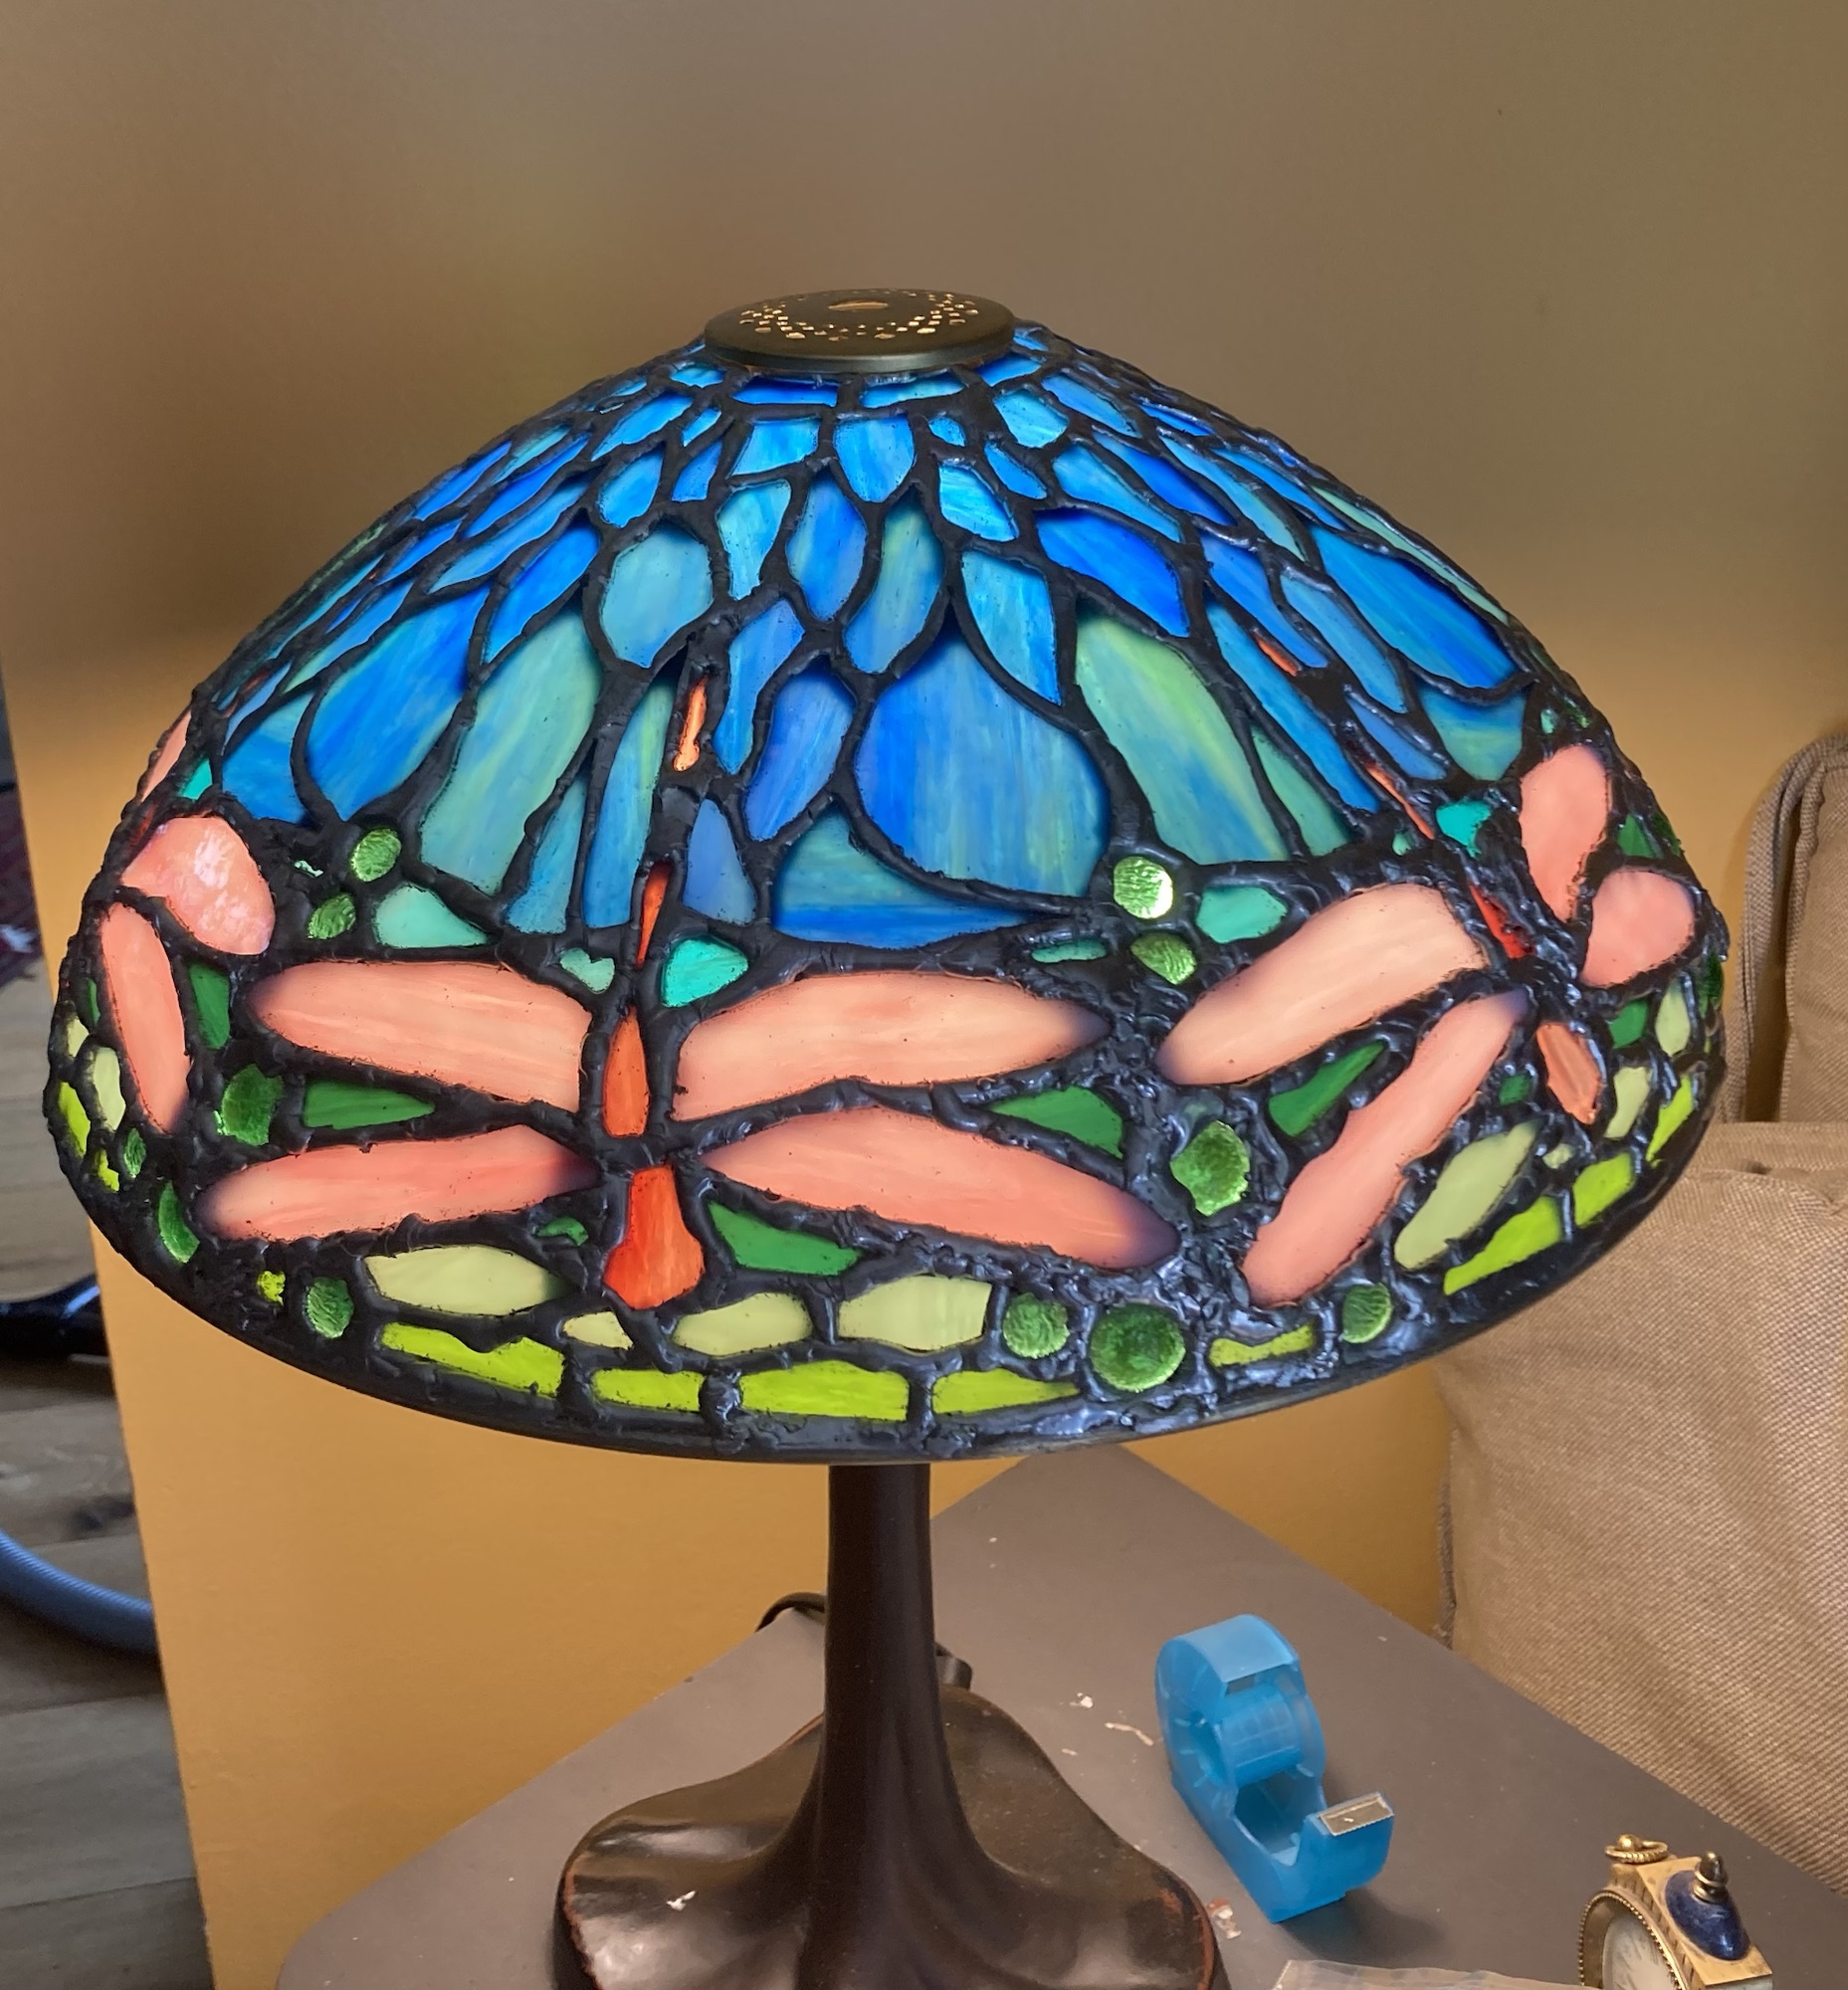
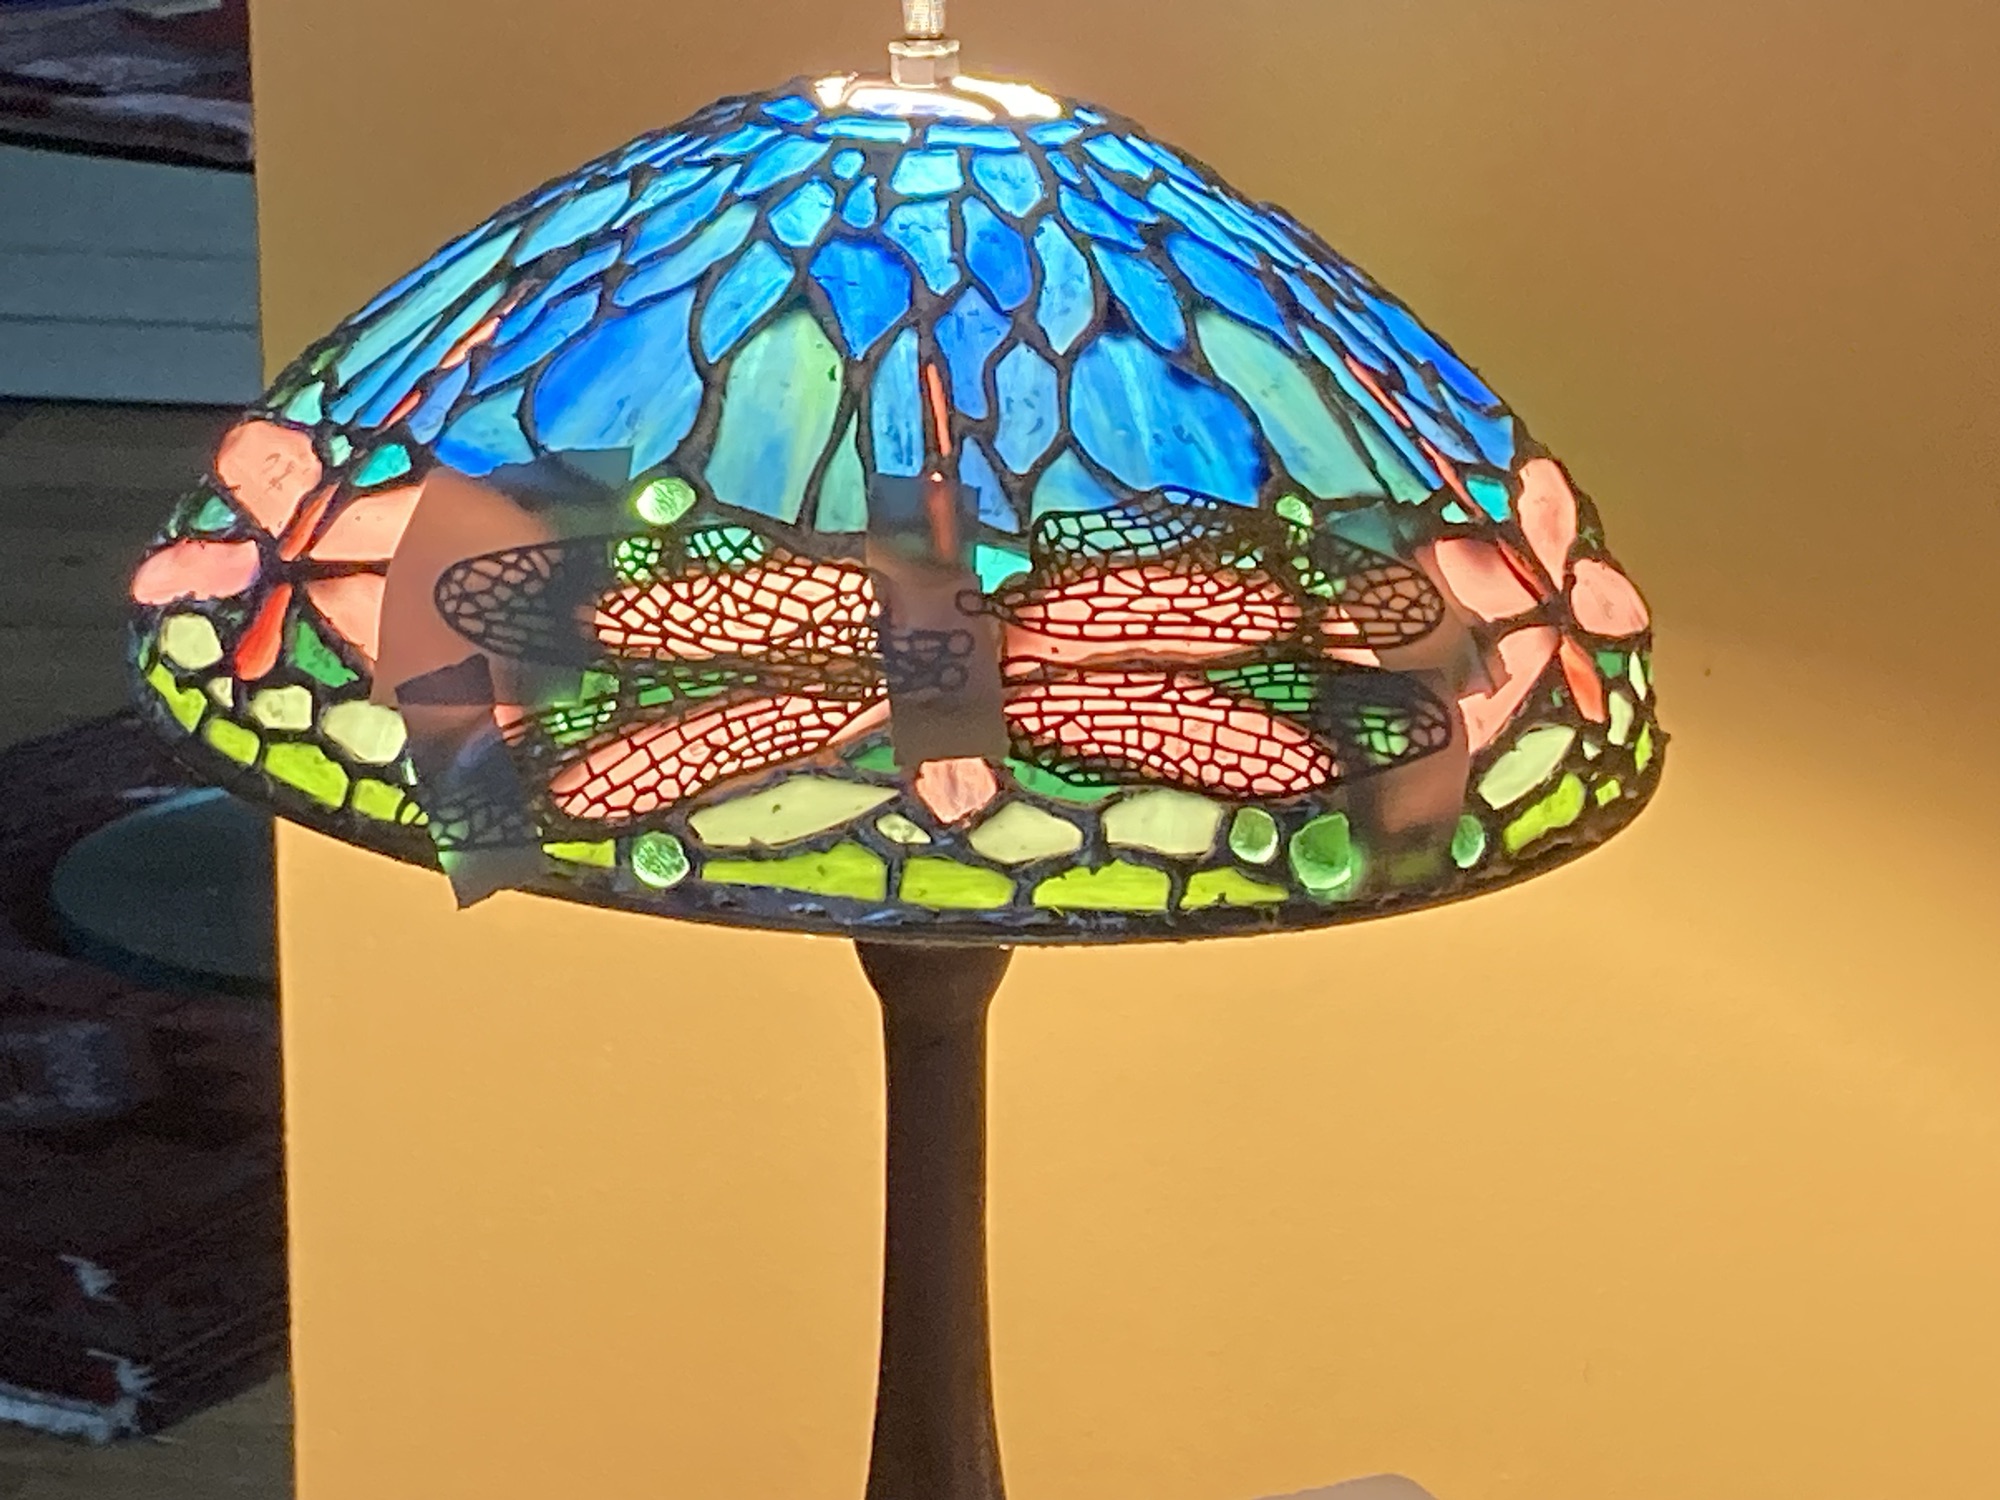
Before I gift the two dragonfly lamps, here they are for the last time together and with the Elaborate Peony in the background.
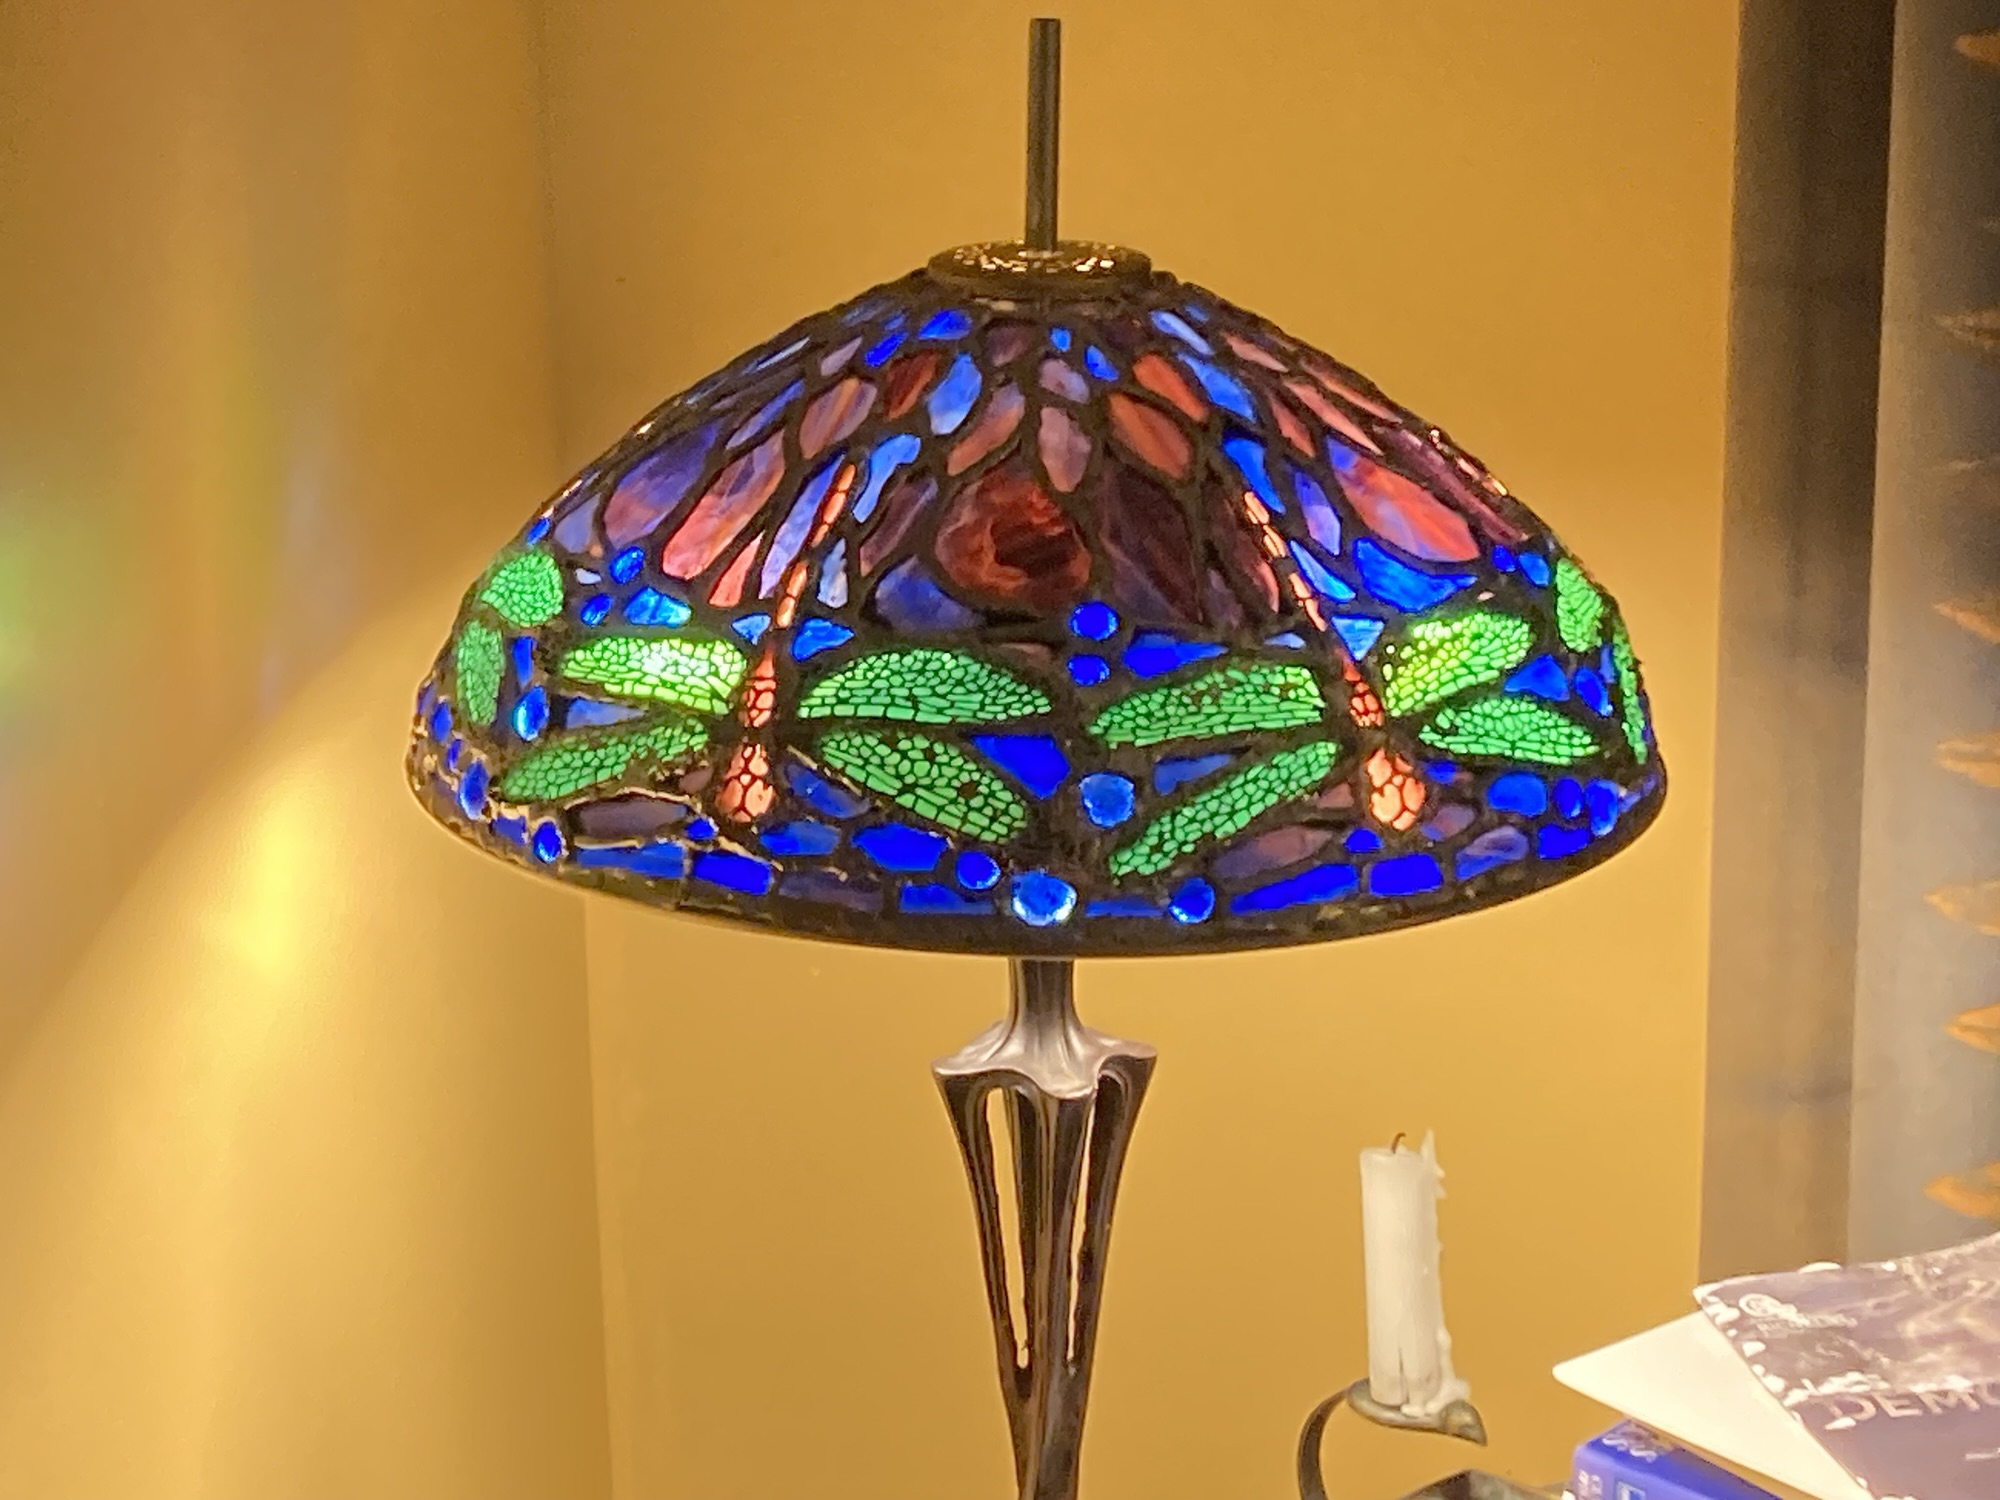
Here it is, Alix’s lampshade finished before cutting the upper attachment to size. Darker colours as requested. And yes those wings, long and straight on the curved surface are not easy.
The shade had been damaged ( falling to the floor) after completion but before the filigrees stage, necessitating the removal and replacement ow almost all of the wings.
Filigree Time, Check it out against Celia’s lamp at the same stage.
https://marquetryandtiffany.art.blog/2024/09/09/celias-lamp-filigree-time/
Lamp all cleaned up, washed and brushed out using washing up liquid, numbers removed, ready for the next step
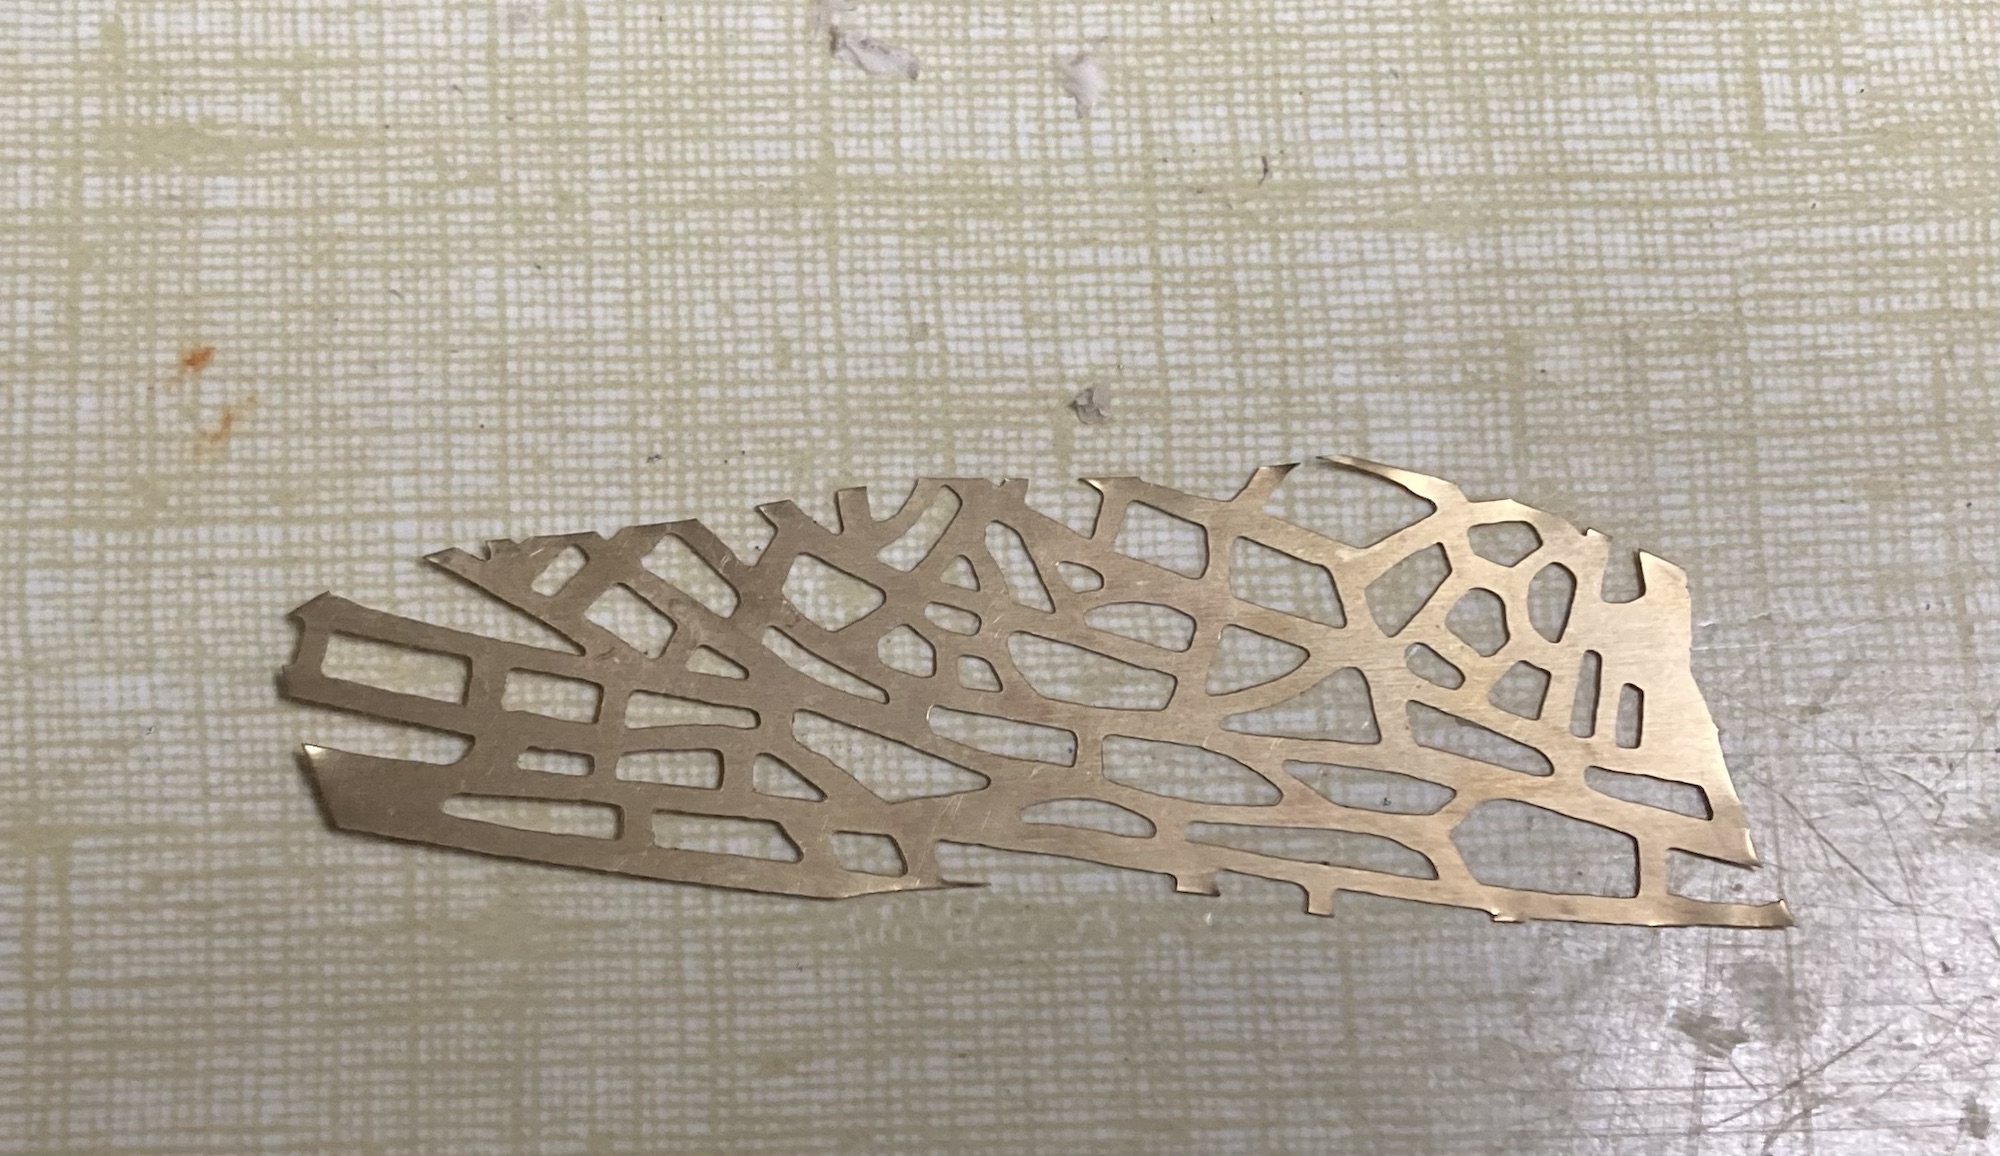
The wings cut to the top shape before applying a coat of solder to both sides ready for assembly
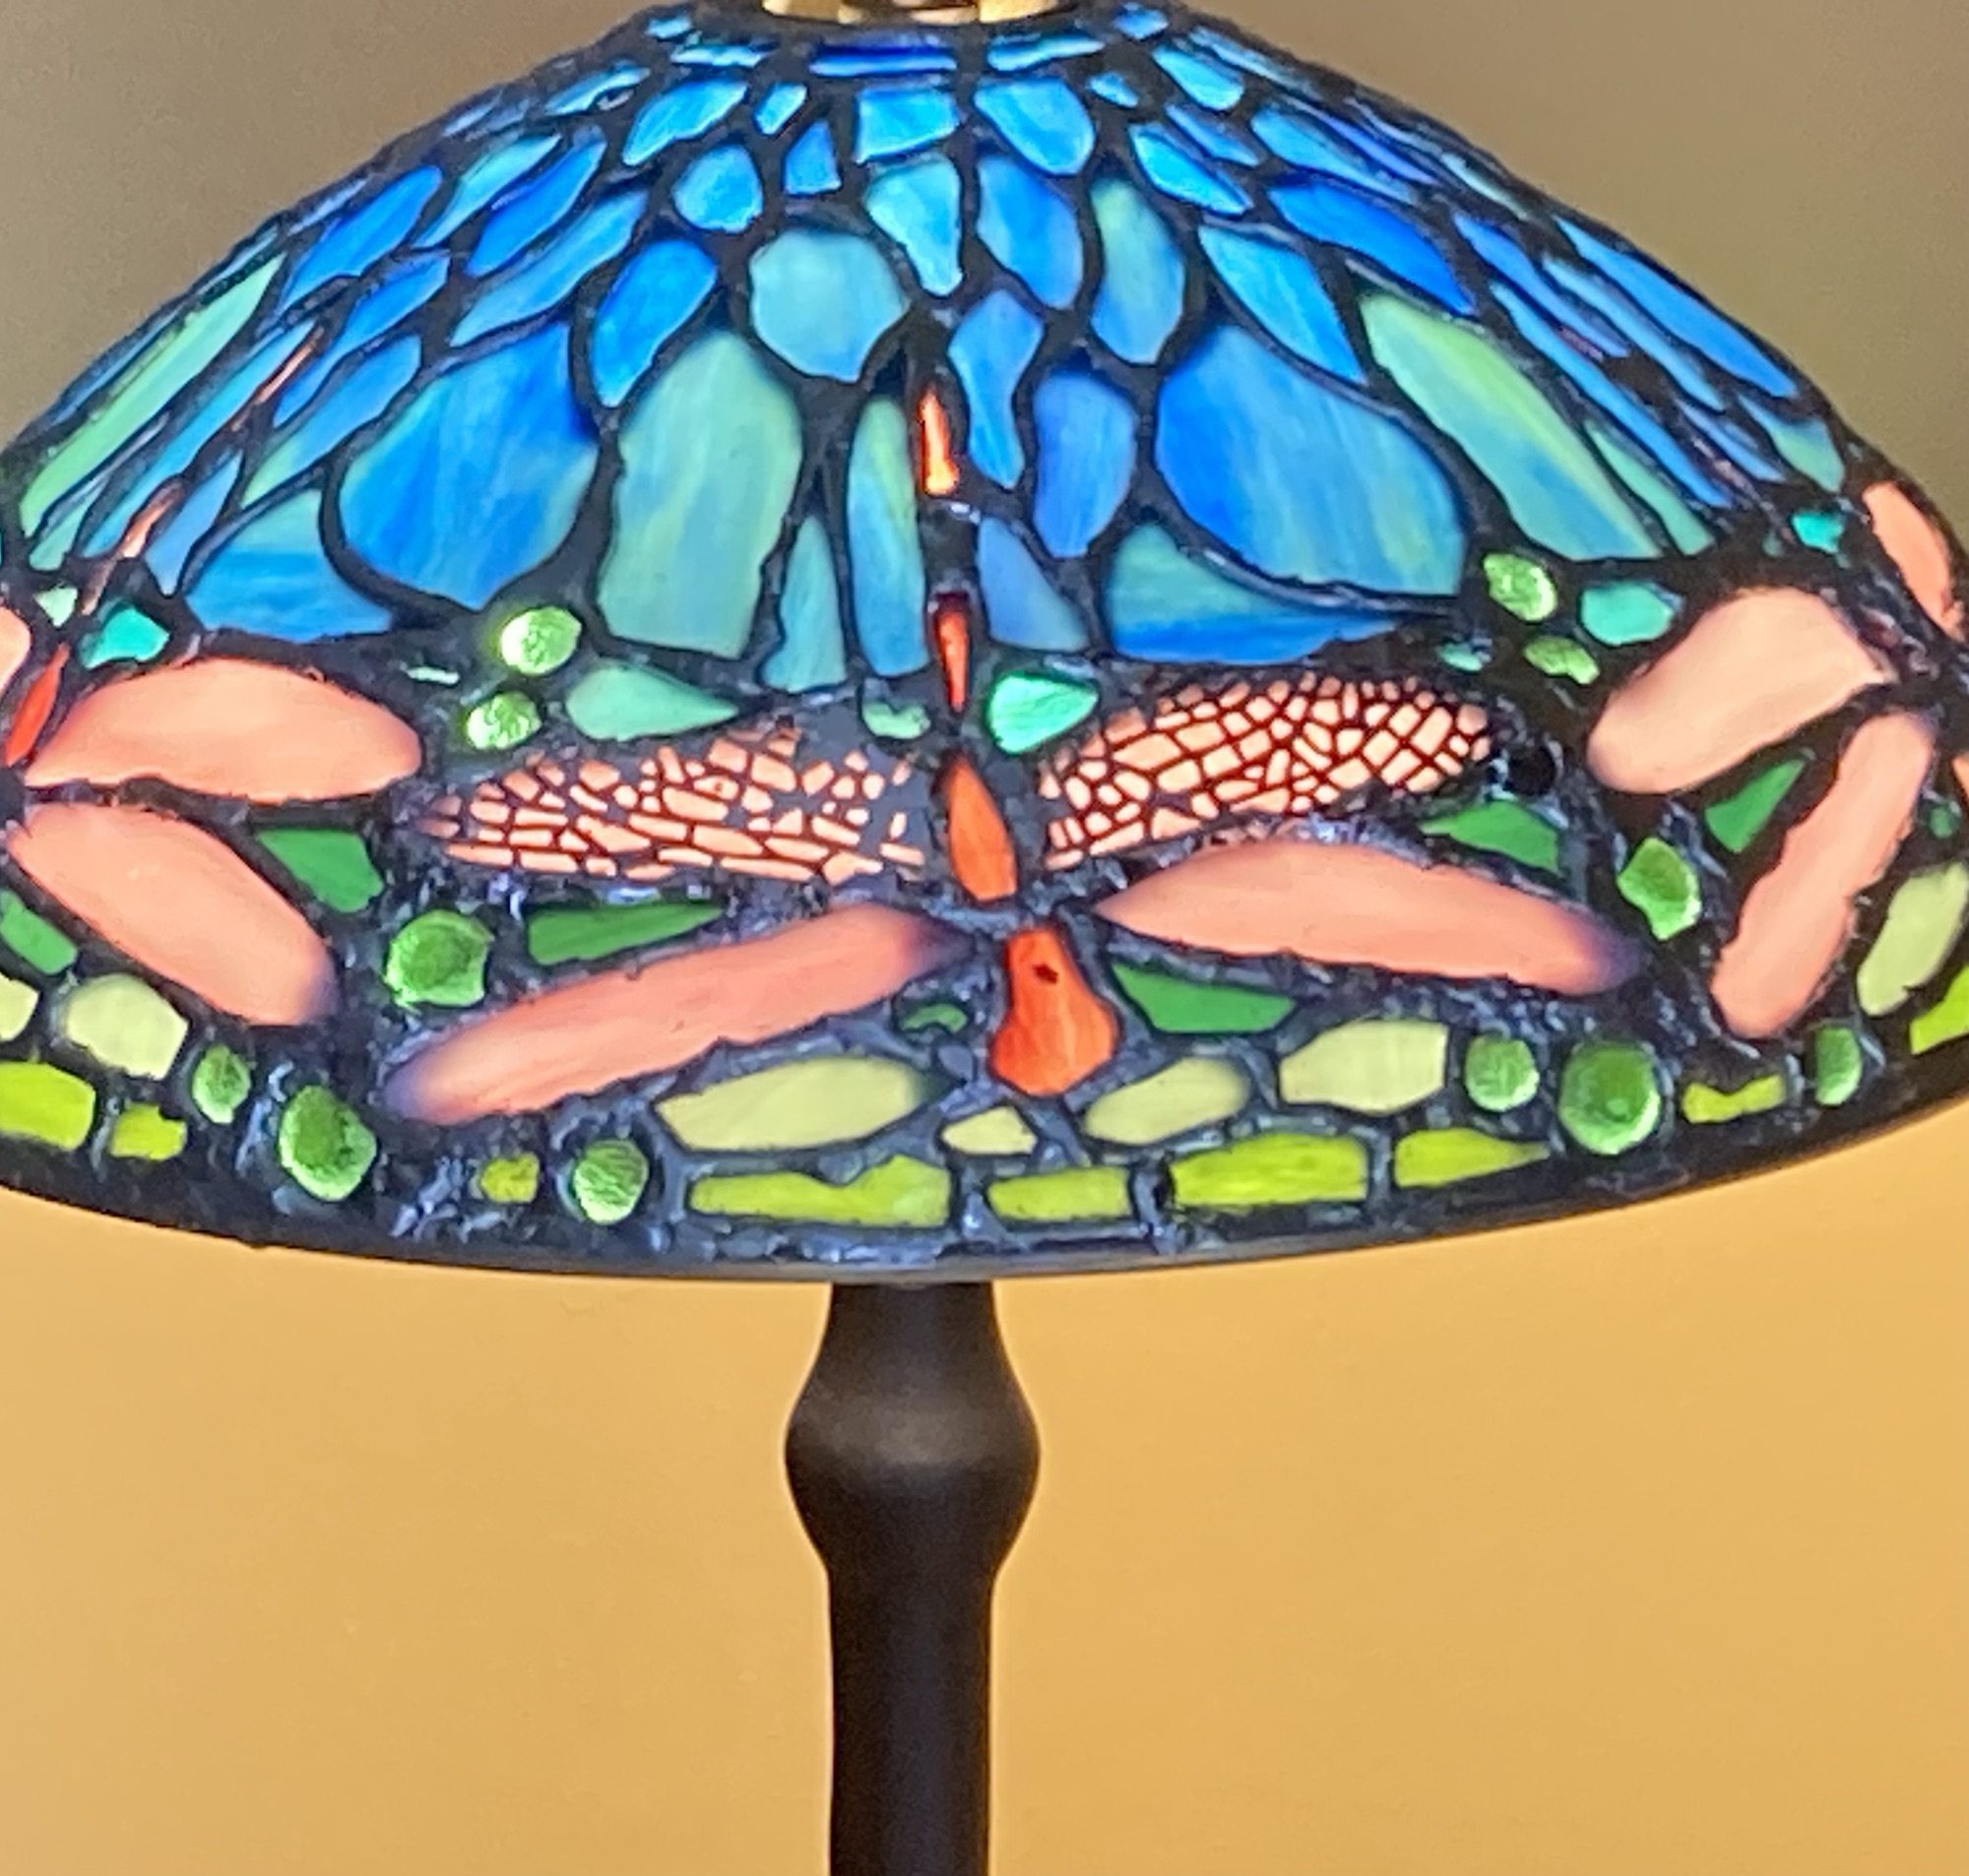
First two wings in place!

First glimpse of the lamp to come, outer surface only soldered. The colours seem to work although the dragonflies are rather bold
So here I’ve taped on the filigrees of the wings to get a better idea of the final wings, toned down just enough, it should work.
The next step is then to solder on the upper ring, yes I forgot, then to solder the entire inner surface, tidy up the outer surface and finally to apply the filigrees and the finish.
Well everything is ready, just need to wax up.
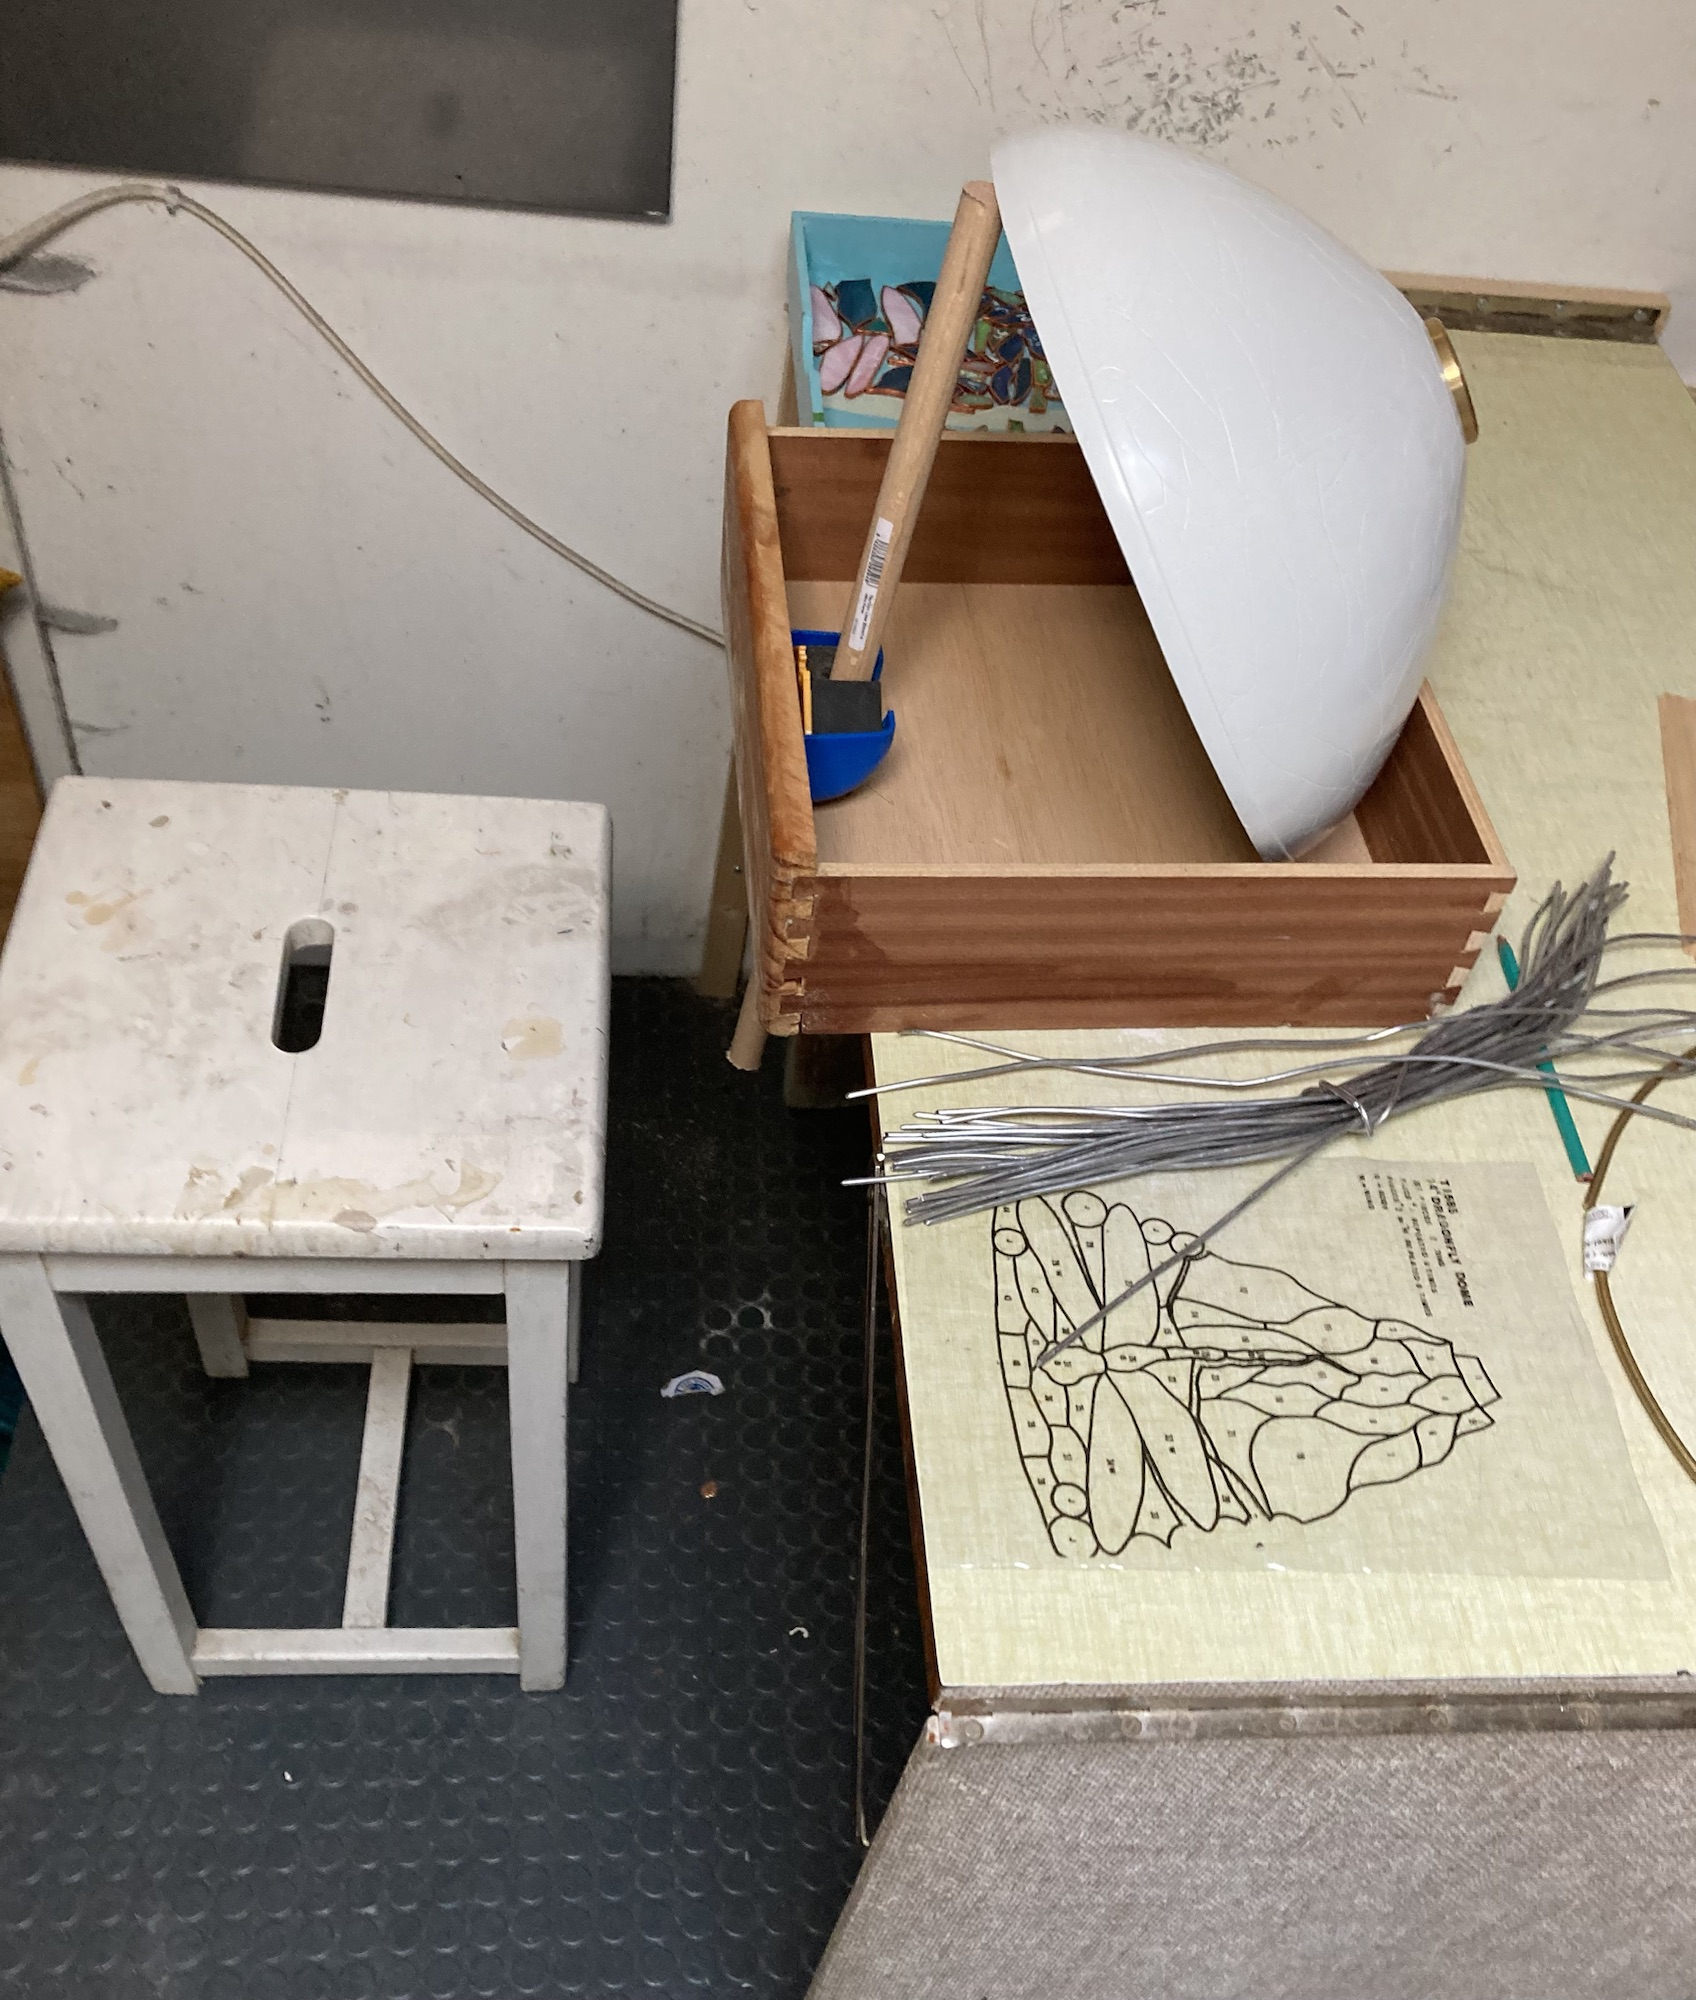
But wait what is that tool for keeping the mould horizontal at different heights?
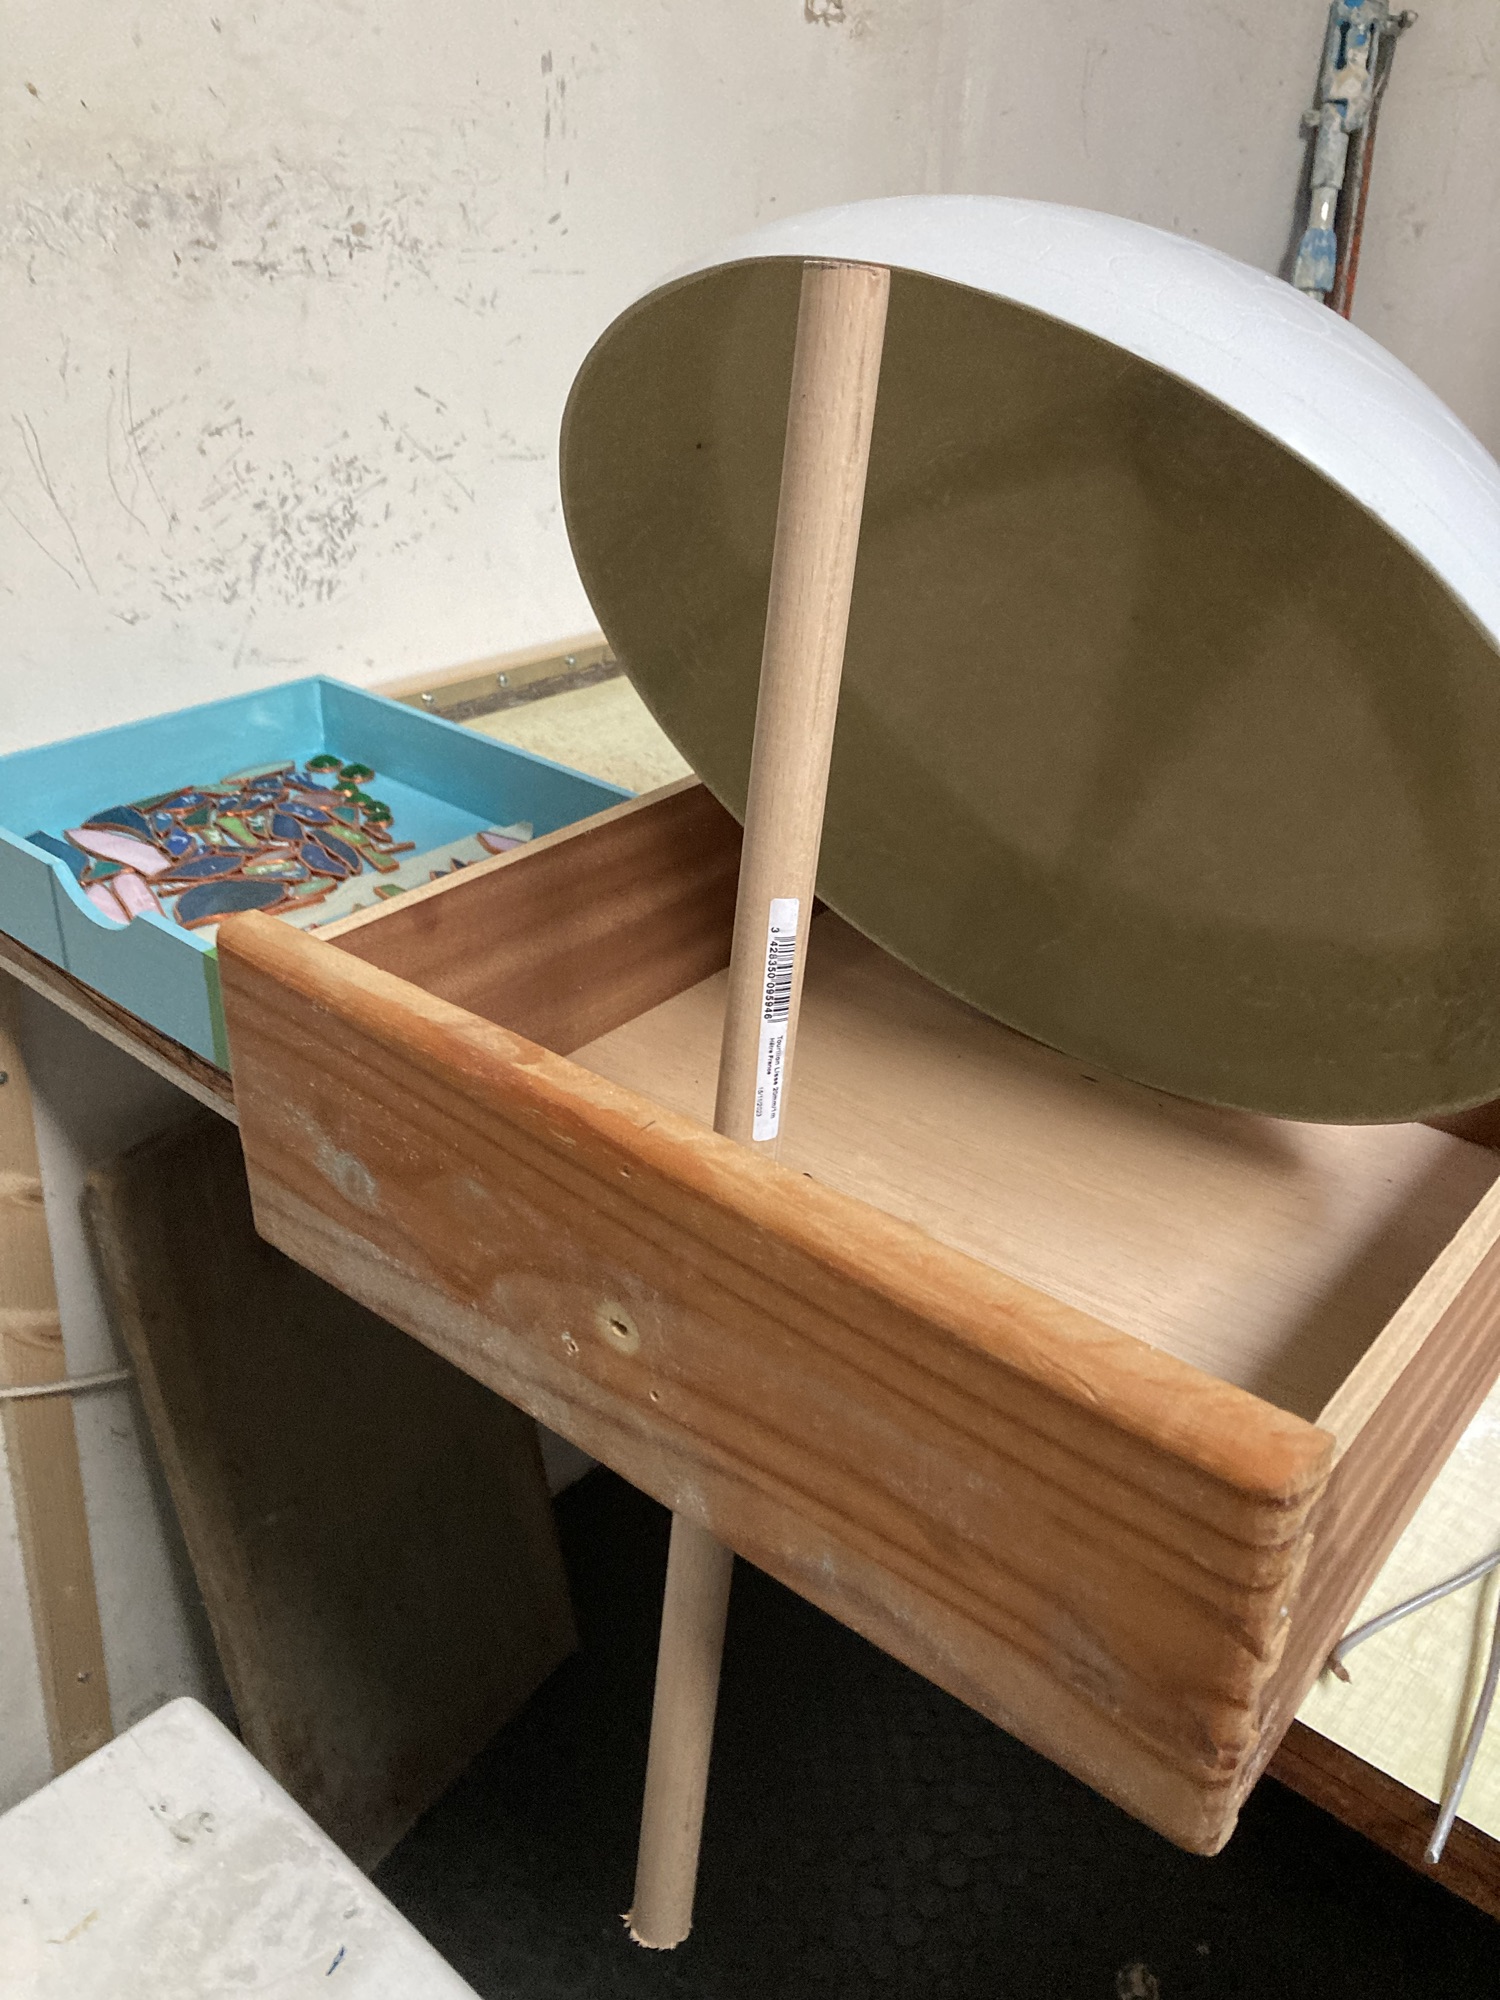
Yes! It’s a round broomstick sticking through the hole in a drawer. But how do I adjust the height?
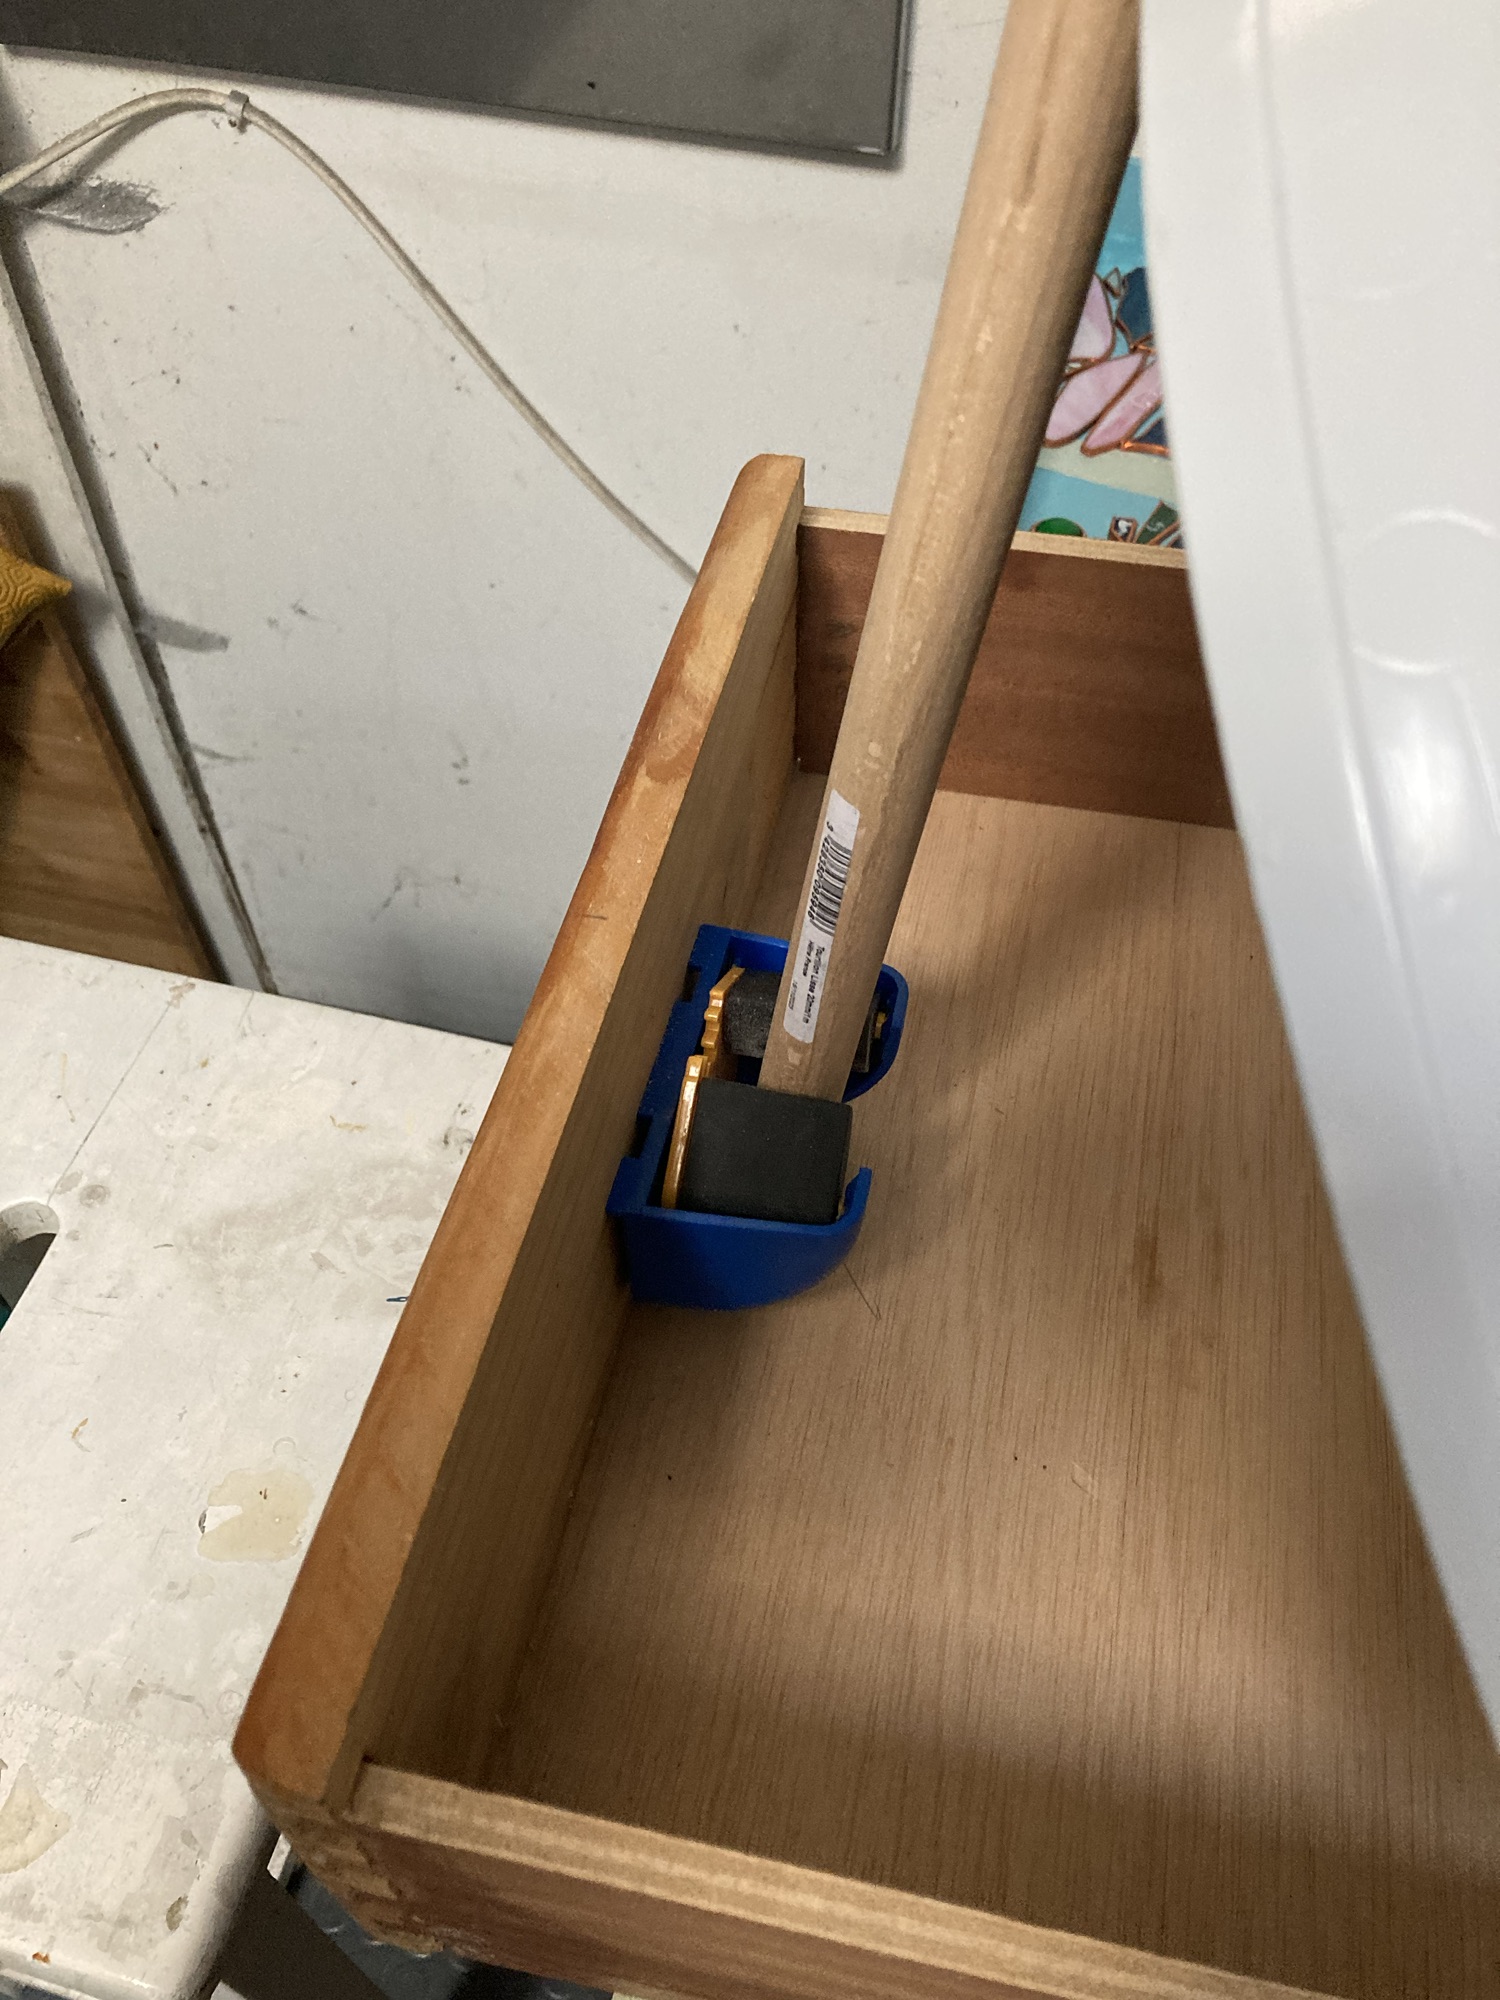
Well you’ve hung brushes, brooms etc in a shed maybe? Well it’s the same one way grip on the inside of the drawer.
